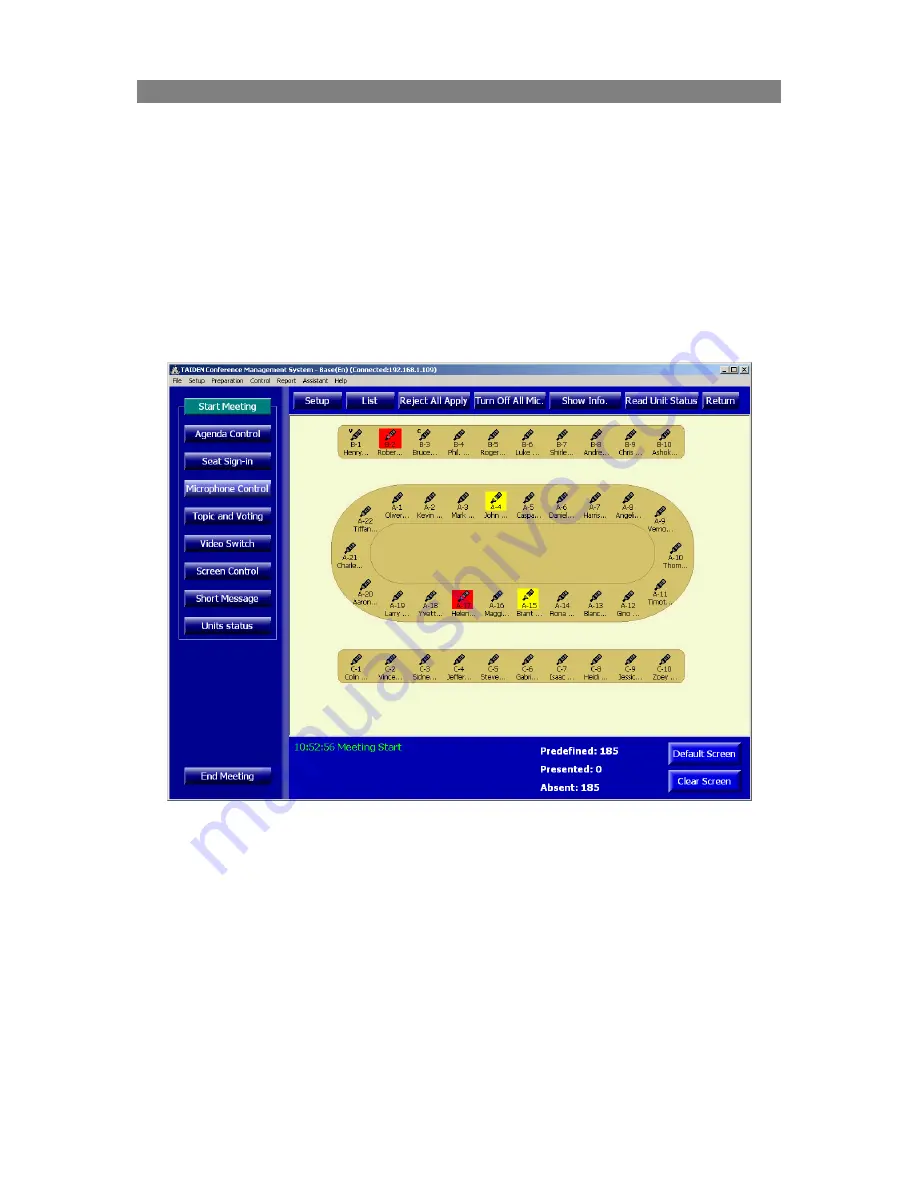
6.6 Microphone Control
This module is to control and to monitor the current status of the microphones, as well as the
automatic video tracking.
To perform microphone control, the following steps must be done sequentially:
1.
Use the Venue Designer module to design the layout and seating of the actual meeting
room/conference venue;
2.
Use the Conference Management module to create the conference/meeting, and select the
venue;
3.
Use the Delegate Management module to build the database of all participators, and choose
participators for a certain meeting;
4.
Use the Seat Arrangement module to arrange the seats of participators and lay out the
contribution units to the corresponding seats respectively.
Figure: Microphone Control
Click the “Microphone Control” button to enter the interface, as in figure above.
The arranged microphones are shown in the interface. There are three microphone states:
Off, On
(red icon in the above figure)
,
and
Applying
(yellow icon in the above figure). By left clicking on the
microphone icon, the corresponding contribution unit is on/off alternatively; while a pop-up menu
is shown by right clicking on the microphone icon, including functions such as
Turn on/Turn off,
Approve/Reject, Camera control,
Mic. Parameters Setup
and
Start / Stop record
, etc.
Note:
when turn on a microphone, if the icon is blue and gradually fade out, it means turn on this
microphone failed.
If
Camera control
is selected
(feature only available for active microphones), the camera control
interface is shown, as in figure below:
53


