23
AVSI-12 Interview Room System Setup and User Guide
SECTION 3: SYSTEM SETUP
7.
While viewing video from each cameras in the
Live View
display, adjust the direction of the camera(s) to aim it at its
surveillance target. Follow the manufacturer’s recommended procedures for aiming the cameras.
3.9 Opening the Menu system
After the initial setup of your recorder using the Wizard, the Menus interface enables you to refine your configuration settings and
expand the functionality of the system.
1.
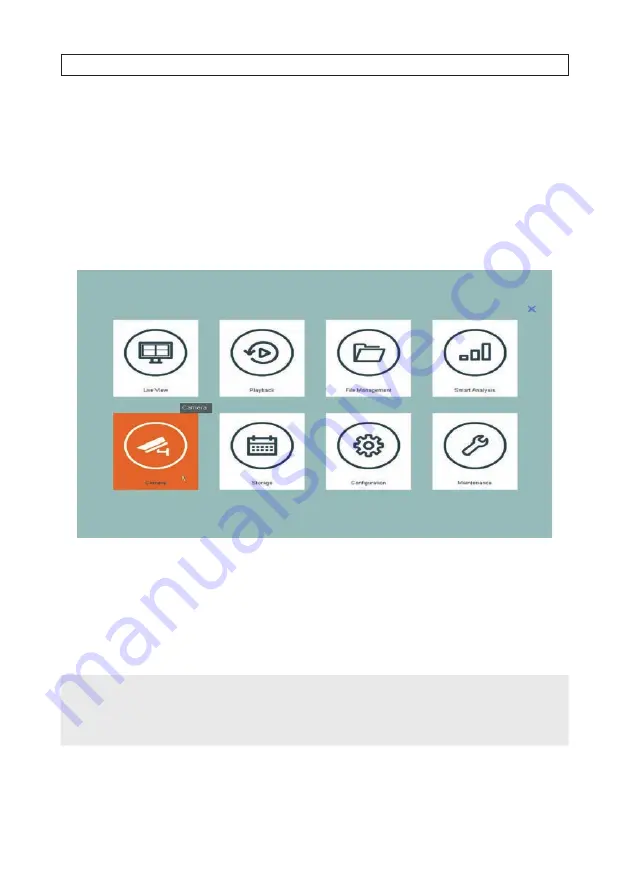
Right click on the Live View screen, and then click the Menu icon in the upper left corner to open the
Menu
screen. .
2.
In the
Menu
screen, click the
Camera
icon (see above).
3 .9 .1
Camera OSD setup
You can configure the OSD Settings (On-Screen Display) settings for the camera, including date, time, day of week, camera name,
etc. OSD options you select will be permanently embedded in the recorded video for your camera.
NOTE
•
If you display the date and time, ensure the date and time setup in the recorder is exact so that the video recorded can be used
as credible evidence if needed.
•
Alibi IP cameras you manage with the recorder may be setup internally to show on-screen information, such as name and
timestamp.
1.
In the
Camera Management
menu, click the
Display
link on the left. By default, image settings for Camera
(A1) Camera
01
(interview room camera) is selected.


