


5b Planning the parallel SCSI
configuration
11414
If you are unfamiliar with configuring parallel SCSI devices, read the
parallel SCSI configuration information in the
Sun StorageTek
™
SL24
Tape Autoloader and SL48 Tape Library User and service guide
on the
documentation CD.
Follow these general guidelines when planning the parallel SCSI
configuration:
•
The LTO
‐
3 and LTO
‐
4 tape drives are Ultra320 parallel SCSI
devices. Only put one LTO
‐
3 or LTO
‐
4 tape drive on an Ultra320
bus. Putting an LTO
‐
3 or LTO
‐
4 tape drive on a lower performance
bus may degrade its performance. Do not connect an LTO
tape drive to an SE SCSI bus because it will seriously degrade
performance.
•
The LTO
‐
2 tape drive is an Ultra160 parallel SCSI device. Up to
two LTO
‐
2 tape drives can share an Ultra320 bus or each tape
drive can be on its own Ultra160 bus.
•
Avoid putting the Autoloader on the same SCSI bus as a disk
drive or SE device.
•
The default SCSI ID of the bottom half
‐
height or full
‐
height tape
drive is 4. The default SCSI ID of the top half
‐
height tape drive is 5.
5c Planning the SAS configuration
11416
The server must have a SAS HBA with an external connector. Most
SAS RAID controllers do not support Tape Autoloaders.
WARNING!
Do not connect the Autoloader to a SAS RAID controller unless the
controller is qualified with the Autoloader. The server might not be
able to boot when the Autoloader is connected to a non
‐
supported
SAS RAID controller.
6 Changing the SCSI ID
On a parallel SCSI Autoloader, if you need to change the SCSI ID for
one or both of the tape drives, do so before connecting the Autoloader
to the host computer.
1.
Attach the power cord to the Autoloader.
2.
Power on the Autoloader by pressing the power button on the
front panel.
3.
On the front panel, press
Enter
.
4.
Press
Next
until the display shows
Configuration
. Press
Enter
.
5.
Press
Next
until the display shows
Change Drive 1
or
Change
Drive 2
. Press
Enter
to select the tape drive that needs a new
SCSI ID.
6.
Press
Next
until the display shows the new SCSI ID. Press Enter.
7.
Change the SCSI ID of the other tape drive if necessary.
TIP:
The SCSI ID can also be changed from the RMI
Configure: Drive
screen once the RMI is configured.
7 Preparing the host
If necessary, install software, a host bus adapter (HBA), and
compatible drivers in the host computer.
For parallel SCSI and SAS Autoloaders, ensure that your HBA
supports multiple LUNs. For parallel SCSI devices, verify that
multiple LUN support is enabled for the HBA and operating system.
Sun recommends that the host server be powered off before attaching
new devices.
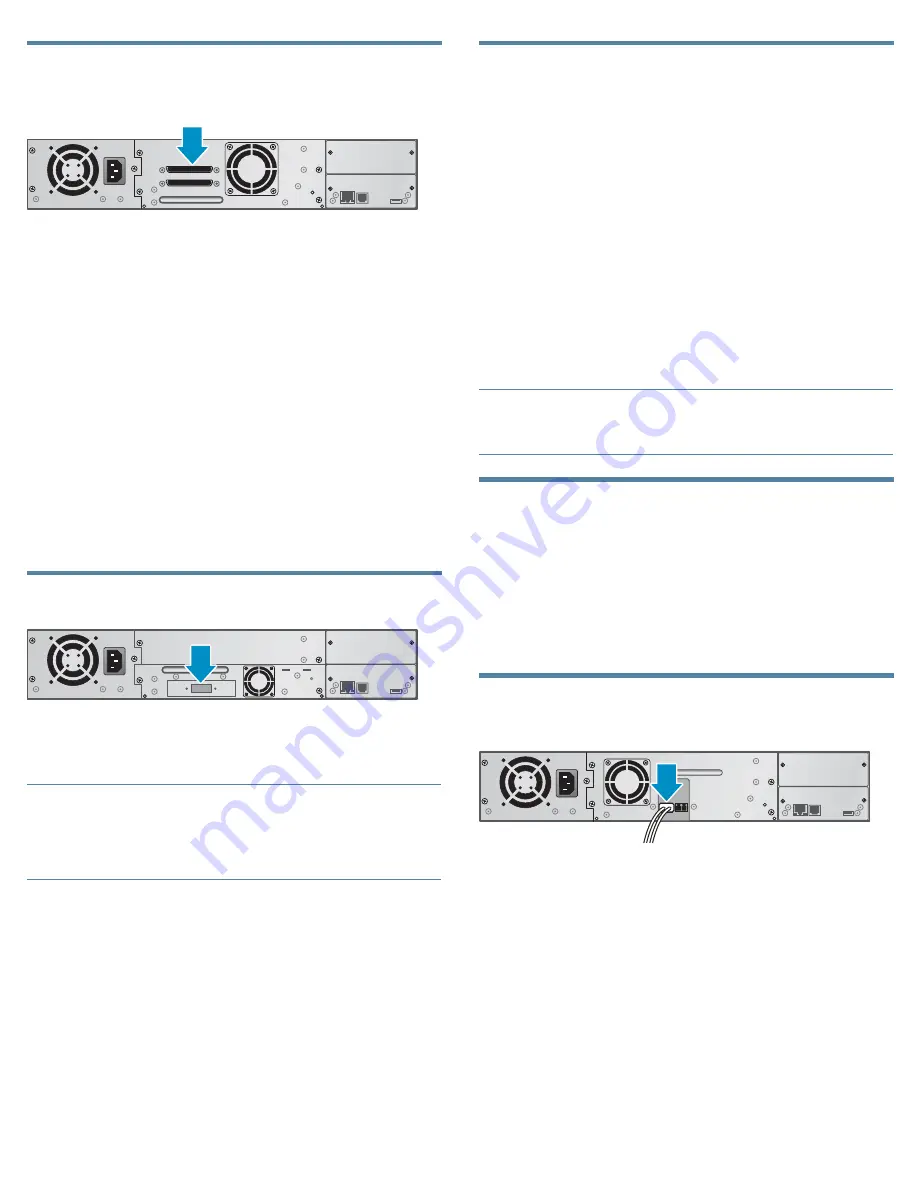
8a Connecting the Autoloader: Fibre
Channel
11419
Remove the FC port dust cap from Port A. Attach one end of the FC
cable to Port A on the tape drive. Attach the other end of the FC cable
to a switch or HBA.
Page 7