background image

Sturtevant Richmont

 -  P/N 857285 - Issue Date 100407 - Page 9 of 14

5.  Set the communication protocols within Hyperterminal to the following settings:

Baud Rate = 9600 baud (tool default baud rate at startup)
Data bits = 8
Stop bit = 1
Parity = None
Flow Control = none

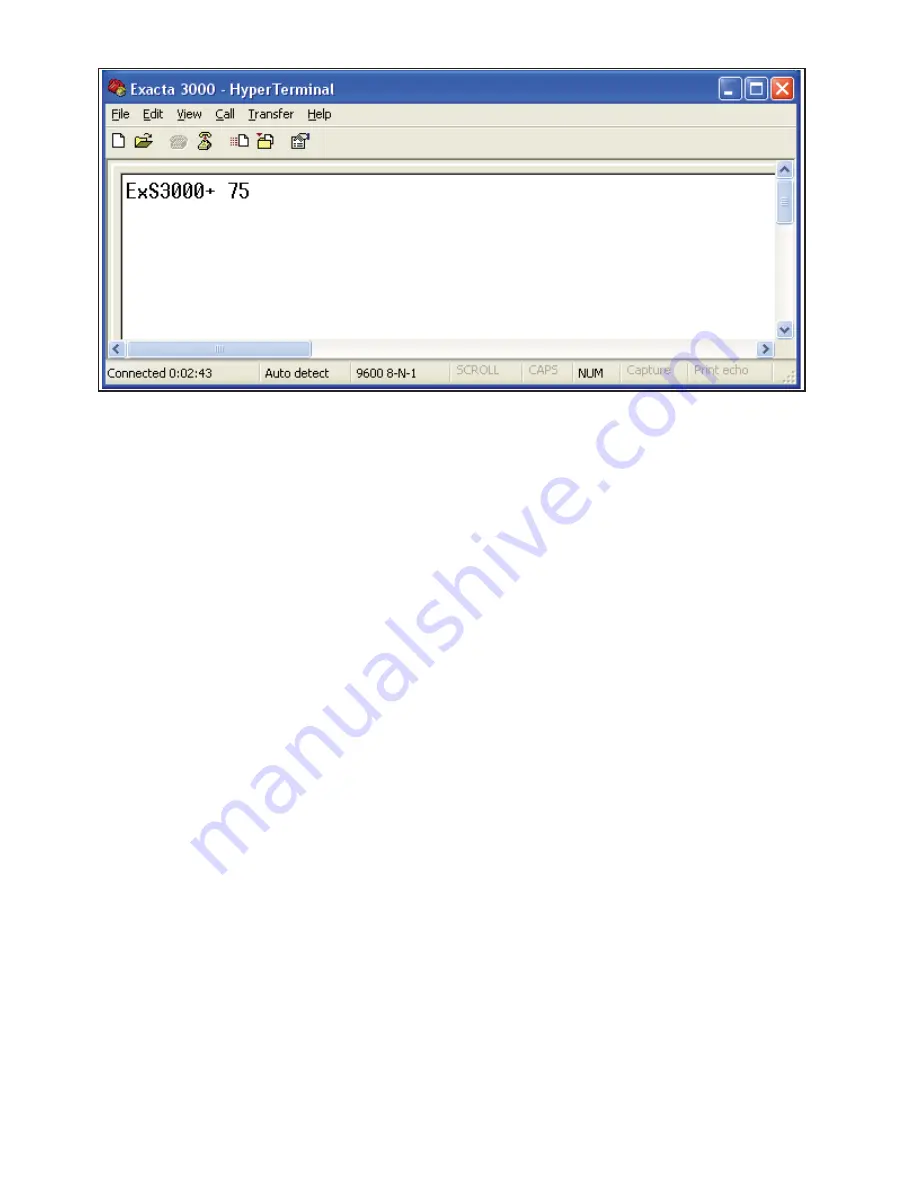
6.  Ensure that there is no torque load on the tool. Enable power to the tool and allow it to complete the 

starting processes. Communication with the computer will be established and the tool will send the 
fi rmware version and model information to the computer. In Hyperterminal, the information will appear 
approximately as it does in the next image.

7.  Type the diagnostic “D” Command into the terminal and press <enter>.  The Terminal display will dis-

play “DiaOn”.  You are now in diagnostic mode.

8.  Type the M <enter>.  The capacity of the tool should be seen on the display.

9.  To enter the Calibration process, press the ‘Select‘ button on the tool keypad. 

Calibration Procedure Keypad Functions

• 

Clear button – Restarts calibration process at Cal point CW 0.

• 

Up Arrow – Selects calibration point to calibrate. Note: If pressed and held, the percent cal point will be 
displayed. Upon release the tool will display:
-  If under 1% of tool capacity the target torque value the cal point will be displayed.
-  If over 1% of the tool capacity, the current torque value will be displayed.

• 

Down arrow – Saves the new cal point and recalculates the current torque value.

• 

Select button – Not used during this process

Summary of Contents for exacta 2 3000 series

Page 1: ...nd Battery Chargers These tools were designed to use only and solely NiMH batteries having specific dimensions and operating characteristics Within NAFTA countries the only batteries that are to be us...

Page 2: ...At that time the display will show the message bAtt and the ability to operate the wrench will be lost Readings stored prior to that point will remain in memory The tool will remain inoperable until...

Page 3: ...tion here due to differences in the fonts used Target When the triangular icon beneath this is illuminated it means that the target value for the torque specification is displayed in the main section...

Page 4: ...specific Task Numbered from 00 to 50 Record 00 is designed to give the user the ability to use the specifications for the active task on a fastener without recording the result UOM Currently active Un...

Page 5: ...ted Up Navigate among tasks and records Increments count of displayed task or record by one Down Navigate among tasks and records Decrements count of displayed task or record by one Display During Ope...

Page 6: ...the Exacta Plus software is being used to communicate with it avoid touching the buttons on the tool and do not disable the power Allow the software to perform the communications and complete them bef...

Page 7: ...records for that task have been obtained Once the last fastener in a task has been completed the information will be displayed normally then the screen will display SEt in the main section Use the Up...

Page 8: ...but the use of a mechanical loader is still recommended The load applied during testing must be at the loading point on the grip indicated by the plain ring at the middle of the grip It is imperative...

Page 9: ...diagnostic D Command into the terminal and press enter The Terminal display will dis play DiaOn You are now in diagnostic mode 8 Type the M enter The capacity of the tool should be seen on the displa...

Page 10: ...ress the DOWN arrow key Unload the tool 6 Press the Up arrow key until 70 appears in the lower right corner of the LCD display Apply 70 CW FS load to the unit When exactly 70 CW FS torque is applied p...

Page 11: ...load to the unit When exactly 60 CCW FS torque is applied press the DOWN arrow key Unload the tool 20 Press the Up arrow key until 50 appears in the lower right corner of the LCD display Apply 50 CCW...

Page 12: ...300 303 297 75 foot pounds Capacity in Ft Lb FS Torque Value in In Lb Tol Tol 75 10 90 90 9 89 1 20 180 181 8 178 2 30 270 272 7 267 3 40 360 363 6 356 4 50 450 454 5 445 5 60 540 545 4 534 6 70 630...

Page 13: ...4 30 1440 1454 4 1425 6 40 1920 1939 2 1900 8 50 2400 2424 2376 60 2880 2908 8 2851 2 70 3360 3393 6 3326 4 80 3840 3878 4 3801 6 90 4320 4363 2 4276 8 100 4800 4848 4752 600 foot pounds Capacity in F...

Page 14: ...to the sensor including damage of a level that necessitates replacement We strongly recommend that the tool never be used beyond its rated capacity and that if the tool is inadvertently overloaded it...

Reviews: