The fading time can be lower or equal than the global time of the scenes. In case it is lower, at the end the
scene, the spots remain in stand-by until the end of the global time and the change of the new scene.
b)
Step Time
, every scene has its own fading time and its own stand-by time, freely arranged.
At the end of fading (after the evolution of the parameters), the scene remains in stand-by for all the
remaining time up to the change of the scene.
Both in Global Time or in Step Time, you can enter the values moving the two sliders WAIT TIME and FADE
TIME.
-
Once you have moved the slider, you can also set the right value through the buttons 0-9.
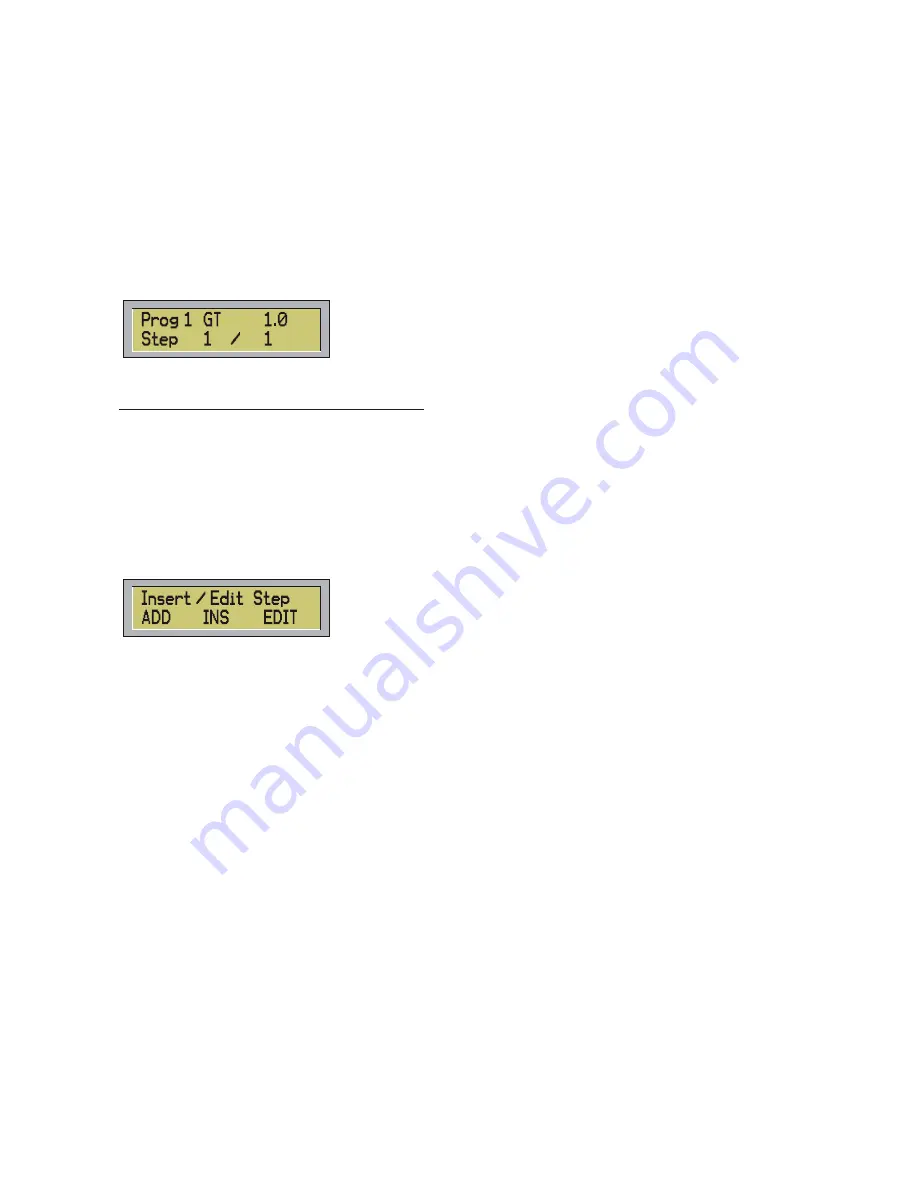
Once fixed the times of the scenes, you are ready to start programming, the display will show:
(in this case it has been selected a global time of 1 sec.)
3) How to start programming the spots functions:
-
Select through the spot buttons, the fixture/s you want to program.
-
Every time you select a spot, and you start to move a slider, on the display will be shown the function
pertinent to that slider and the DMX value.
-
The DMX value can be assigned or through the slider or by the 0-9 buttons.
-
Once you have programmed all the fixtures for the first scene press ENTER button to save the
scene.
-
Use the INS STEP button to input a new scene in the current program, or to edit again the current
scene.
If the current program is t empty, digit this button and the controller will show the following menu:
At this point you can decide to add a new scene at the end of the current program (ADD), or to input the new
scene at the same position of the current scene(INS), moving the others scenes forward, or to edit the
current scene.
-
Once you have finished to program all the scenes, you are ready, to run your program.
- Play
- Use the buttons AUTO, MAN and MUSIC to select the three different ways of scrolling the
scenes (sequentially, manually or on music time)
- Operating on the SPEED slider you can increase or decrease (+ or – 400%) the speed already
stored in each scenes.
7
Summary of Contents for Control Five
Page 1: ......
Page 2: ...This page is intentionally left blank...
Page 5: ...DMX signal connection EXAMPLE of connection DMX controller spot 3...
Page 6: ...4...


