Objet260 User Guide
6 Operating and Maintaining the Objet260 3D Printer
DOC-37004 Rev. E
6-16
Additional
Steps for
Printing With
Bio-
Compatible
Materials
To ensure the bio-compatibility of printed parts when changing from
standard materials to bio-compatible materials, make sure to run the Material
Replacement wizard as follows:
• If standard materials were loaded in the M1 and/or M2 cartridge slots, and
you used High Speed or High Quality mode, run the Material Replacement
wizard on the relevant cartridge slots.
• If standard materials were loaded in the M1 and/or M2 cartridge slots, and
you used Digital Material mode, run the Material Replacement wizard on
both
the M1 and M2 cartridge slots.
Note:
If you are loading the same bio-compatible material into the M1 and
M2 cartridge slots, you will need to manually select the slot before running the
Material Replacement wizard (see "Positioning" below).
Loading bio-compatible material in the M3 cartridge slot does not require
additional replacement steps.
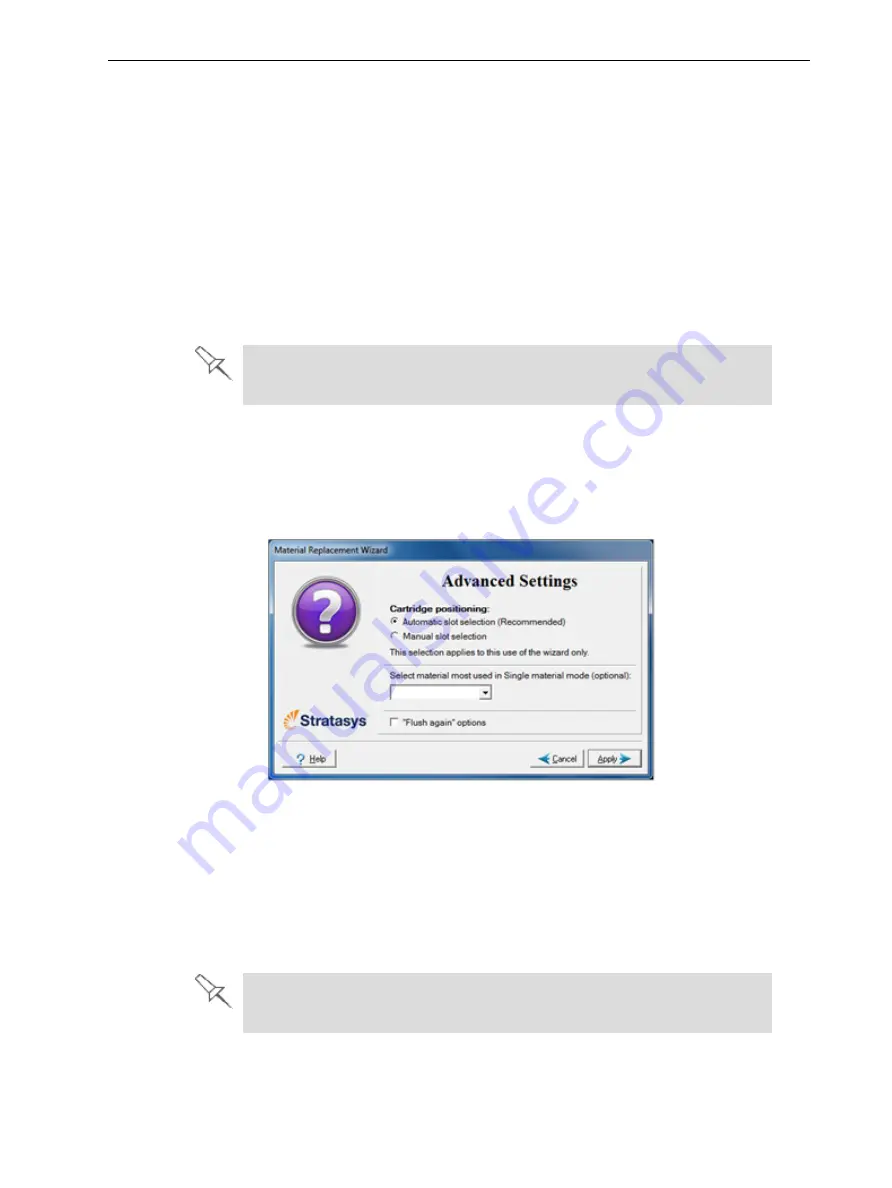
Advanced
Settings
The
Advanced Settings
dialog box enables you to configure the Material
Replacement wizard for special purposes. If necessary, click
Advanced
Settings
in the
Material Replacement Options
screen before clicking
Next
.
Figure 6-12 Advanced Replacement settings
Positioning
By default,
Automatic slot selection
determines the best slot locations for the
cartridges in the material cabinet, based on materials currently in the system.
This ensures minimum flushing of materials currently loaded.
Select
Manual slot selection
if—
• there is a special need to load cartridges in certain slot locations.
• you only want to change one of the cartridges in certain slot locations.
Some materials cannot replace certain other materials. If you attempt to
do so, the wizard notifies you.


