36
Reprocessing
Obrada
Aufbereitung
5. Nach Stabilisierung des Luftdrucks im Produkt
mindestens 3 Minuten warten und am
Dichtheitstester prüfen, ob der Luftdruck im
Produkt abfällt oder ob entlang des Produkts
kontinuierlich Blasen austreten.
Falls der Luftdruck abfällt oder Blasen aus
dem Produkt austreten, ist das Produkt
undicht und darf nicht weiterverwendet, in
Flüssigkeit eingelegt oder maschinell aufbereitet
werden. Den Reparaturbegleitschein ausfüllen.
Produkt mittels Wischverfahren gereinigte,
von organischen Verunreinigungen / Resten
reinigen und als nicht desinfiziert kennzeichnen.
Mit KARL STORZ Kontakt aufnehmen und
das Produkt zur Reparatur an KARL STORZ
senden. Den Transportkoffer für das Produkt
mit der Transportschutzfolie 13990 SFN
auslegen.
Falls der Luftdruck nicht abfällt und keine
Blasen aus dem Produkt austreten, ist das
Produkt dicht. Das Produkt aus der Flüssigkeit
nehmen und danach die Entlüftungstaste am
Drucktester drücken. Warten bis der Luftdruck
auf 0 mmHg gesunken ist. Das Produkt kann
jetzt gereinigt werden.
14.4
Demontage
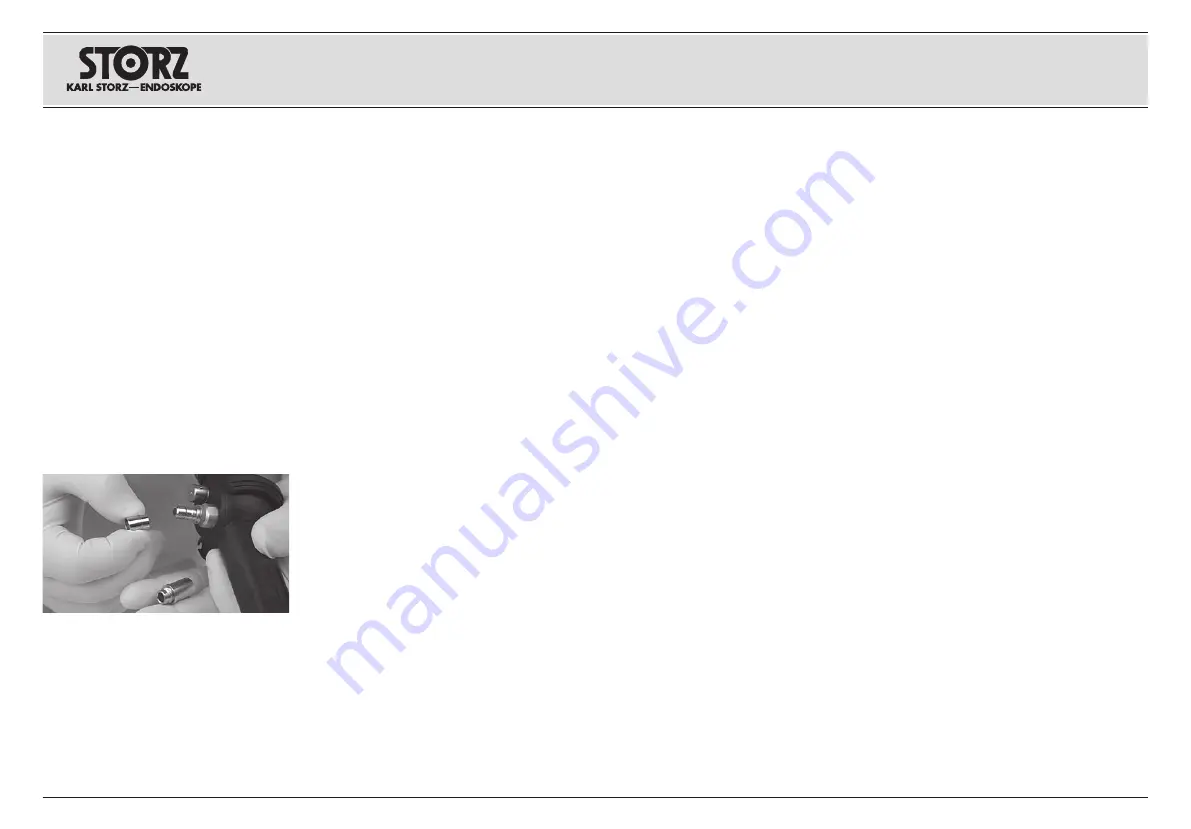
Vor der Reinigung und Desinfektion die
Adapter und andere abnehmbare Teile von
Lichteinlassstutzen und Instrumentenkanal sowie
die Hahnreiber in ihre Einzelteile entfernen.
14.5 Manuelle Aufbereitung
14.5.1 Manuelle Reinigung
1. Ggf. den Adapter konnektieren.
2.
Das Produkt vollständig in die
Reinigungslösung tauchen.
3. Ggf. das Lumen mithilfe der Spritze mit
Reinigungslösung füllen und für eine blasenfreie
Benetzung sorgen.
4. Ggf. den Adapter entfernen.
5.
Während des Reinigungsvorgangs
die Vorgaben zur Einwirkzeit des
Chemikalienherstellers einhalten.
6.
Die Oberflächen des Handgriffs mindestens
3 Mal bürsten, bis keine Rückstände visuell
erkennbar sind.
5. After stabilizing the air pressure in the product,
wait at least 3 minutes and check on the
leakage tester whether the air pressure in
the product drops or whether bubbles are
continuously escaping along the product.
If the air pressure drops or bubbles emerge
from the product, the product is leaking and
may no longer be used, immersed in liquid or
reprocessed by machine. Complete the repairs
form. Clean the product by wiping to remove
organic soiling/residue and mark it as not
disinfected. Contact KARL STORZ and send
the product to KARL STORZ for repair. Line the
carrying case for the product with the transport
protective film 13990 SFN.
If the air pressure does not drop and no
bubbles emerge from the product, the product
is leakproof. Remove the product from the
liquid and then press the vent button on the
pressure tester. Wait until the air pressure has
dropped to 0 mmHg. The product can now be
cleaned.
14.4 Disassembly
Before cleaning and disinfection, remove the
adaptor and other detachable parts from the
light inlet piece, the instrument channel and the
stopcock in their parts.
14.5 Manual reprocessing
14.5.1 Manual cleaning
1. If relevant, connect the adaptor.
2. Completely immerse the product in the
cleaning solution.
3. If relevant, fill the lumen with cleaning solution
using the syringe and ensure bubblefree
wetting.
4. If relevant, remove the adaptor.
5.
Observe the exposure time as specified by
the chemical manufacturer during the cleaning
process.
6. Brush the surfaces of the handle at least
3 times until no residue can be seen anymore.
5. Nakon stabilizacije tlaka zraka u proizvodu
pričekajte najmanje 3 minute i na uređaju za
ispitivanje propuštanja provjerite smanjuje li
se tlak zraka u proizvodu ili izlaze li uzduž
proizvoda kontinuirano mjehurići.
Ako se tlak zraka smanjuje ili iz proizvoda
izlaze mjehurići, proizvod propušta i ne smije
se dalje upotrebljavati, umetati u tekućinu i
strojno ponovno obrađivati. Ispunite prateći
list za popravak. Brisanjem očistite proizvod
od organskih nečistoća / ostataka i označite
ga kao nedezinficiran. Kontaktirajte s
društvom KARLO STORZ i pošaljite proizvod
na popravak. Obložite transportni kovčeg
za proizvod transportnom zaštitnom folijom
13990SFN.
Ako se tlak zraka ne smanji i iz proizvoda
ne izlaze mjehurići, proizvod ne propušta.
Izvadite proizvod iz tekućine, a zatim pritisnite
tipku za odzračivanje na uređaju za ispitivanje
propuštanja. Pričekajte da se tlak zraka smanji
na 0 mmHg. Proizvod se sada može očistiti.
14.4
Rastavljanje
Prije čišćenja i dezinfekcije razdvojite adapter i
druge dijelove koji se mogu skinuti s nastavka za
ulazak svjetlosti i kanala instrumenta kao i zaporni
pipac i rastavite ih na dijelove.
14.5
Ručna obrada
14.5.1
Ručno čišćenje
1.
Po potrebi priključite adapter.
2. Proizvod u potpunosti uronite u otopinu za
čišćenje.
3.
Po potrebi s pomoću štrcaljke napunite lumen
otopinom za čišćenje i pobrinite se da tijekom
vlaženja ne bude mjehurića.
4. Po potrebi uklonite adapter.
5.
Tijekom postupka čišćenja pridržavajte se
zahtjeva proizvođača kemikalije za vrijeme
djelovanja.
6.
Četkajte površine ručke najmanje 3 puta, sve
dok više ne bude vidljivih ostataka.


