9
Chapter 1: Setting Up the Wave
© 2017 Stenograph
Tripod Setup
Tripod setup includes attaching the Wave to the tripod, adjusting the tripod height, Wave tilt position and
Tilting screen.
To use a different tripod with the Wave, it is necessary to remove the bottom plate on the tripod interface.
Removing the bottom plate, also removes the tilting mechanism. Please visit the Stenograph Help Desk
at www.stenograph.com for instructions on removing the Wave plate.
Attach the Tripod
The Wave uses only the EasyLock Z12 tripod designed with three straight legs and constructed of high
gauge aluminum to provide a lightweight but strong and stable stand for your Wave. When folded, the
tripod is 12 inches long.
1. Fully extend each leg of the tripod, making sure the braces lock.
2. Set the tripod on the floor.
3. Loosen the thumb-lock knob on the tripod base.
4. Extend the inner tripod tube to a comfortable height.
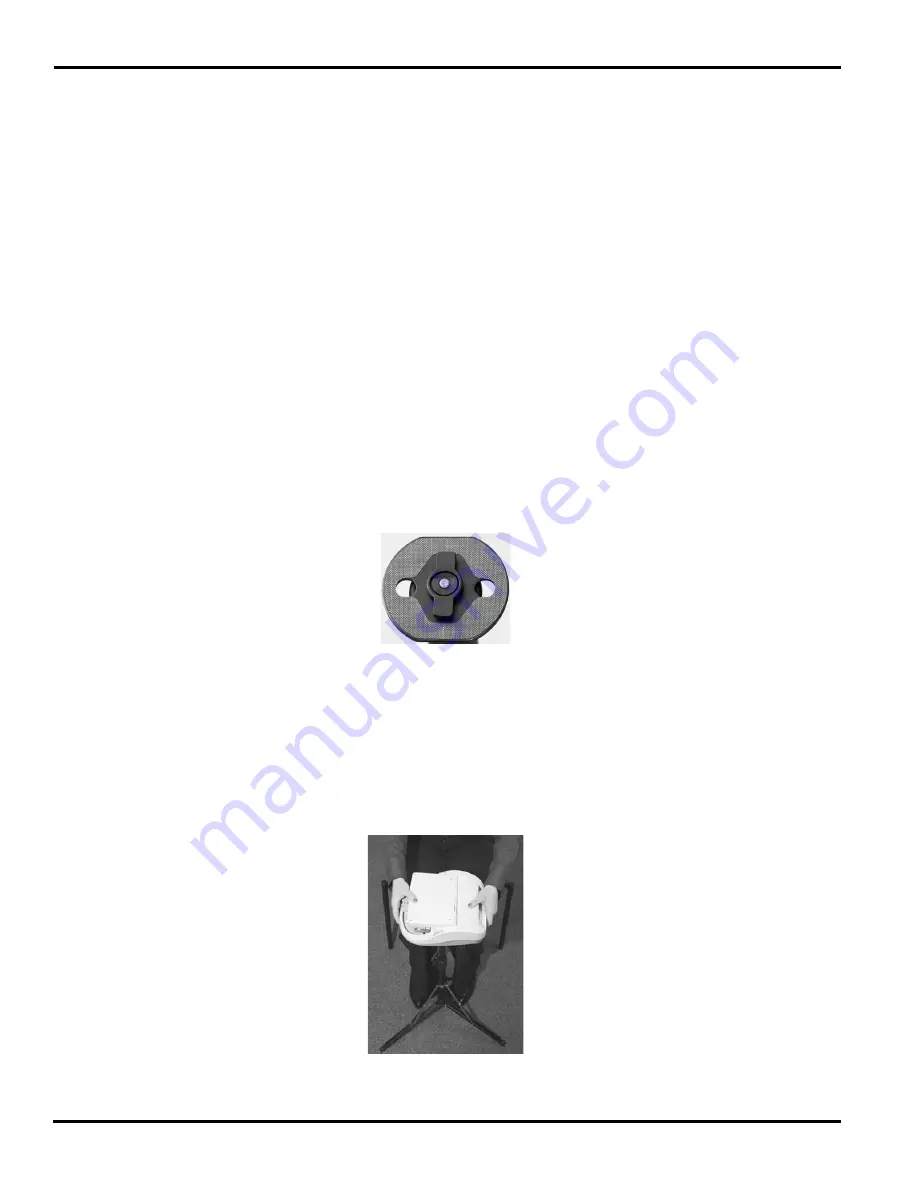
5. Turn the tripod head so that one of the flat sides of the tripod head is facing you.
EasyLock Z12 Tripod Head
6. Tighten the thumb-lock knob.
7. On the bottom of the Wave, locate the positive locking mechanism that looks like a large, round
keyhole. The top of the
EasyLock Z12 tripod fits like a key into the recessed tilt mechanism.
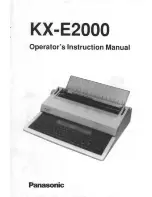
8. Lift the Wave on two sides of the machine and lower it evenly onto the top of the tripod with one of
the flat sides of the writing machine facing you.
Summary of Contents for WAVE
Page 1: ...Wave User Guide ...
Page 6: ...Wave User Guide vi 2017 Stenograph Splash Screen 71 TrueView 73 ...
Page 8: ...Wave User Guide 8 2017 Stenograph Wave Features ...
Page 14: ...Wave User Guide 14 2017 Stenograph ...
Page 32: ...Wave User Guide 32 2017 Stenograph ...
Page 60: ...Wave User Guide 60 2017 Stenograph ...
Page 62: ...Wave User Guide 62 2017 Stenograph ...
Page 65: ...65 Appendix A Installing the USB Drivers 2017 Stenograph 6 Close Device Manager ...


