39
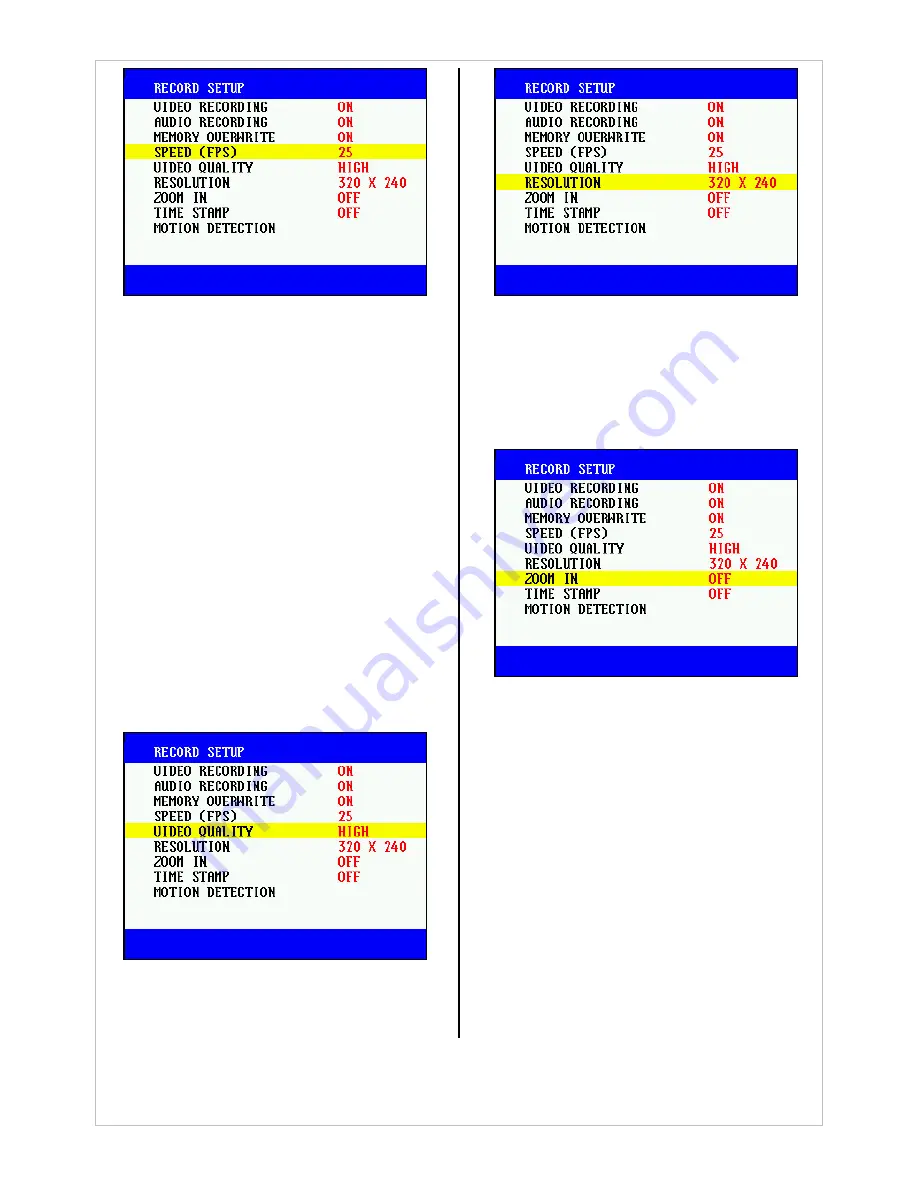
6.1.3.5. Video Quality
-
Choose OPTION>RECORD SET, place the
cursor on QUALITY and press the
Center
button to select the quality level.
-
Available settings are Ultra High, High,
Medium, and Low.
-
Setting QUALITY to Ultra High will offer the
best picture quality, but at the expense of
larger file size.
-
With High as the reference point, the following
describes the relative increase/decrease in file
size under different settings of video quality:
9
Ultra High: 70% larger than High
9
High: Reference Size
9
Medium: 40% smaller than High
9
Low: 45% smaller than High
-
The default setting is High.
6.1.3.6. Resolution
-
This option is set to 320X240.
6.1.3.7. Zoom-In
-
Choose OPTION>RECORD, place the cursor
on ZOOM IN and then enable/disable the
setting using the
Center
button.
-
The default setting is Off.
6.1.3.8. Time Stamping
-
Time stamp is a feature that displays the date
and time on video recordings.
-
Choose OPTION>RECORD SET, place the
cursor on TIMESTAMP and then use the
Center
button to select the setting.
-
Setting options available are Off, Top, and
Bottom.
-
The default setting is Off.


