16
620-7925 Rev x1
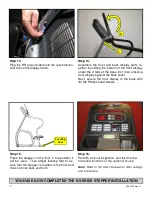
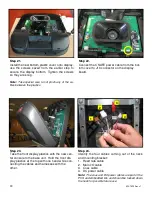
Step 18.
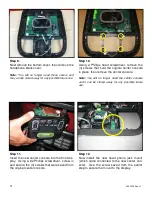
Assemble the front and back display parts to-
gether by sliding the bottom of the front display
under the 2 tabs at the base first, then pressing
front display against the back cover.
Next, secure the front display to the back with
(8) M4 Phillips head screws.
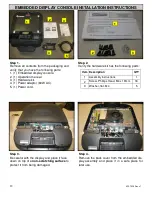
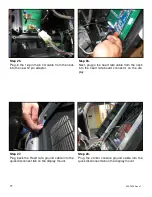
Step 17.
Plug-in the ground cable coming from upper left
side of the display mounting bracket into the
quick disconnect tab on the embedded display
assembly.
1
2
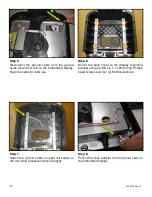
Step 19.
Connect the in-house entertainment cable to the
RF input at the base of the unit.
Next, take the power supply from the kit and plug
it into the DC input. Then take the power adapter
cable from the kit and plug it into the power sup-
ply and the electrical receptacle.
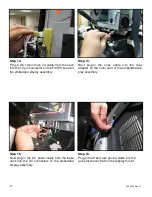
Step 20.
Turn power on. Perform a visual inspection, and
test the features and functions of the unit prior
to use.
Note:
Refer to the User’s Manual for other settings
and instructions.
YOU HAVE NOW COMPLETED THE EMBEDDED DISPLAY INSTALLATION
Summary of Contents for E-STe
Page 10: ...11 620 7925 Rev x1 THIS PAGE INTENTIONALLY LEFT BLANK...
Page 17: ...18 620 7925 Rev x1 THIS PAGE INTENTIONALLY LEFT BLANK...
Page 27: ...28 620 7925 Rev x1 THIS PAGE INTENTIONALLY LEFT BLANK...
Page 36: ...37 620 7925 Rev x1 THIS PAGE INTENTIONALLY LEFT BLANK...
Page 50: ...Star Trac E ST Stepper O W N E R S M A N U A L...


