8
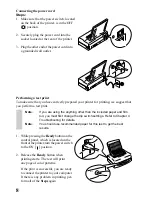
Connecting the power cord
Steps:
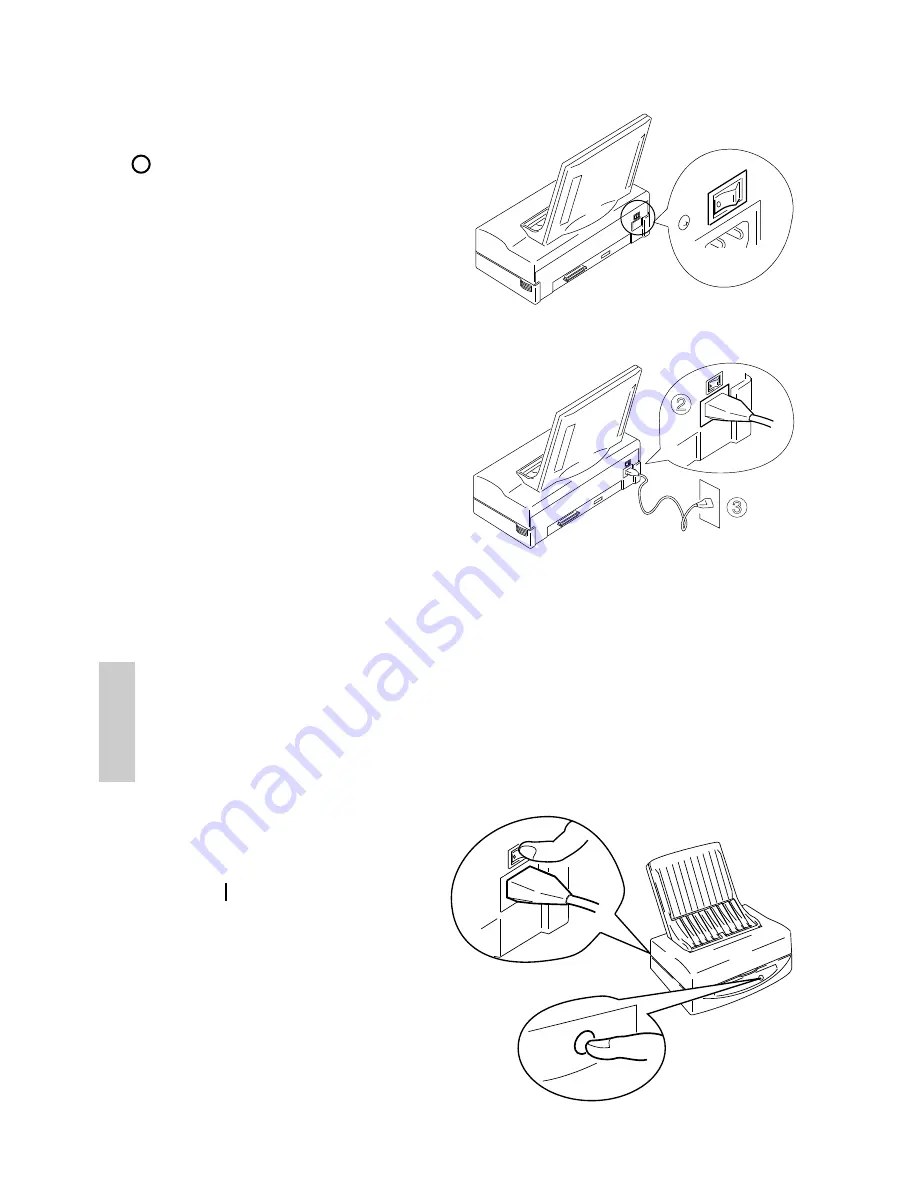
1. Make sure that the power switch, located
on the back of the printer, is in the OFF
[ ] position.
2. Securely plug the power cord into the
socket located at the rear of the printer.
3. Plug the other end of the power cord into
a grounded wall outlet.
Performing a test print
To make sure that you have correctly prepared your printer for printing, we suggest that
you perform a test print.
Note:
If you are using the anything other than the included paper and film
roll, you must first change the dip switch settings. Refer to Chapter 4
Troubleshooting for details.
Note:
You should use recommended paper for this test to get the best
results.
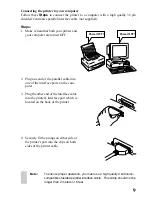
1. While pressing the Ready button on the
control panel, which is located on the
front of the printer, turn the power switch
to the ON [ ] position.
2. Release the Ready button when
printing starts. The test will print
one page of color patterns.
If the print is successful, you are ready
to connect the printer to your computer.
If there is any problem in printing, per-
form all of the Steps again.
2
3
Ready
Summary of Contents for WinType 800C
Page 1: ...The Windows Color Presentation Printer WinType 800C Users Manual 80825100 ...
Page 19: ...10 ...
Page 49: ...40 ...

