


Operation
50
1
Economy Mode
When you want to save ink, select
Economy mode.
Note
❒
Prints will be lighter in this mode.
AAAA
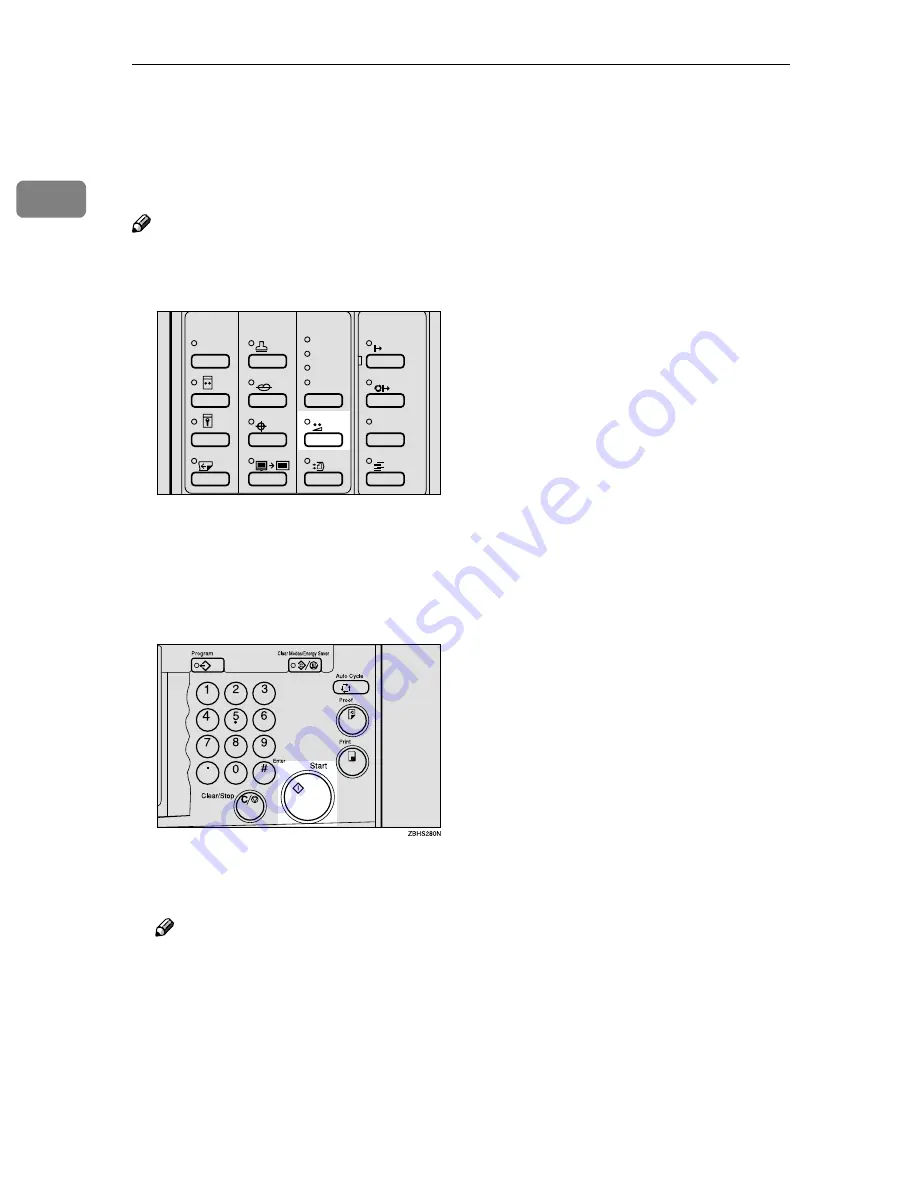
Press the
{{{{
Economy Mode
}}}}
key.
BBBB
Place your original on the expo-
sure glass or in the optional docu-
ment feeder.
CCCC
Press the
{{{{
Start
}}}}
key.
DDDD
Check the image position on the
trial or proof print.
Note
❒
If the image position is not cor-
rect, adjust it using the
[
Image
=
=
=
=
]
key. See p.24 “Adjusting the Po-
sition of Printed Images”.
EEEE
Make your prints.
Skip Feed
Edge Erase
Over lay
Make-Up
Stamp
Image Density
Lighter
Darker 2
Darker 1
Normal
Economy Mode
Original Storage
Job Separator
Auto On Line
On Line
ZDZS020N
Summary of Contents for 3360DNP
Page 20: ...xvi ...
Page 24: ...4 Options Exposure glass cover 1 Exposure glass cover Document feeder 1 Document Feeder ...
Page 144: ...Operation 124 1 ...
Page 158: ...Combination Chart 138 3 ...
Page 230: ...210 MEMO ...
Page 231: ...211 MEMO ...
Page 232: ...212 UE USA C239 MEMO ...
Page 233: ...Operating Instructions Type for 5455 LDD 150 JP5500 3360DNP Printed in Japan UE USA C239 8697 ...


