SPIDAR Software
51
4.5 Line Scan
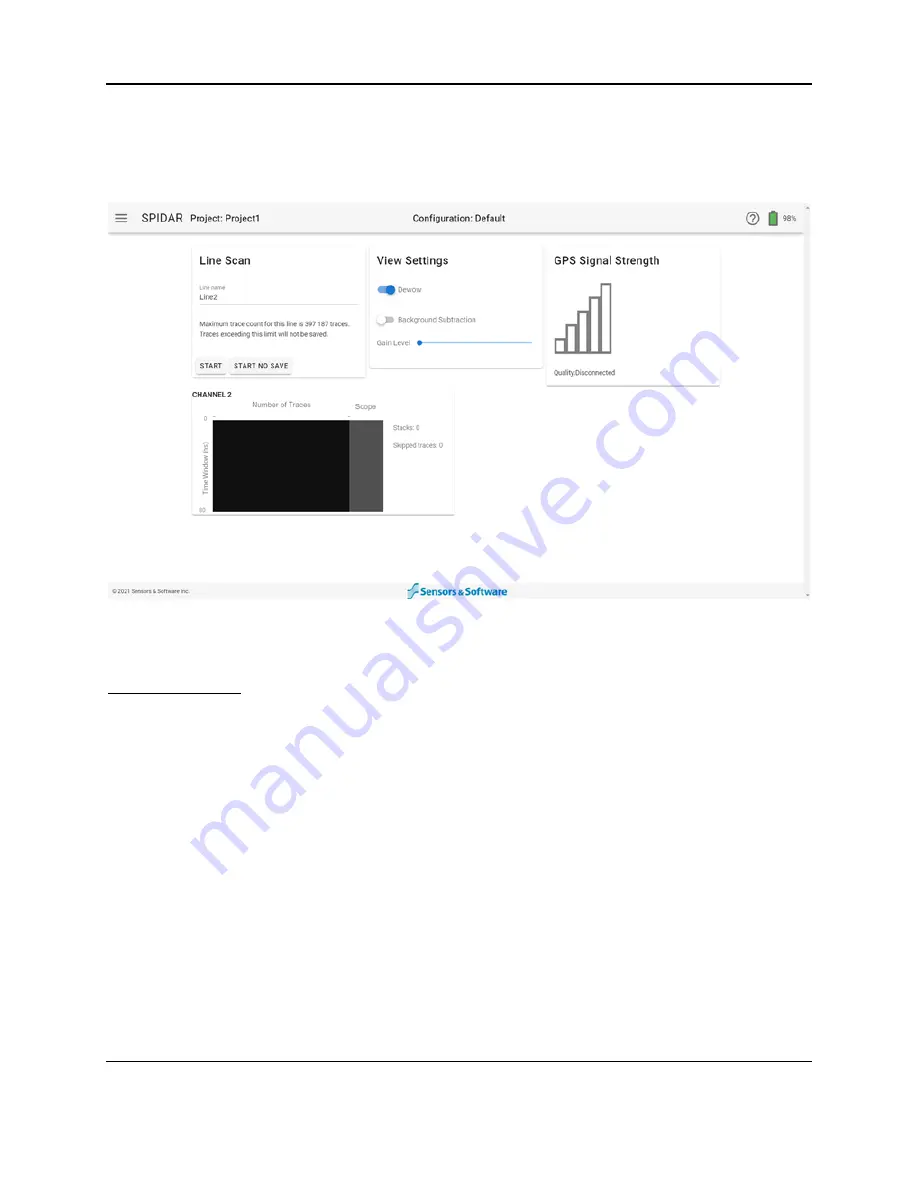
Selecting this option will open the Line Scan acquisition screen (Figure 4-34). There are several
windows displayed on the screen.
Figure 4-34: Line Scan setup and acquisition window
Line Scan window
The Line Scan window displays the name of the line and controls data acquisition. To change
the name of the line, click in the field below Line name and type your preferred line name. If you
pick a name that already exists, it will confirm if you want to overwrite an existing line. To begin
data collection, press Start. The data will be saved in the project specified in the top bar.
To collect data without saving it, press Start No Save.
After pressing Start, the line number automatically increments to the next available line number.
If the Trigger is set to Manual, the Line Scan window will now have a Trigger button (Figure
4-35). Press this button to fire the GPR and collect data each time the system is moved one
step size.
Once a line is started the Stop button will now appear in this window. Press Stop to end data
collection. The line name will remain the same, but will automatically increment the last digit (or
add a ‘1’ if there wasn’t any prior).
Summary of Contents for SPIDAR NIC-500s
Page 1: ......
Page 2: ...ii...
Page 4: ...Warranty Confirmation iv...
Page 6: ...vi...
Page 10: ...Introduction 2...
Page 28: ...Getting Started 20...
Page 66: ...SPIDAR Software 58...
Page 78: ...SPIDAR SDK 70...
Page 88: ...Compatibility 80...
Page 90: ...Technical Specifications 82...
Page 102: ...Appendix D GPR Knowledge 94...
Page 106: ...Appendix F Health Safety Certification 98...
Page 114: ...Appendix G GPR Emissions Interference and Regulations 106...
Page 116: ...Appendix H Instrument Interference 108...
Page 118: ...Appendix I Safety around Explosive Devices 110...


