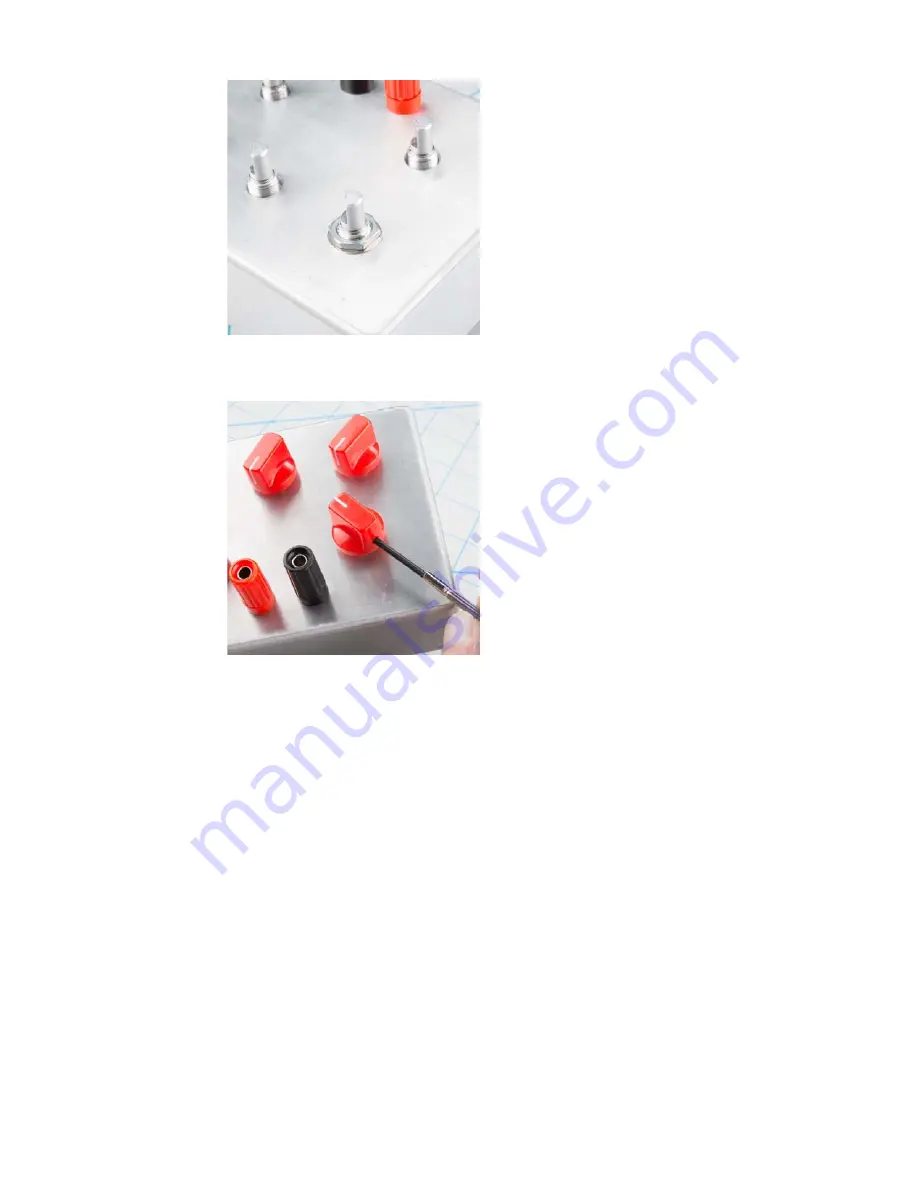
Finally, put the back on the enclosure, and attach the knobs. If you’re using
the knobs recommended above, the set screw will tighten against the flat
side of the shaft, 180° opposite the indicator.
Quick Test
With the assembly complete, you can give the decade resistance a quick
test with a multimeter. Select the resistance scale on the meter, and
measure between the binding posts.
With five switches that can each take ten positions, there are 100,000
combinations! We couldn’t call this section a “quick test” if we were going to
try to hit all possible settings, so we’ll use a streamlined approach instead.
We’ll verify that every switch and every resistor is properly installed and
functional. If they’re right in isolation, we can extrapolate that they’ll be right
in combination.
1. Start with all of the rotary switches at zero. You should measure
close to zero ohms on the meter.
2. Select the 10’s position switch, and click it through each of it’s steps.
The meter should read an additional ten ohms for each click of the
switch.
3. After you have measured the top position (90
Ω
), reset the switch to
zero.
4. Repeat the above steps for each of the other rotary switches.
A Note On Accuracy
Page 10 of 16


