Finally, the center pin of each rotary is longer than the others. You can snip
this off with cutters after soldering.
Binding Posts
If you’re installing the decade resistance in an enclosure, skip ahead
to the next section. You’ll mount the jacks to the enclosure, rather
than the PCB!
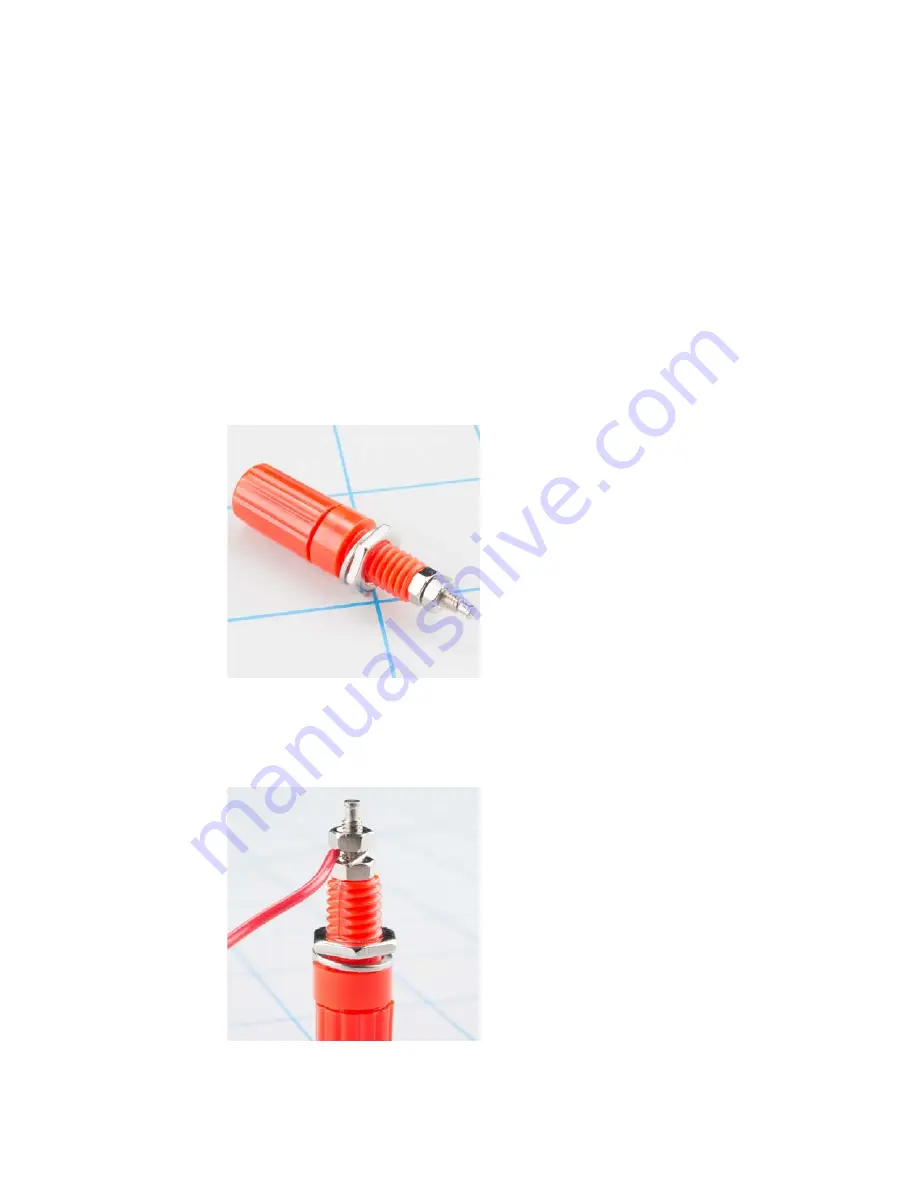
Before we install them, let’s take a moment to look at how the banana jacks
go together. The back side of the jack is threaded, with a large nut that
holds the jack in place. However, this only provides the mechanical
mounting of the jack. If you look closely, there are a pair of smaller nuts on
the tail of the jack. The outer of these nuts is for electrical connection, and
the inner nut holds the jack together. To use the jack, we first need to make
sure that the inner nut is snug against the body so the jack doesn’t come
apart. We’ll then use both the mounting and electrical connections.
Even though there are red and black jacks, the decade box has no specific
polarity - it doesn’t matter which one is mounted in which hole. The color
coding is just a convention that can be useful to trace connections on a
busy workbench.
First, remove the larger nut from the jack, then insert the jack through the
PCB, and reinstall the nut. Take care to not over-tighten, or you can strip
the plastic threads.
Once the jack is securely mounted, take a 2 inch piece of solid-core wire,
and strip the ends. Bend one end into a question-mark shaped curl.
Page 7 of 16


