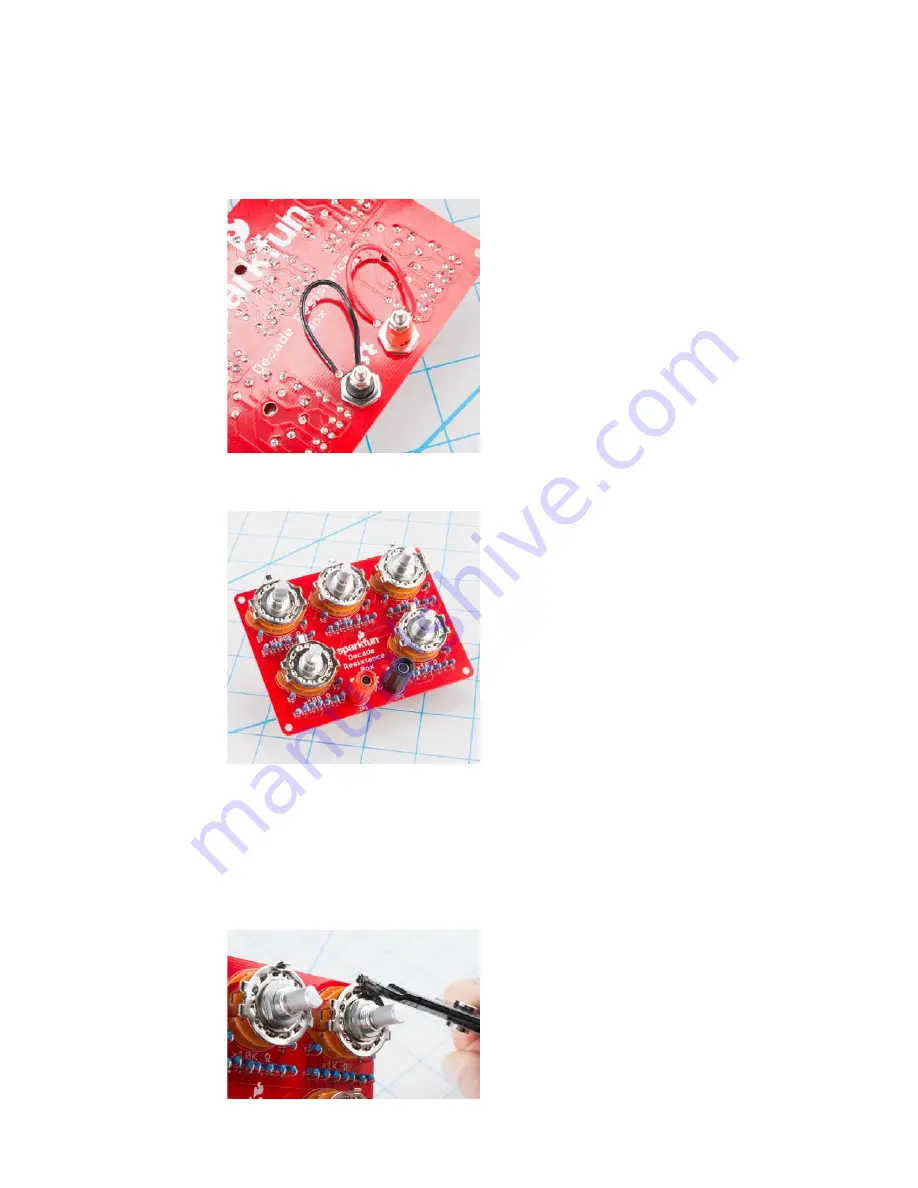
Loop the curl around the metal end of the binding post, and tighten the
small nut to hold it in place. This is much easier to do if the curl points in the
clockwise direction. Otherwise, tightening the nut will cause the wire to
uncurl and come off the post.
With the wire secured to the post, solder the other end of the wire to the
nearby PCB pad.
With the first jack mounted, repeat this for the other jack.
With all of this complete, your decade box should look like this
Installation In Enclosure
If you have opted to put your kit in an enclosure, the assembly changes a
bit.
First, the rotary switches have an alignment tab that sticks up, and prevents
them from mounting flush behind the panel. With a small pair of pliers,
simply bend the tab so the switch body lies against the backside of the
panel.
Page 8 of 16


