


User Guide
46
feedback. You can adjust the level of the recorded bounce using the LR gain
control - tap the L(left) mix meter in the home screen to quickly access LR gain.
3. Decide which track or tracks you want to bounce from. Let’s call these the
source tracks.
4. Mute all tracks except the source and destination tracks.
5. Disarm all tracks except for the destination tracks.
6. Set the source track levels, pans, reverb and air effects as required. Effects
are burned in to the destination track(s).
7. You are now ready to bounce.
8. Manually start recording or use auto-punch to begin bouncing from the
required location. As with normal recording, bouncing is a real-time process
where you can dynamically adjust the source track levels, pans, and effects.
9. Press stop to finish the bounce at any time.
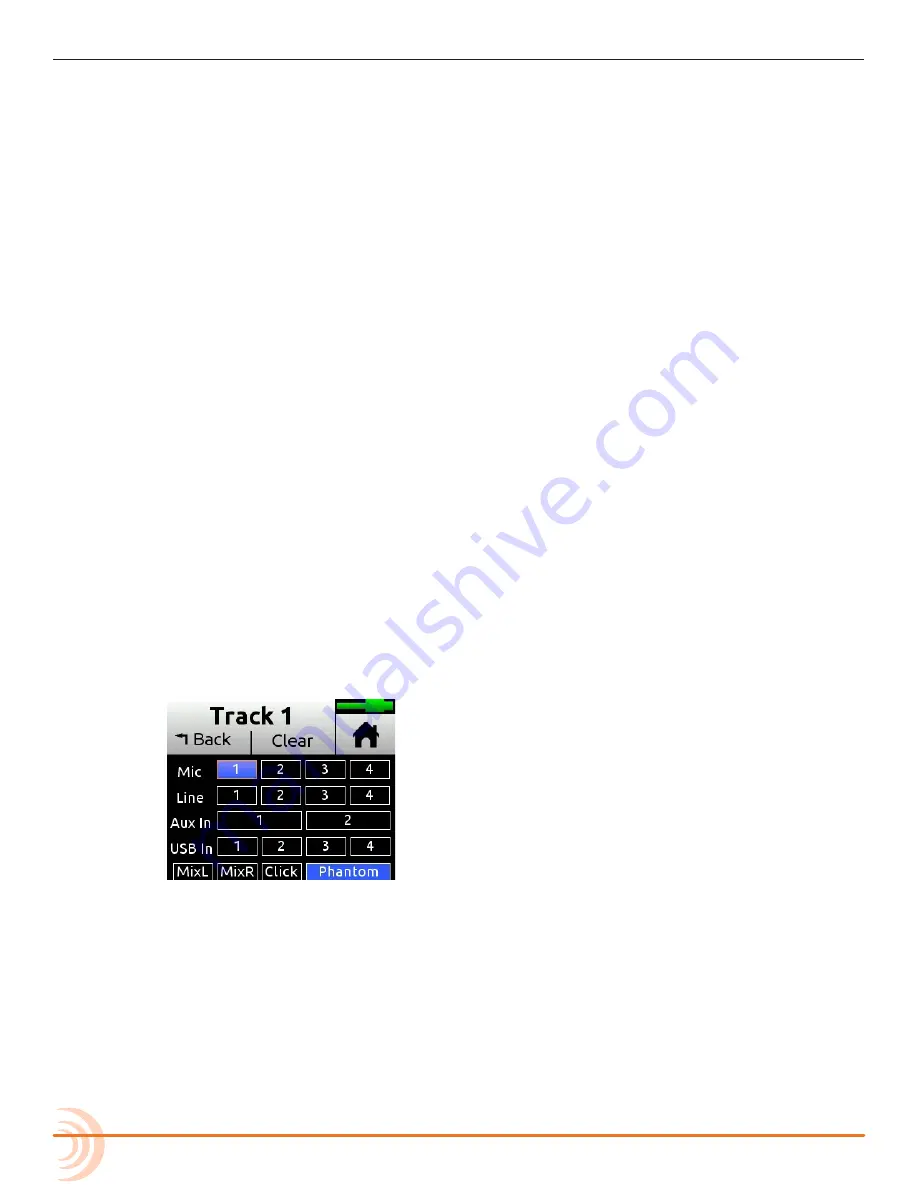
10. Disarm and unroute MixL and MixR from the destination tracks.
11. To hear your bounce, start playback from roughly where the bounce started.
Adjust mix level, pan, reverb and air accordingly.
You may want to mute or clear the original source tracks so that you can hear
your bounce in isolation.
To clear a track:
1. Access its Channel screen.
2. Tap Input, and then tap Clear.
Clear is only displayed if the track contains audio.
⚠
Clearing tracks removes them from the project entirely. The files still
exist, but they can only be accessed from a computer.
3. Tap Yes to confirm removal of track audio from the project.
Summary of Contents for MixPre-6M
Page 1: ... MixPre 6M Multitrack Recorder USB Audio Interface User Guide ...
Page 20: ...User Guide 20 ...
Page 38: ...User Guide 38 ...
Page 49: ...49 RECORDING AND PLAYBACK ...
Page 50: ...User Guide 50 ...
Page 54: ...User Guide 54 ...
Page 62: ...User Guide 64 ...
Page 72: ...User Guide 74 ...
Page 76: ...User Guide 76 ...
Page 80: ......