41
E
igh
t Bas
ic
Op
erat
ions
—
Ge
tt
in
g to Kno
w You
r
D
V
D
Re
cor
der
1
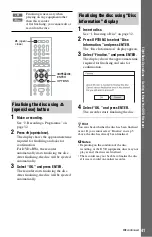
Make a recording.
See “2. Recording a Programme” on
page 32.
2
Press
Z
(open/close).
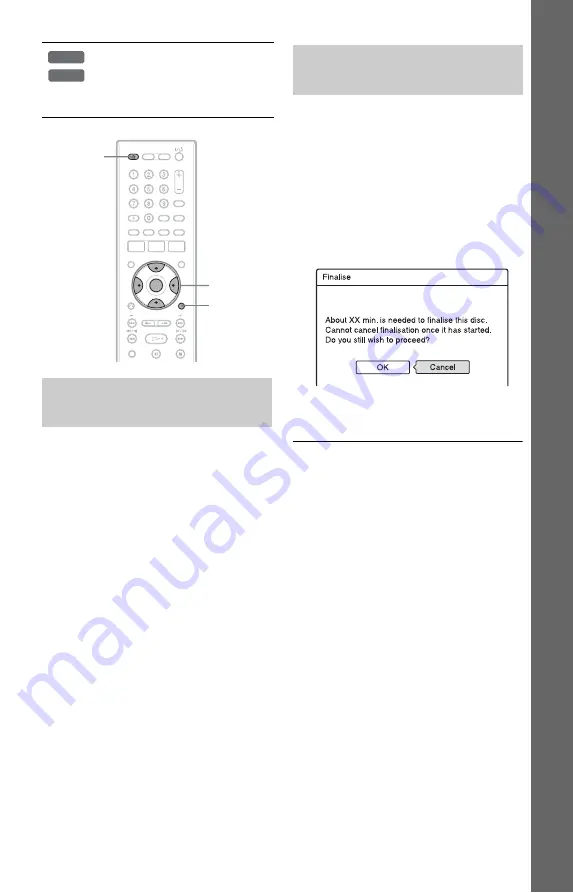
The display shows the approximate time
required for finalising and asks for
confirmation.
For DVD+RWs, the recorder
automatically starts finalising the disc.
After finalising, the disc will be ejected
automatically.
3
Select “OK,” and press ENTER.
The recorder starts finalising the disc.
After finalising, the disc will be ejected
automatically.
1
Insert a disc.
See “1. Inserting a Disc” on page 32.
2
Press OPTIONS to select “Disc
Information,” and press ENTER.
The “Disc Information” display appears.
3
Select “Finalise,” and press ENTER.
The display shows the approximate time
required for finalising and asks for
confirmation.
4
Select “OK,” and press ENTER.
The recorder starts finalising the disc.
z
Hint
You can check whether the disc has been finalised
or not. If you cannot select “Finalise” in step 3
above, the disc has already been finalised.
b
Notes
• Depending on the condition of the disc,
recording, or the DVD equipment, discs may not
play even if the discs are finalised.
• The recorder may not be able to finalise the disc
if it was recorded on another recorder.
Finalising is necessary when
playing on any equipment other
than this recorder.
After finalising, you cannot edit or
record on the disc.
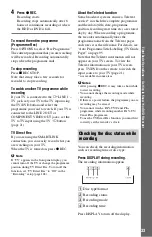
Finalising the disc using
Z
(open/close) button
+
R
-R
Video
OPTIONS
<
/
M
/
m
/
,
,
ENTER
Z
(open/
close)
Finalising the disc using “Disc
Information” display
,
continued


