Initial Settings
66
3
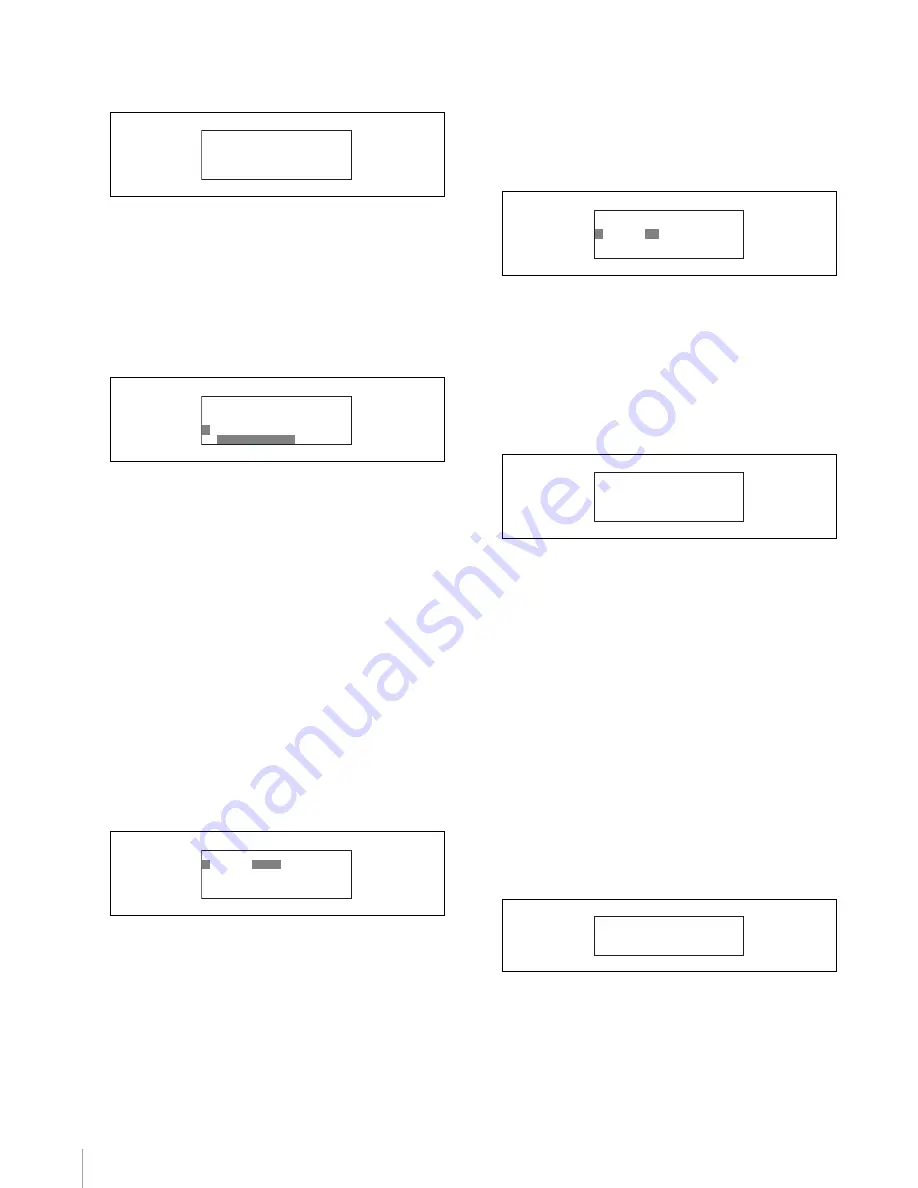
Turn the right adjustment knob to move the cursor to
TIME ZONE.
4
Set the time zone.
1
Press ENTER button to enable configuration.
The cursor appears as “?” and the selected time
zone flashes.
2
Turn the right adjustment knob to change the time
zone, and press ENTER button.
The time zone is set.
5
Set the date.
1
Turn the right adjustment knob to move the cursor
to DATE.
2
Press ENTER button to enable configuration.
The cursor appears as “?” and the year setting
flashes.
3
Turn the right adjustment knob to change the year
setting, and press ENTER button.
The month setting flashes.
4
Turn the right adjustment knob to change the
month setting, and press ENTER button.
The day setting flashes.
5
Turn the right adjustment knob to change the day
setting, and press ENTER button.
The date is set.
6
Set the time.
1
Turn the right adjustment knob to move the cursor
to TIME.
2
Press ENTER button to enable configuration.
The cursor appears as “?” and the hour setting
flashes.
3
Turn the right adjustment knob to change the hour
setting, and press ENTER button.
The minute setting flashes.
4
Turn the right adjustment knob to change the
minute setting, and press ENTER button.
The time is set.
7
Save the date and time settings.
1
Turn the right adjustment knob to move the cursor
to SET in the upper right of the screen.
2
Press ENTER button to enable configuration.
The cursor appears as “?.”
3
Press ENTER button again to save the settings.
8
Press CLEAR button.
The first screen of the RCP configuration menu
reappears.
To change the shutter display to an angle
value
You can change settings on the RCP-920/921 to change
the Step Shutter display to an angle value.
1
Move the cursor to SETTING in the RCP
configuration menu, and press ENTER button.
The settings and adjustment screens appear.
2
Use the
v
and
V
buttons to move through the settings
and adjustment screens, and display the <Shutter
Display> page.
3
Change the shutter display setting.
1
Press ENTER button to enable configuration.
The cursor appears as “?” and the setting flashes.
ᴹᵁᴾᵑᵂ ¯ ᵑᵆᵊᵂᴻǽǽǽǽǽǽǽᵐᵂᵑ
ǽǽᵁᴾᵑᵂǽᴯᴭᴭᴵ ¯ ǽᴯ ¯ ᴯᴮ
ǽǽᵑᵆᵊᵂǽᴮᴯᴷᴮᴮ
ᴻǽᵑᵆᵊᵂǽᵗᵌᵋᵂ
ǽǽ ¨ ᵄᵊᵑ © ᵉᵬᵫᵡᵬᵫ
ᴹᵁᴾᵑᵂ ¯ ᵑᵆᵊᵂᴻǽǽǽǽǽǽǽᵐᵂᵑ
ǽǽᵁᴾᵑᵂǽᴯᴭᴭᴵ ¯ ǽᴯ ¯ ᴯᴮ
ǽǽᵑᵆᵊᵂǽᴮᴯᴷᴮᴮ
ᴼ
ǽᵑᵆᵊᵂǽᵗᵌᵋᵂ
ǽǽ
¨ ᵄᵊᵑ © ᵉᵬᵫᵡᵬᵫ
ᴹᵁᴾᵑᵂ ¯ ᵑᵆᵊᵂᴻǽǽǽǽǽǽǽᵐᵂᵑ
ᴼ
ǽᵁᴾᵑᵂǽ
ᴯᴭᴭᴵ
¯ ǽᴯ ¯ ᴯᴮ
ǽǽᵑᵆᵊᵂǽᴮᴯᴷᴮᴮ
ǽ
ǽᵑᵆᵊᵂǽᵗᵌᵋᵂ
ǽǽ ¨ ᵄᵊᵑ © ᵉᵬᵫᵡᵬᵫ
ᴹᵁᴾᵑᵂ ¯ ᵑᵆᵊᵂᴻǽǽǽǽǽǽǽᵐᵂᵑ
ǽ
ǽᵁᴾᵑᵂǽᴯᴭᴭᴵ ¯ ǽᴯ ¯ ᴯᴮ
ᴼ
ǽᵑᵆᵊᵂǽ
ᴮᴯ
ᴷᴮᴮ
ǽ
ǽᵑᵆᵊᵂǽᵗᵌᵋᵂ
ǽǽ ¨ ᵄᵊᵑ © ᵉᵬᵫᵡᵬᵫ
ᴹᵁᴾᵑᵂ ¯ ᵑᵆᵊᵂᴻǽǽǽǽǽǽᴻᵐᵂᵑ
ǽǽᵁᴾᵑᵂǽᴯᴭᴭᴵ ¯ ǽᴯ ¯ ᴯᴮ
ǽǽᵑᵆᵊᵂǽᴮᴯᴷᴮᴮ
ǽǽᵑᵆᵊᵂǽᵗᵌᵋᵂ
ǽǽ ¨ ᵄᵊᵑ © ᵉᵬᵫᵡᵬᵫ
ᴹᵐᵥᵲᵱᵱᵢᵯǽᵁᵦᵰᵭᵩᵞᵶᴻ
ᴻᴾᵫᵤᵩᵢᴷǽᵌᵃᵃ
Summary of Contents for RCP-750
Page 43: ......
Page 75: ...Printed in Japan Sony Corporation ...
Page 88: ...12 E Mounting on a Console The RCP 750 751 can be mounted on a console as shown below ...
Page 146: ...Specifications 77 ...
Page 147: ...Specifications 78 ...


