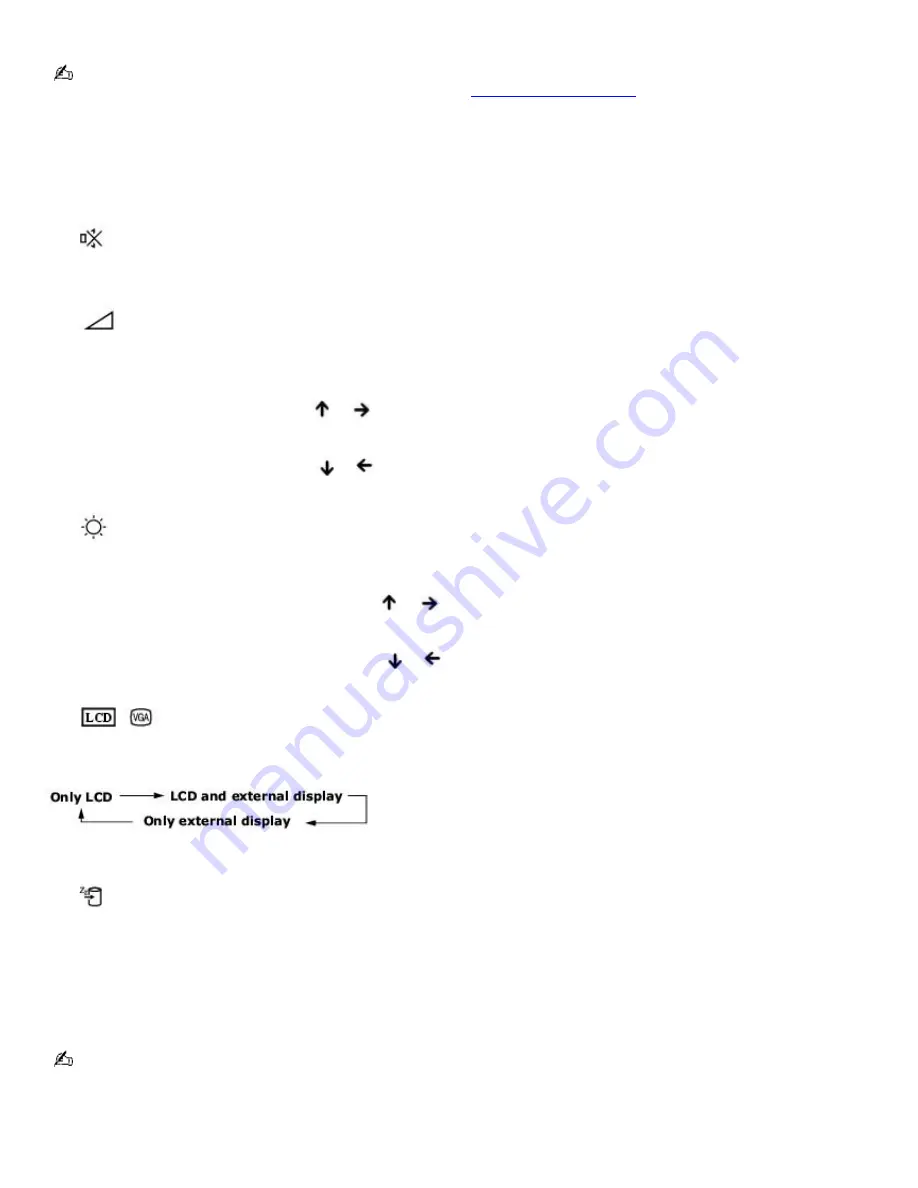
Combinations and functions with the Fn key
If you switch user identities during a computing session, the Fn+F7 key functionality (if available on your computer) will
be interrupted. To switch to an external display or monitor, see
Selecting a Display Mode
for more information.
Combinations/
Feature
Function
Fn +
(F3)
Mute On/Off
Toggles the built-in speaker off and on.
Fn +
(F4)
Speaker volume
Adjusts the built-in speaker volume. An on-screen display appears notifying you when a change
occurs.
To increase volume, press
Fn
+
F4
, then
or
.
To decrease volume, press
Fn
+
F4
, then
or
.
Fn +
(F5)
Brightness control
Adjusts the brightness of the computer screen (LCD).
To increase light intensity, press
Fn
+
F5
and then
or
.
To decrease light intensity, press
Fn
+
F5
and then
or
.
Fn +
/
(F7)
Switch to the external monitor/LCD
Toggles between the computer screen (LCD), a connected external display, and both
the LCD and external display.
Select one display at a time to playback DVDs. Connect the cable before you turn on the computer, otherwise Fn+F7 will not
work.
Fn +
(F12)
Hibernate
Provides for the lowest level of power consumption. When you run this command, the state of the
system and state of the peripheral devices are written to the hard disk and the system power is turned off. To return the
system to its original state, use the power button to turn on power.
Fn + Esc
Standby
Puts the system into Standby mode, a power management state. To return the system to the active
state, press any key or press the power button.
Fn + B
Bass Boost
Toggles the bass-boost function off and on. This feature is available only while using headphones.
You can also carry out these functions using the Jog Dial Control. Some functions are not available until the Microsoft
®
Windows
®
operating system launches.
Page 62
Summary of Contents for PCG-R505DC VAIO
Page 44: ...4 Lift the disc from the drive 5 Push the drive tray gently to close it Page 44 ...
Page 52: ...Printer Connections Printing With Your Computer Page 52 ...
Page 84: ...Connecting Mice and Keyboards Using External Mice and Keyboards Page 84 ...
Page 89: ...Floppy Disk Drives and PC Cards Using Floppy Disk Drives Using PC Cards Page 89 ...
Page 97: ...Docking Stations Connecting the Docking Station Page 97 ...
Page 100: ...2 Optical drive 5 Right lever 3 UNDOCK switch Page 100 ...
Page 140: ...Memory Upgrades Upgrading Your Computer s Memory Page 140 ...
Page 147: ...Using the Recovery CDs Application and System Recovery CDs Using Your Recovery CDs Page 147 ...


