80
Menu Organization and Operation
Chap
te
r 5
Men
u
Dis
p
la
ys
a
nd Det
a
iled
S
e
ttin
gs
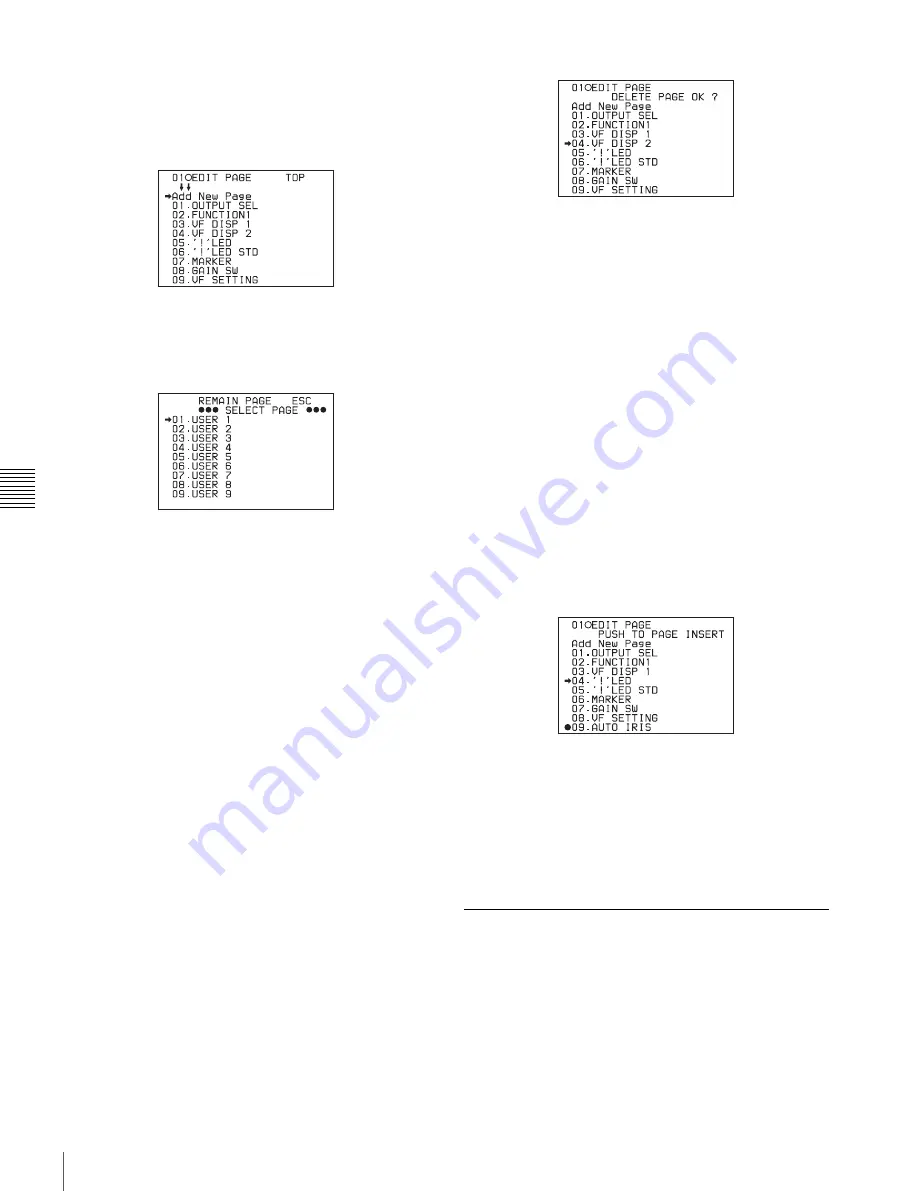
To add a page
1
Follow steps
1
,
2
, and
3
in
to display the EDIT PAGE page of the USER
MENU CUSTOMIZE menu.
2
Turn the MENU knob to move the
b
mark to Add New
Page, then push the MENU knob.
The selection screen appears.
3
Turn the MENU knob to move the
b
mark to the
desired page, then push the MENU knob.
The selected page is added to the last page of the
USER menu.
To cancel adding a page
Before pressing the MENU knob in step
3
, turn the MENU
knob to move the
b
mark to ESC at the top right of the
screen, then push the MENU knob.
The EDIT PAGE screen appears again.
To delete a page
1
Follow steps
1
,
2
, and
3
in
to display the EDIT PAGE page of the USER
MENU CUSTOMIZE menu.
2
Turn the MENU knob to move the
b
mark to the page
to be deleted.
3
Push the CANCEL/PRST / ESCAPE switch to
CANCEL/PRST.
The message “DELETE PAGE OK?” appears.
4
Push the CANCEL/PRST / ESCAPE switch to
CANCEL/PRST again.
In the above example, the VF DISP 2 page will be
deleted.
To change the order of pages
1
Follow steps
1
,
2
, and
3
to display the EDIT PAGE page of the USER
MENU CUSTOMIZE menu.
2
Turn the MENU knob to move the
b
mark to the page
that you want to move.
The
b
mark changes to a
z
mark.
The message “PUSH TO PAGE INSERT” appears at
the right top of the screen.
3
Turn the MENU knob to move the
b
mark to the
position where you want to move the page selected in
step
1
.
4
Push the MENU knob.
The page selected in step
2
is moved to the position
selected in step
3
.
In the above example, AUTO IRIS will be moved to
the 04 position and the ‘!’ LED and following items
will be moved down one line.
5-1-4 Adding Functions to be
Assigned to Assignable Switches
You can add items to be assigned to assignable switches
using the ASSIGN EDIT page of the USER MENU
CUSTOMIZE menu.
1
Follow steps
1
,
2
, and
3
to display the ASSIGN EDIT window of the
USER MENU CUSTOMIZE menu.


