102
Adjustments and Settings from Menus
Chap
te
r 5
Men
u
Dis
p
la
ys
a
nd Det
a
iled
S
e
ttin
gs
ORGANIZATION (organization code)
When you select this item, the character table appears.
Enter an abbreviated 4-byte alphanumeric string for the
organization code.
There are no problems in recording or playing back audio-
video signals, if ORGANIZATION is not set.
Organization codes must be acquired by applying to the
SMPTE registration office. If no organization code has
been acquired, it is forbidden to enter an arbitrary string. In
this case, a rule, the code “00” must be entered. Freelance
operators who do not belong to an organization should
enter “~.”
USER CODE
When you select this item, the USER CODE window
appears.
Enter the 4-byte alphanumeric strings for user
identification.
The user code is registered with each organization locally.
It is usually not centrally registered.
When the user code is less than 4 bytes, enter the user code
from the beginning of the 4 bytes and enter the space
character (20h) in the remaining strings.
This user code is determined by the organization. The
methods used depend on the organization.
User bits cannot be entered when no organization code has
been entered.
INSTANCE NO.
Select the method for generating the numbers to be used to
identify original video images.
RND:
Random
GEN:
Generation (number of times of copy)
Ask the system administrator for advice.
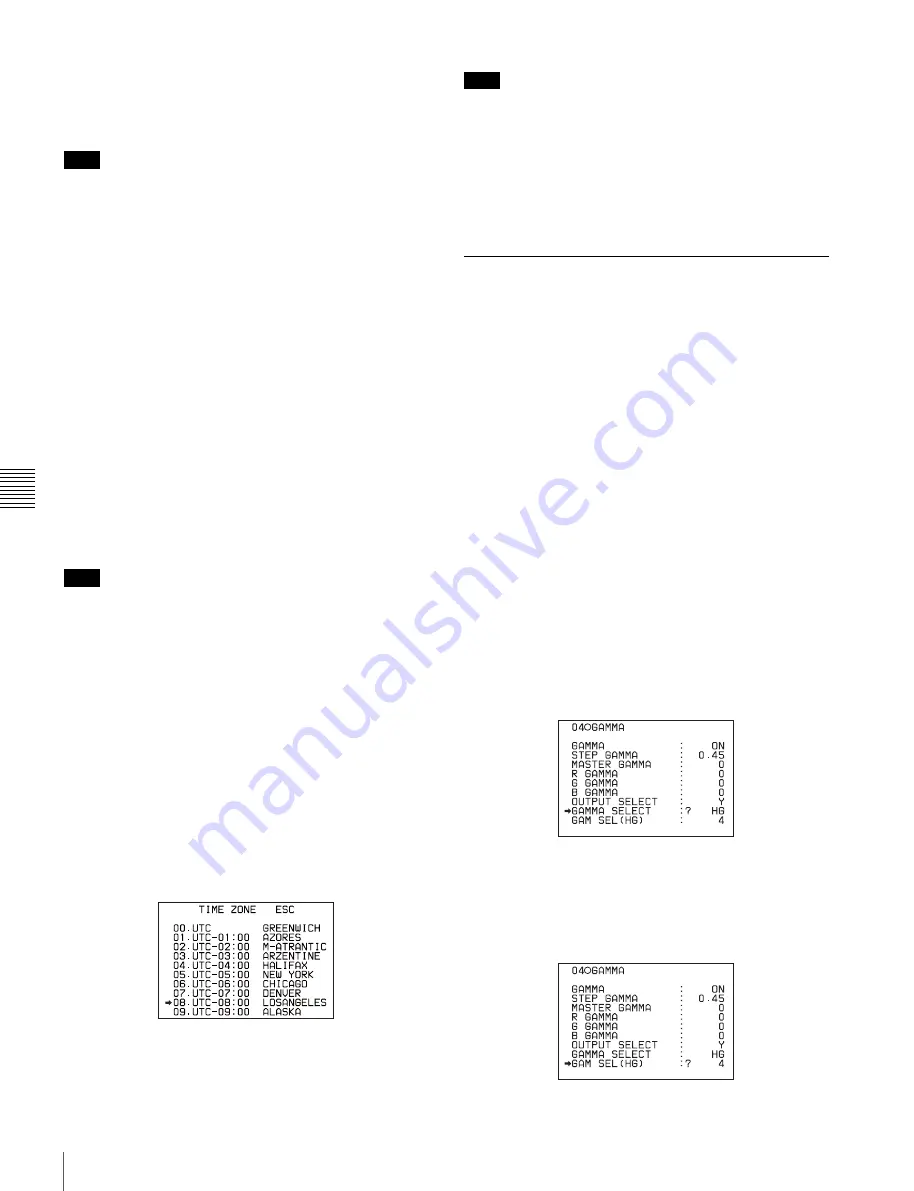
TIME ZONE
When you select this item, the TIME ZONE window
appears.
The UTC is calculated based on the local time, using the
time zone. If the time zone is not set properly, the UTC will
not be recorded correctly.
Set the time difference from UTC. When setting summer
time or daylight savings time, change the code to one
which will advance the time by 1 hour.
When you change the time zone, adjust the built-in clock
to local time and turn the power of the camcorder off and
then on again.
MACHINE
An identification number specific to the machine is
displayed. This number cannot be set or modified by users.
5-3-9 Using the Hyper Gamma
The Hyper Gamma is a new set of transfer functions
designed to be easy to use as previous gamma curve
functions and to realize a natural tone in high contrast
scenes by taking full advantage of the capacity and wide
dynamic range of the Power Had CCD sensor.
1
Follow steps
1
,
2
, and
3
Temperature Manually” on page 95
GAMMA page of the PAINT menu, and then push the
MENU knob.
2
Turn the MENU knob to move the
b
mark to
GAMMA SELECT, then push the MENU knob.
The
b
mark on the left of GAMMA SELECT changes
to a
z
mark and the
z
mark on the left of the setting
changes to a ? mark.
3
Turn the MENU knob until HG appears, then push the
MENU knob.
As you turn the MENU knob, the type of gamma table
changes in the following sequence: STD
y
HG.
4
Turn the MENU knob to move the
b
mark to GAM
SEL (HG), then push the MENU knob.
5
Turn the MENU knob to select the hyper gamma table
most suitable to the shooting conditions and purpose.
Note
Note
Note


