Preparing to use the unit
22
DTP-T2000A 4-121-350-
11(1)
Setting up
Setting up
3
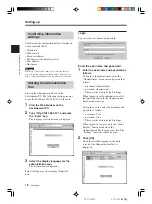
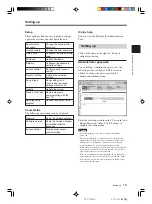
Verify the contents of the files, and
click “Setting”.
The installation will begin.
If the contents are incorrect, click “Back” to
make corrections.
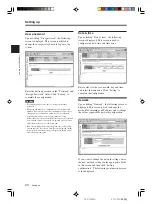
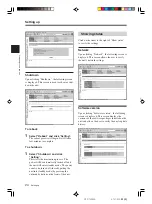
Reset of setting
Upon clicking “Reset of setting”, the following
screen is displayed. This screen is used to restore
the factory default network settings and
administrator password.
Select the setting(s) to be initialized and click
“Setting confirmation” to complete initialization.
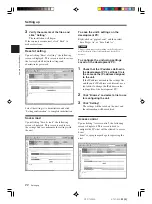
Save & load
Upon clicking “Save & load”, the following
screen is displayed. This screen is used to save
the settings and to synchronize the settings with
the unit.
To save the unit’s settings on the
development PC:
Right-click on “psptool.conf” and then select
“Save Target As” or “Save Link As”.
Caution
This procedure may vary depending on the Web browser
used. For details, refer to the instructions for the Web
browser.
To configure the unit using settings
saved on the development PC:
1
Check that the IP address defined in
the development PC’s settings file is
the same as the IP address assigned
to the unit.
If the IP address defined in the settings file
and the unit’s IP address are different, use a
text editor to change the IP address in the
settings file of the development PC.
2
Click “Browse” and select a file to use
for configuring
the
unit.
3
Click “Setting”.
The settings will be saved on the unit, and
the information will be modified.
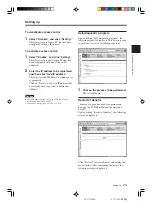
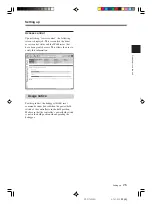
Access control
Upon clicking “Access control”, the following
screen is displayed. This screen is used to
configure the PCs that will be allowed to access
dsnet.
“dsnet” is a program package for operating the
unit.


