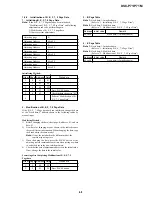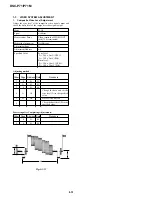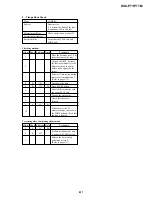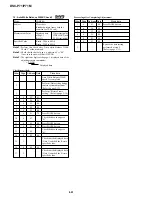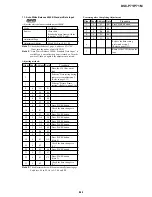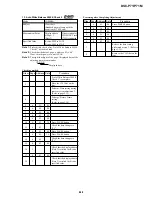
5-15
DSC-P71/P71M
1.
Flange Back Adjustment
(Using the minipattern box)
The inner focus lens flange back adjustment is carried out auto-
matically. In whichever case, the focus will be deviated during
auto focusing/manual focusing.
Mode
CAMERA
Subject
Siemens star chart with ND filter
for minipattern box (Note 1)
Measurement Point
Check operation on monitor TV
Measuring Instrument
Adjustment Page
F
Adjustment Address
18 to 3E, 52, 53
Note 1:
Dark Siemens star chart.
Note 2:
Check that the data of page: 6, address: 02 is “00”.
If not, turn the power of unit OFF/ON.
Preparations before adjustments:
1) The minipattern box is installed as shown in the following fig-
ure.
Note 3:
The attachment lenses are not used.
2) Install the minipattern box so that the distance between it and
the front of lens of camera is less than 3 cm.
3) Make the height of minipattern box and the camera equal.
4) Check the output voltage of the regulated power supply is the
specified voltage
±
0.01 Vdc.
5) Check that the center of Siemens star chart meets the center of
shot image screen with the zoom lens at TELE end and WIDE
end respectively.
Specified voltage: The specified voltage varies according to the
minipattern box, so adjustment the power sup-
ply output voltage to the specified voltage writ-
ten on the sheet which is supplied with the mini-
pattern box.
Minipattern box
Below 3 cm
Camera
Camera
table
Red (+)
Black (–)
Yellow (SENS +)
White (SENS –)
Black (GND)
Need not connected
Regulated power supply
Output voltage : Specified voltage
±
0.01 Vdc
Output current : more than 3.5 A
Fig. 5-1-15
Adjusting method:
Order Page Address Data
Procedure
1
Perform “Data setting during
camera system adjustment”.
(Refer to page 5-13)
2
6
01
13
Press PAUSE button.
3
6
01
27
Press PAUSE button.
(Note 4)
4
6
02
Check the data changes to
“01”.
5
F
3E
Check the data.
00: Normal
01 to FF: Defective
6
F
24
Check the data.
0A to 7F: Normal
00 to 09,
80 to FF: Defective
Note 4:
The adjustment data will be automatically input to page:
F, address: 18 to 3E, 52 and 53.
Processing after Completing Adjustment:
Order Page Address Data
Procedure
1
6
01
00
Press PAUSE button.
2
Release the data setting
performed at step 1.
(Refer to page 5-13)
3
Perform “Flange Back
Check”.
RadarW
RadarW
RadarW


