8
GB
6
Select “OK” then press
.
Make sure that the antenna is connected.
The unit starts searching for all available
digital channels, followed by all available
analogue channels. This may take some
time, so do not press any buttons on the
unit or remote while proceeding.
7
If you want to change the order of
analogue channels, follow the steps of
“Programme Sorting” (page 34).
If your unit cannot receive digital
broadcasts, the “Clock Set” menu appears
on the screen (page 30).
8
Press to
G
/
g
to select “Yes” to enable
control for compatible HDMI equipment
when using the control for HDMI function
(page 28).
9
Press
G
/
g
to select “Yes” to display this
menu again next time, otherwise select
“No”.
The unit has now tuned in all the available
channels.
6: Operating optional
equipment using the remote
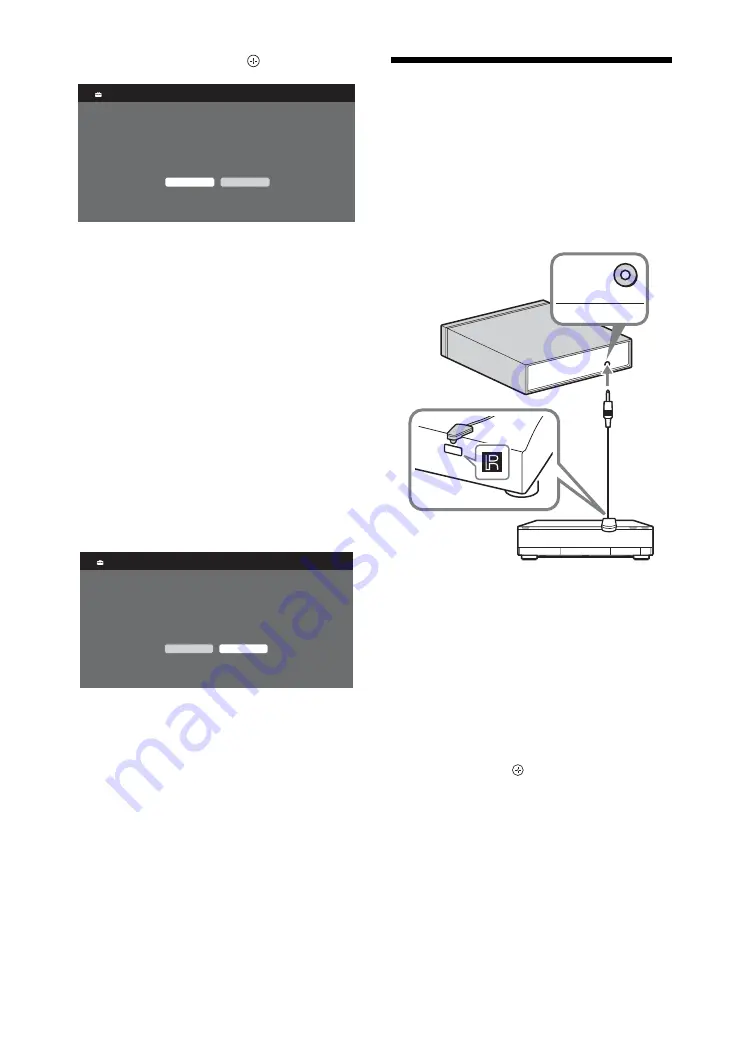
Connecting IR Blaster to the optional
equipment
Turn the power of the media receiver off
before connecting the IR Blaster.
Attach the IR Blaster near the remote sensor
(IR) of the equipment.
Performing the IR Blaster Set-up
By setting “IR Blaster Set-up”, this remote can
control most Sony Blu-ray Disc players, DVD
players, DVD recorders, and AV receivers.
Follow the steps below to programme the
remote.
1
Press
HOME
on the remote.
2
Press
G
/
g
to select “Settings”.
3
Press
F
/
f
to select “Media Receiver Set-
up”, then press .
Auto Tuning
OK
Cancel
Do you want to start Auto Tuning?
Control for HDMI
Ye
s
No
Do you want to enable control for compatible
HDMI device
s?
Choo
s
in
g
"Ye
s
" will increa
s
e
s
tandby power con
s
umption.
IR BLASTER
IR
Blaster
Media receiver
Optional equipment


