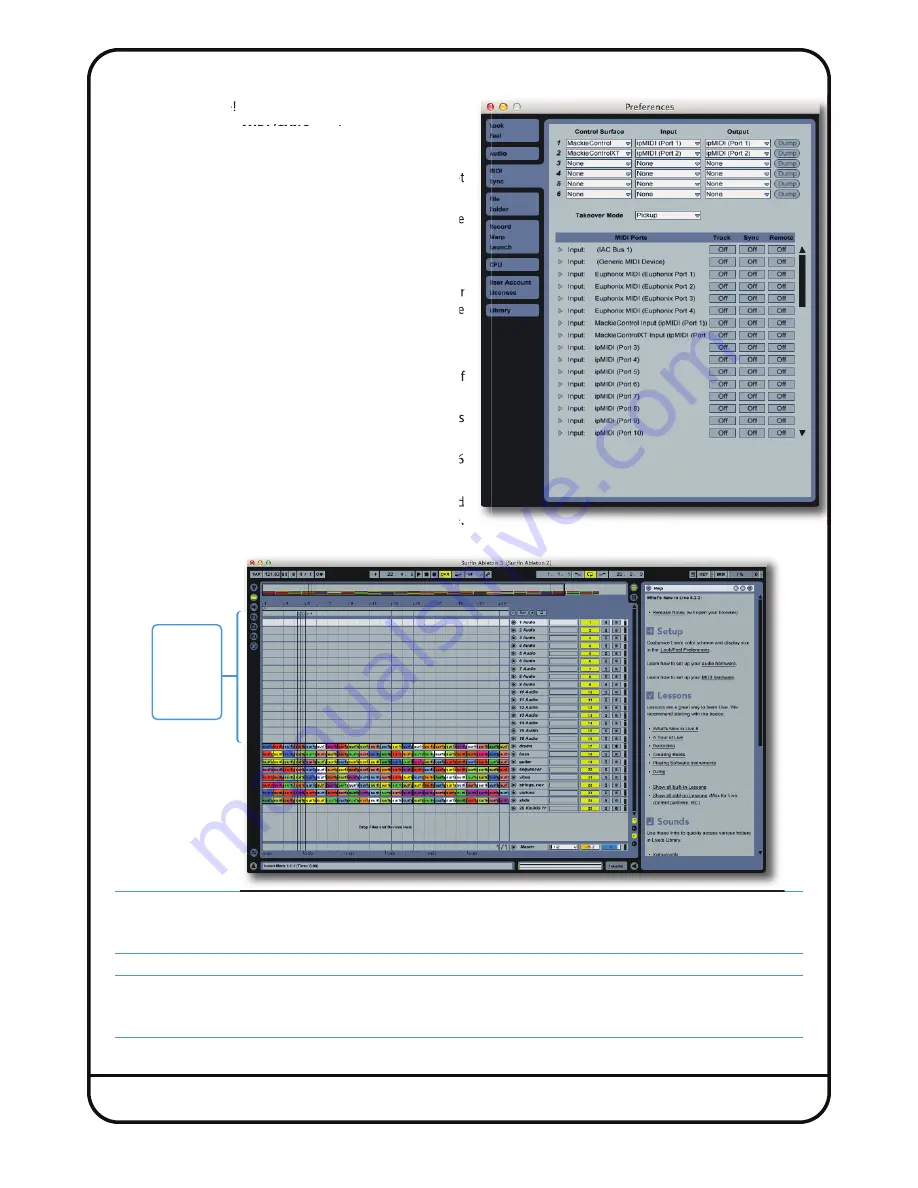
Ableton Live! Settings
1. Open Ableton Live!
2. Go to
Preferences
>
mIDI/SYNC
section.
3. Set the first
Control Surface
.
4. Click the ‘
+
’ button to add in a second
mackie Control
. Set
the
mIDI Input
and
mIDI output Ports
to
ipmIDI Port 1
.
5. Click the ‘
+
’ button to add in a
mackie Control XT
. Set the
Input
and
output Ports
to
ipmIDI Port 2
.
Ableton Live! Session Setup
The final step is to create 16 new tracks which will be our
dedicated fader controls for each of Sigma’s analogue
channels.
1. Go to
Create
and
Insert Audio Track
.
2. Create 16 new blank
Audio Tracks
(it does not matter if
they are mono or stereo)
3. Make sure that these 16 audio tracks are positioned as
the first 16 tracks of the session
Any volume automation data or fader movements on these 16
tracks will control the analogue gains of Sigma.
4. Your existing tracks with audio recorded to them should
be routed out of different outputs on your audio interface,
which will then feed the appropriate Sigma inputs channels (just like you would do with any normal summing unit).
Notes:
These 16 audio tracks must be positioned as the first 16 in the session, as the HUI/MCU protocols dictate this.
Pan information is not read, you must set the pan in the
CHANNELS
page of Sigma browser.
Tip: You probably want to rename these Audio Tracks to meaningful names such as ‘KICK’ instead of Audio1. Once
you have done this in the DAW, go to the
CHANNELS
page in the web browser and click the
DAW
>
NAMES
button in
the global menu. This will copy across the names of the 16 tracks.
Control
tracks
must be
Tracks 1-16
in the
session.
Page 62


