


26
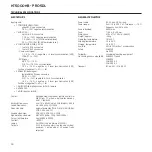
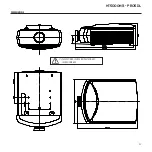
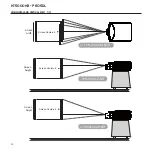
ht5000HB - pro5dl
The following image parameters can be saved/recalled by the
Memory Management system:
image
Picture
BRIGHTNESS
ASPECT
CONTRAST
COLOUR TEMPERATURE
COLOUR
OVERSCAN
TINT
GAMMA
SHARPNESS
FILTER
NOISE REDUCTION
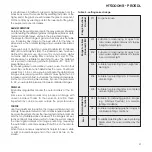
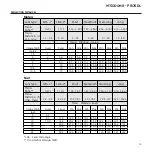
Some of these parameters may not be available for certain
inputs or certain input signals, as indicated in Tables 4 and 5.
The Memory Management function menu page is activated
by pressing the key on the remote control.
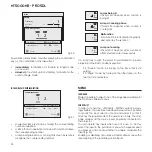
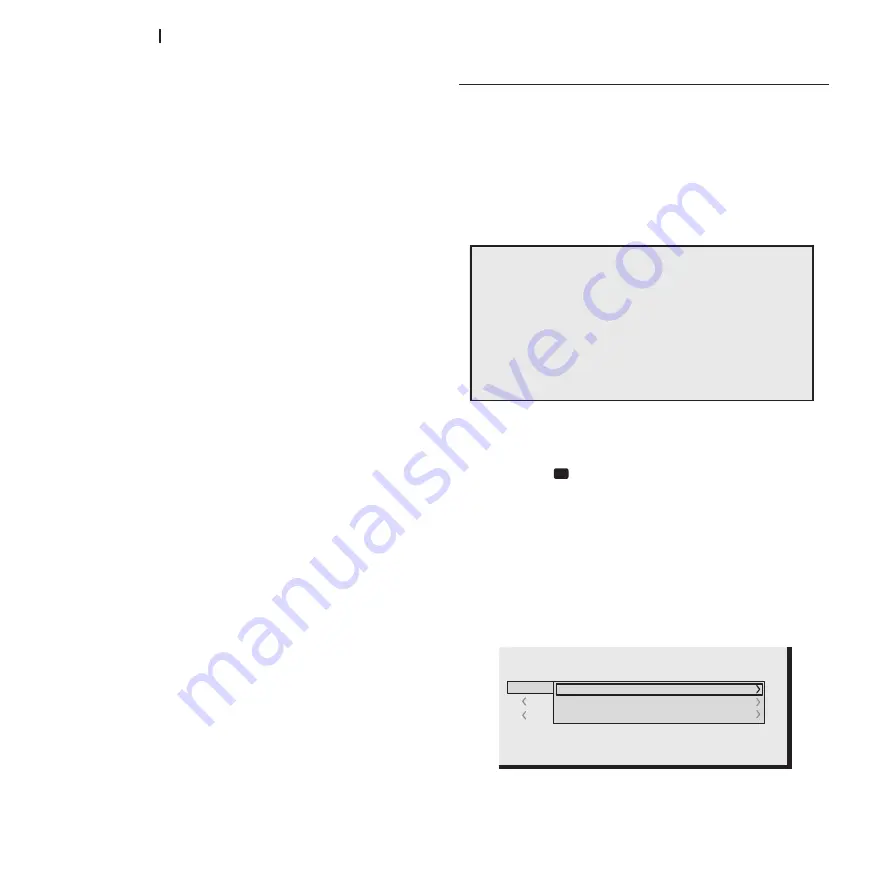
Saving a memory
To save the current image settings in Memory 1, move the cur-
sor to line 1 using the
▼
and
▲
keys and open the drop-down
menu by pressing the
◀
key (fig. 35). Select the “Save initial
settings” line. The message, “Initial settings saving in Memory
1” will be shown at the bottom of the display to confirm that
the operation has been completed. Repeat the operation to
save other image settings in new memories.
Fig.35
Enlargement
Activates the electronic zoom, the keys
◀
and
▶
zoom in on
the image. If you press the key again you will enter PAN mode
in which the
◀
and
▶
,
▼
and
▲
keys enable you to pan over
the enlarged image. When the
▼
key is pressed a third time,
the system resets the projector to original viewing settings.
Blank
Switches off the video signal and displays a blank screen.
As soon as the key is pressed an OSD message lasting a few
seconds confirms that the function has been activated. You
can restore the previous conditions by pressing any key on the
remote control.
gamma correction
Successive pressing of the key in question (F1 or F2) makes it
possible to select any of the available gamma curves.
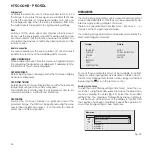
SOURCE iNfORMATiON
When enabled (YES) each time the source is changed informa-
tion regarding the signal type is displayed. If disabled, (NO) no
information on the source is displayed.
OSD BACKgROUND
Determines the type of background for the On Screen Display
opaque or transparent.
OSD DiSPLAY TiMEOUT
Determines the On Screen Display timeout after the last event
(adjustment using remote control or keypad).
The adjustment is made using the
◀
(decrease) and
▶
(in-
crease) keys within a 6-200 second timeframe.
OSD POSiTiON
Positions the On Screen Display in a particular area of the
projected image. The OSD can be positioned using the arrow
keys for fine adjustments or keys 1...9 on the remote control to
select one of 9 default positions.
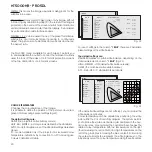
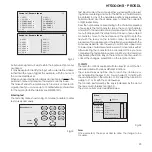
MEMORiES
The main picture parameters can be saved in discrete sets of
values called MEMORIES so that they can be subsequently ap-
plied as a group using a single command.
There are 6 separate Memories (Memory 1, Memory 2.... -6)
for each of the 14 signal types handled.
0 Auto
3
S MEMORIA 1
4
S MEMORY 4
5
S MEMORY 5
6
S MEMORY 6
Memories
Save current setting
Save initial setting
Rename
2
I
1
S