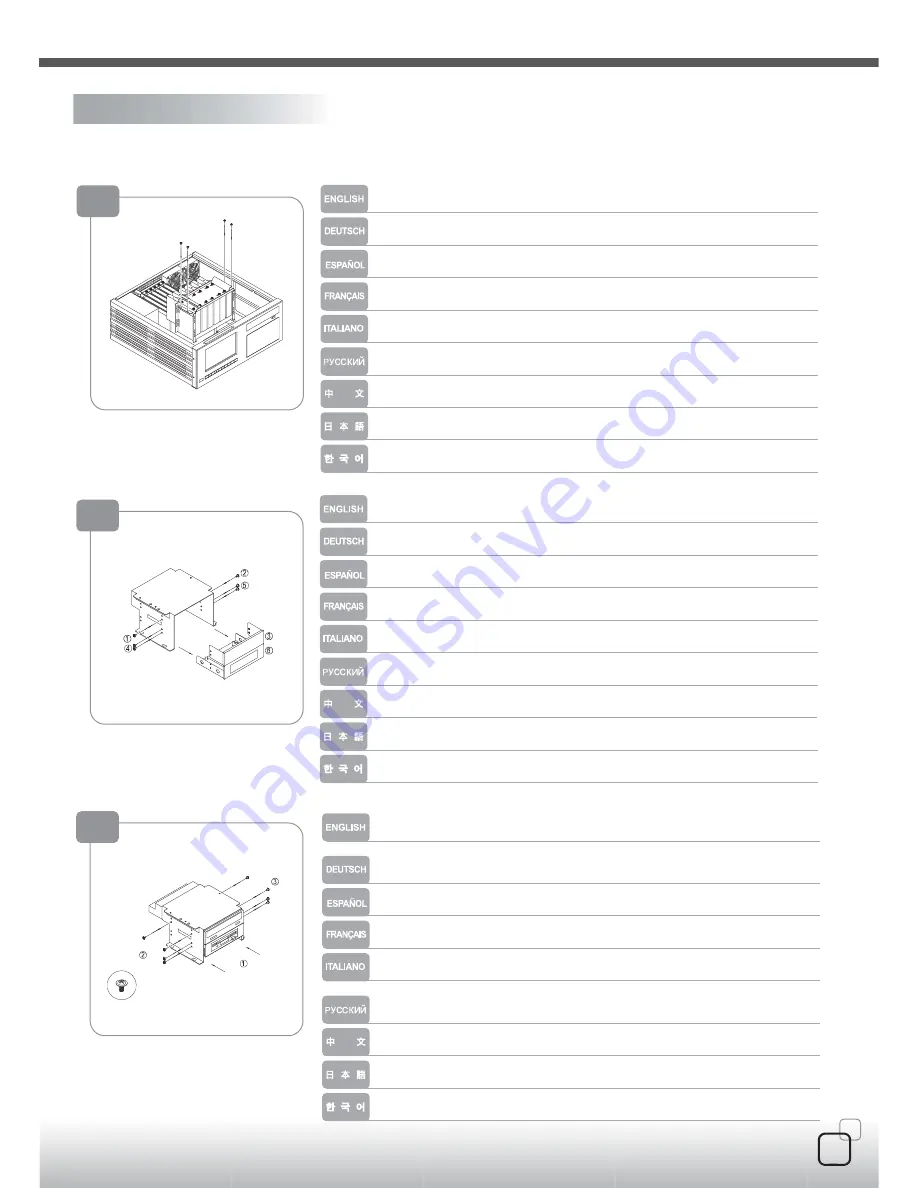
10
Please reinstall the 3.5” hard drive cage and secure it
Reinserte la abrazadera del disco duro en el chasis
Setzen Sie den Festplattenkäfig wieder in das Gehäuse ein
Remettez le casier à disques durs dans le boîtier
Reinserire il supporto dell’hard disk nel chassis
Вставьте
кронштейн
жесткого
диска
обратно
в
корпус
.
ハードディスクドライブブラケットをシャーシに戻します
3.5”
하드드라이브
케이지를
재설치
하고
고정시키십시요
.
請裝回3.5"硬碟架並以螺絲鎖固
請依圖示卸下螺絲後取下擋板與5.25寸轉接架
請將光碟機與轉接架正確地安裝至主光碟機機架後以內附螺絲鎖固
Remove the screws and then remove the panel and 5.25 docking bay as shown.
Destornille los tornillos, saque el panel y la bahía docking de 5.25” como se muestra
Entfernen Sie die Schrauben und dann die Abdeckplatte fuer das 5.25 Anschlussfeld,
wie angezeigt
Retirez les vis et ensuite retirez le panneau et la baie d'accueil 5.25 comme montré.
Svitare le viti, quindi il pannello e l’alloggiamento docking bay da 5.25” come mostrato.
Открутите
шурупы
и
затем
снимите
панель
и
отсек
для
стыковки
на
5,25
дюйма
,
как
показано
на
рисунке
.
図のようにネジを外し、パネルおよび5.25ドッキングベイを取り外します。
나사를
먼저
제거한
후
,
패널을
제거한
다음
5.25”
도킹베이를
그림에서와
같이
제거하십시요
.
11
Place the optical drive and docking bay in correct position of main optical drive
bracket, and then secure with included screws
Coloque el disco óptico y la bahía docking en la posición corecta en la abrazadera
del disco óptico principal y sujetelo con los tornillos.
Plazieren Sie das optische Laufwerk und das Anschlussfeld an der richtigen
Position auf dem optischen Hauptlaufwerkrahmen und befestigen sie mit den
enthaltenen Schrauben.
Mettez le lecteur optique et la baie d'accueil dans la bonne position dans le casier
principal, puis fixez-les avec des vis
Collocare il disco ottico ed il docking bay in posizione corretta nel supporto del
disco ottico principale e fissare con le viti incluse.
Поместите
оптический
диск
и
отсек
для
стыковки
в
предназначенные
для
них
места
кронштейна
главного
оптического
диска
и
закрепите
прилагающимися
шурупами
.
光学ドライブおよびドッキングベイをメイン光学ドライブブラケットの正しい位
置に取り付け、付属のネジで固定します。
광
드라이브와
도킹베이를
메인
광
드라이브
브라켓에
올바르게
위치시키고
동봉된
나사로
고정시키십시요
.
12
08
I
nstallation Guide
Summary of Contents for CW03
Page 2: ...03 Remote control CDs...


