


1
1
0
0
P
P
R
R
I
I
N
N
T
T
I
I
N
N
G
G
A
A
N
N
D
D
S
S
L
L
I
I
D
D
E
E
S
S
H
H
O
O
W
W
Print Size
It is possible to select the number of images to be printed on a single sheet. Print status is displayed on the
right hand side.
For example: In the case of printing on the A3 size sheet
8x10 (2)-A3 (297×420mm)
5x7 (4)-A3 (297×420mm)
SIGMA Photo Pro User Guide
45
4x6 (4)-A3 (297×420mm)
3x5 (9)-A3 (297×420mm)
2x3 (25)-A3 (297×420mm)
1.5x1.5 (54)-A3 (297×420mm)
Fit to paper size
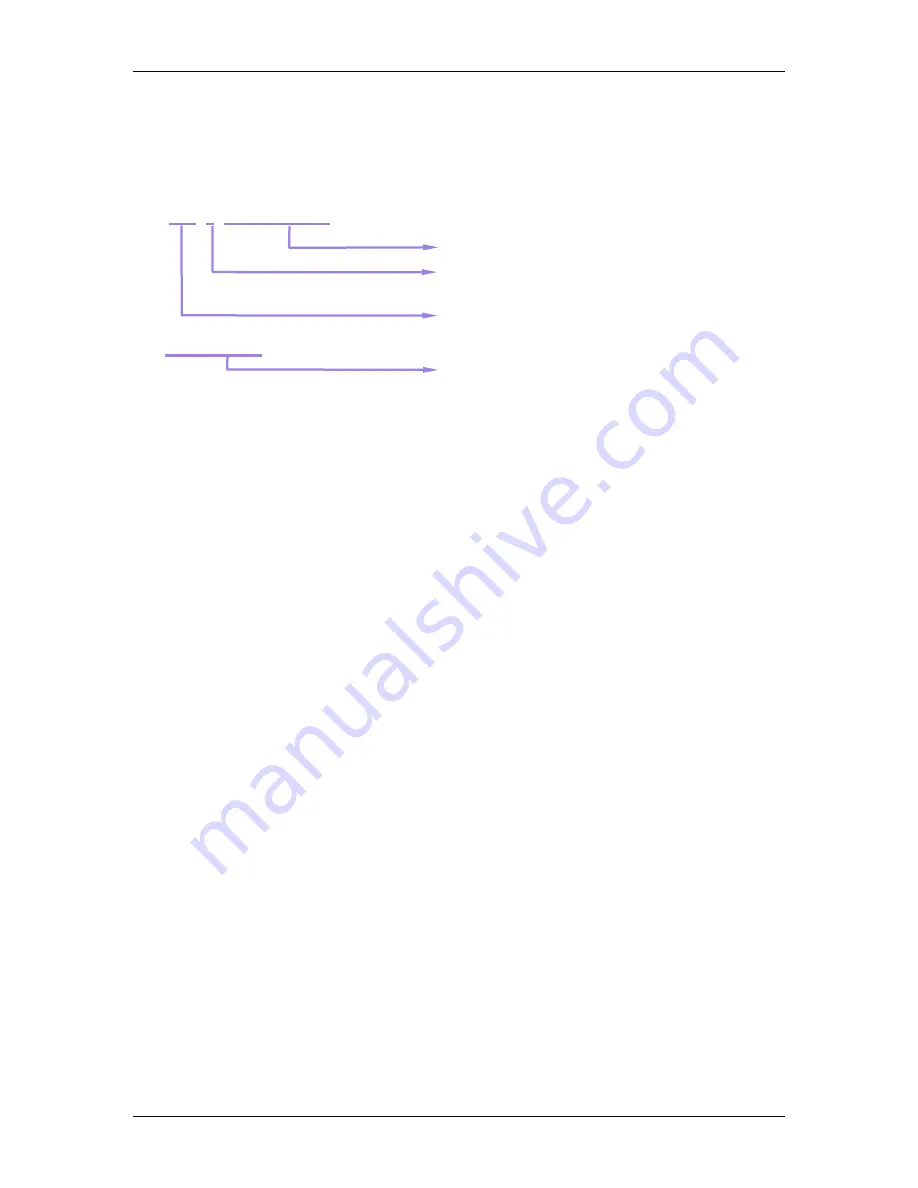
Paper size
Number of prints on the same sheet
Print size
To fit the image to the
selected paper size
Note: It is possible to select these printing sizes: 8x10, 5x7, 4x6, 3x5, 2x3 and 1.5x1.5 (inch).
Print size pull down menu may not display the print size of the images, if the image size is larger that paper
size selected from print set-up menu.
If you print larger than 8x10 (inch), please select Fit To Printable Area.
Auto Rotate.,
Check “Auto Rotate” to automatically rotate your photo for the best fit on the paper.
Auto Crop.,
The images are trimmed automatically to fit to the print size. The cursor will change to a hand icon on the
preview image. It is possible to adjust the trimming position with the hand icon.
Image Copies.,
It is possible to print multiple copies of images.
Information Printing.,
It is possible to print basic information such as the file name and and shutter speed at the bottom of the
page.
Header/Footer Printing.,
It is possible to print text such the title at the top or bottom of the print.
Please click Print Button after selecting the desired setting. Click Cancel button to close the print options
without printing.
Note: If you choose to proceed with printing from the review window, it is possible to only print the
inscribed image on the review window. It is not possible to select and process another image
from the Print window.