


Configuration / project engineering
5.3 Configuring the communication
ET 200pro FC
76
Operating Instructions, 07/2016, A5E01100763B AC
The ET 200pro must then declare the name that has been selected. This can be performed
in 2 different ways:
●
Direct route --> The NameOfStation is written via PROFINET to the MMC of the IM in the
ET 200pro:
The prerequisite for this is a PC with PG functionality, which can establish an Ethernet
connection with the ET 200pro. An MMC must also be inserted in the IM. The name is
assigned in the SIMATIC Manager. To do this, select the station to which a name is to be
assigned via the "Target system > Edit Ethernet nodes.." menu entries in the window that
appears. Use the "Browse" button in the "Ethernet nodes" field to do this. With an online
connection to the station, all of the stations in the network that can be accessed appear in
the window that opens. The relevant ET 200pro is selected by means of the MAC
address and confirmed with "OK". In the "Assign device name" field, a name can be
edited and assigned using the "Assign name" button. The NameOfStation can then be
found on the MMC of the IM in the ET 200pro.
●
Indirect route --> Written to the memory card with "Prommer":
If no PC with PG functionality is available, or an online connection to the ET 200pro
cannot be established, the device name can also be written to the MMC of the IM with the
"Prommer" device. To do this, insert the MMC of the IM in the Prommer. Enable the ET
200pro in the HW Config tool and go to "Store device name on memory card" in the
"Target system" menu. The prerequisite for this is that the desired "Device name" has
been edited previously via the "Edit > Object properties.." menu entries.
After the name has been successfully written to the MMC of the IM, this can then be
inserted in the IM of the ET 200pro station.
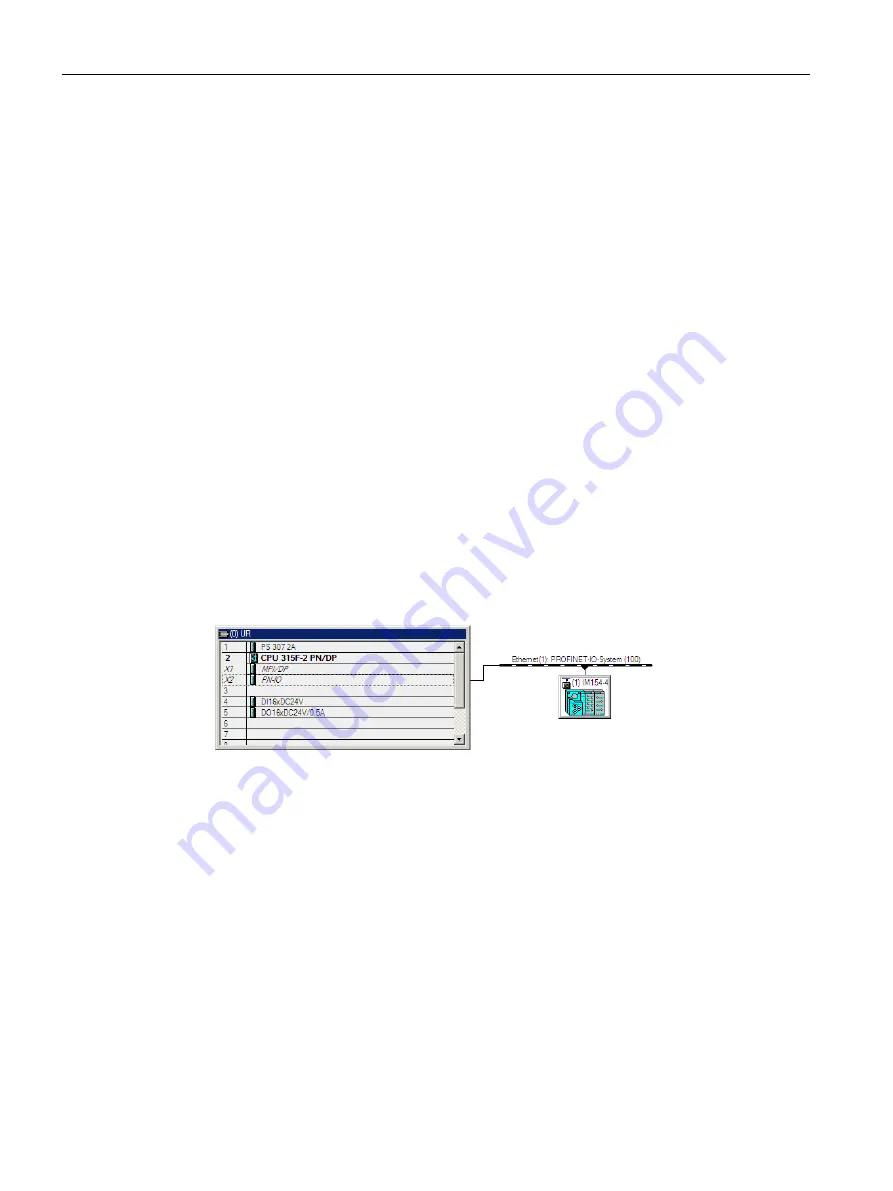
The configuration should now appear as follows:
Image 5-15 Configuration
Summary of Contents for Simatic ET 200pro FC
Page 1: ......
Page 2: ......
Page 12: ...Table of contents ET 200pro FC 12 Operating Instructions 07 2016 A5E01100763B AC ...
Page 180: ...Appendix A 3 Standards ET 200pro FC 180 Operating Instructions 07 2016 A5E01100763B AC ...
Page 192: ...Glossary ET 200pro FC 192 Operating Instructions 07 2016 A5E01100763B AC ...
Page 195: ......
Page 196: ......


