Commissioning and configuration
54
© SICK AG · Germany · All rights reserved · Subject to change without notice
8013889/ZML0/2017-06-09
Operating Instructions
NAV350 Laser positioning sensor
Chapter
6
Configuring with AutoIP
Important
Deactivate all programs on your PC/notebook that access Ethernet or TCP/IP.
1. In the NETWORK SCAN ASSISTANT dialog, under INTERNET PROTOCOL, IP COMMUNI-
CATION, select the ACTIVATE IP COMMUNICATION checkbox and the USE AUTOIP check-
box.
2. Click AUTO IP CONFIGURATION Button
3. Click SEARCHING FOR SENSORS Button to verify that the device is CONNECTABLE
4. If the status is NOT CONNECTABLE , highlight the device and follow instructions 5.-7. If
the status is CONNECTABLE, close the dialog box with OK and start the NETWORK SCAN
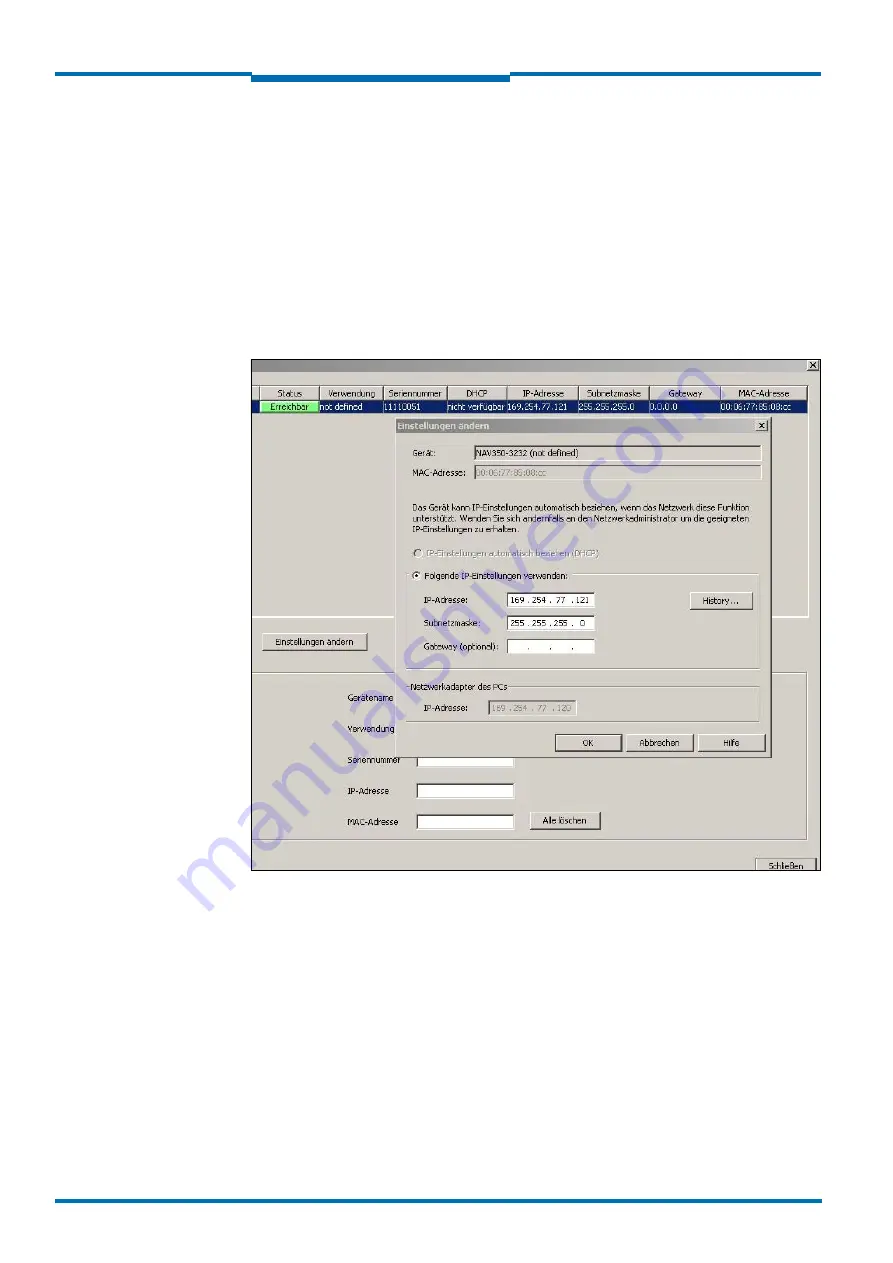
5. Click CHANGE IP CONFIGURATION
Fig. 32:
Configuring with AutoIP
6. Enter the IP ADRESS of your PC NETWORK ADAPTER incremented by one in IP ADDRESS
under USE THE FOLLOWING IP SETTINGS, e.g.:
IP address under PC Network adapter = 169.192.88.120
IP ADDRESS under USE THE FOLLOWING IP SETTINGS = 169.192.88.121
7. Confirm the settings in the NETWORK SCAN ASSISTANT dialog box with OK. The SCAN
ASSISTANT dialog box is closed.


