14
4 Connecting to power supply
LFV200 • IO-Link
41222-01-170809
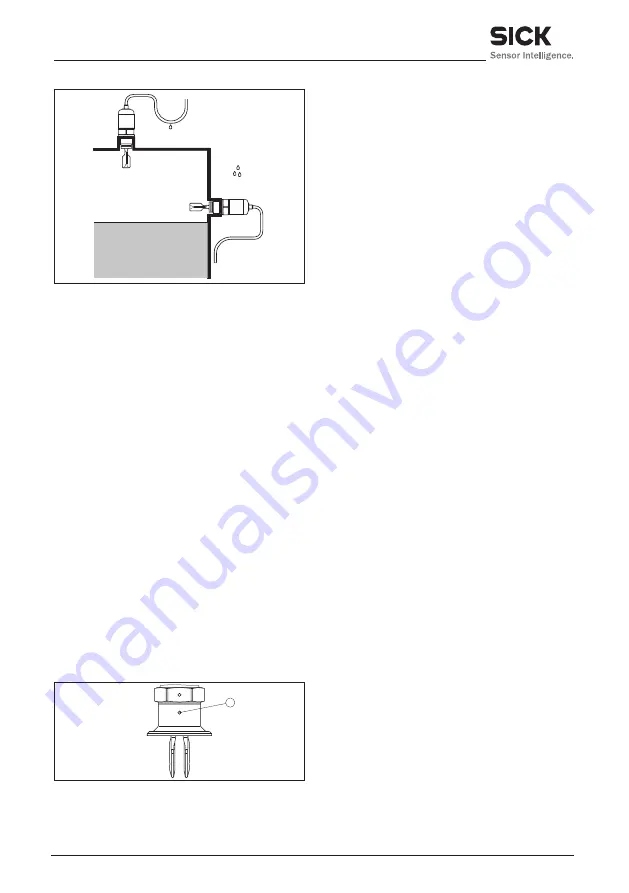
Moisture
Abb. 29: Measures against moisture ingress
Handling
Do not hold LFV200 on the tuning fork. Bending
the vibrating element will destroy the instrument.
3.2 Mounting instructions
Welded socket
For threaded versions of LFV200 in combination
with a mounting boss with O-ring in front and
welding marking.
LFV200 with thread sizes ¾" and 1" have a
defined thread. This means that every LFV200
is in the same position after being screwed in.
Remove therefore the supplied flat seal from the
thread of LFV200. This flat seal is not required
when using a welded socket with front-flush
seal.
Before welding, unscrew LFV200 and remove
the rubber ring from the welded socket.
The welded socket is provided with a marking
(notch). For horizontal mounting, weld the so-
cket with the notch facing upward or downward;
in pipelines (DN 25 to DN 50) aligned with the
direction of flow.
1
Abb. 30: Marking on the welded socket
1 Marking
Adhesive products
In case of horizontal mounting in adhesive and
viscous products, the surfaces of the tuning fork
should be vertical. The position of the tuning
fork is indicated by a marking on the hexagon of
LFV200. With this, you can check the position of
the tuning fork when mounting it.
In case of horizontal mounting in adhesive
and viscous products, the tuning fork should
protrude into the vessel to avoid buildup on the
tuning fork.
Product flow
To make sure the tuning fork of LFV200 gene-
rates as little resistance as possible to product
flow, mount the sensor so that the surfaces are
parallel to the product movement.
4 Connecting to power
supply
4.1 Preparing the connection
Note safety instructions
Always keep in mind the following safety inst-
ructions:
•
Connect only in the complete absence of
line voltage
4.2 Wiring plan
For connection to binary inputs of a PLC.
The M12 x 1 plug connection requires a ready-
made cable with plug.
For power supply, use an energy-limited circuit
according to EN 61010, paragraph 9.3.


