Chapter 3 How to use the system menu
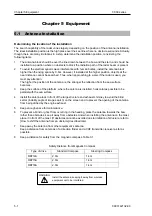
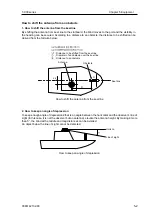
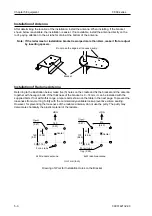
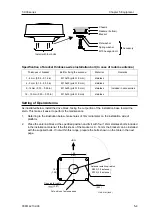
T
-900 series
3-6
0093142132-00
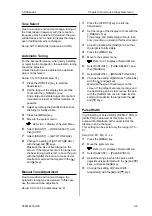
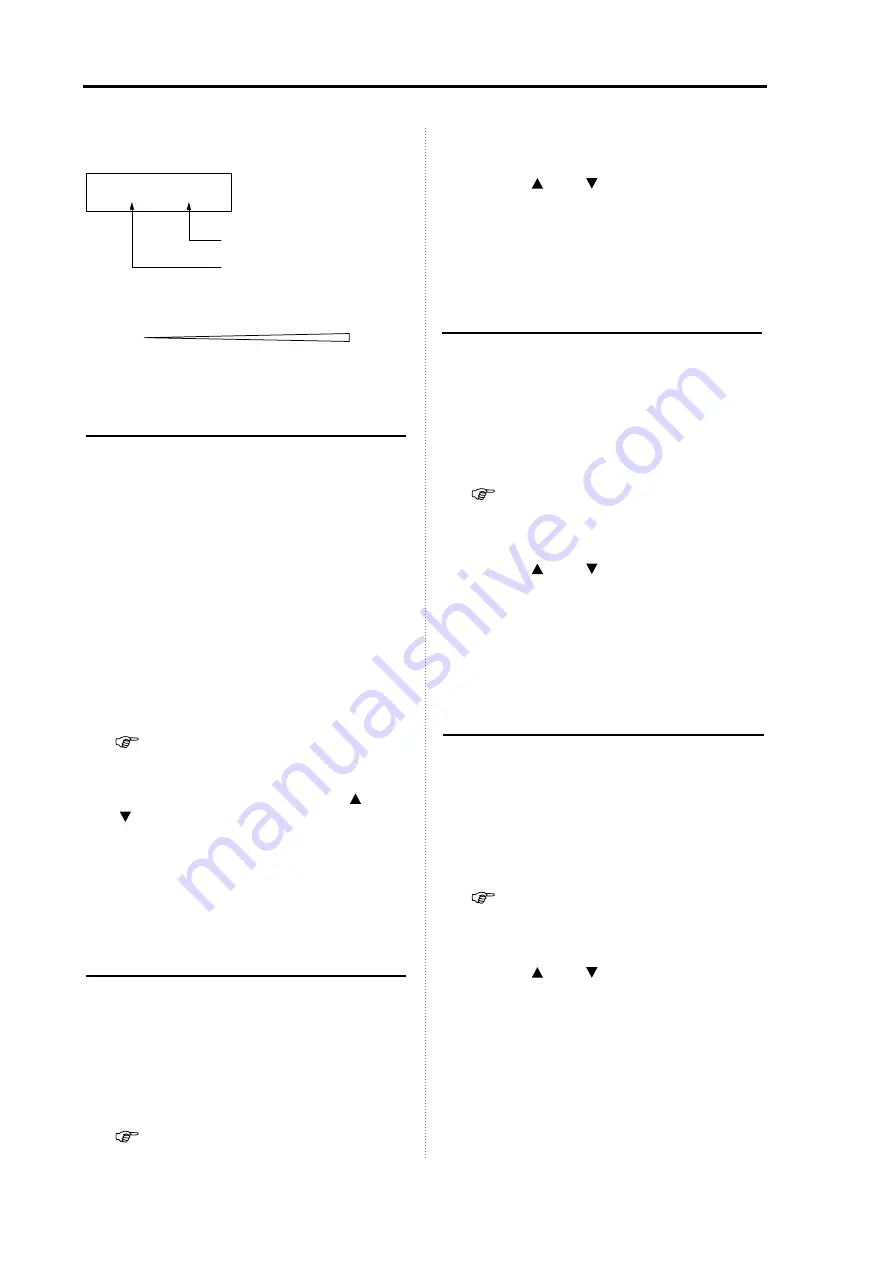
The content of the set value of [PULSE WIDTH]
is as follows.
M1 / M2
Pulse width at gain priority
Pulse width at resolution priority
The length of pulse width varies as shown below.
Short
SP
<
M1
<
M2
<
L1
<
L2
Long
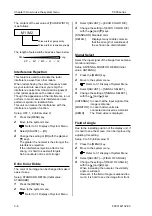
Interference Rejection
This feature is used to eliminate the radar
interference wave from other radars.
When radars having the same frequency band
as your radar are used near your ship, the
interference noise from transmission signals of
other radars appears on the radar screen.
Though the appearance of the interference is not
uniform, in most cases, this interference noise
pattern is spiral or a radiation form.
This unit can reduce the interference with the
interference rejection function.
Setup: OFF, 1, 2 (Initial value: 2)
1
Press the [MENU] key.
2
Move to the system menu.
Refer to 3.1 Display of System Menu.
3
Select [ADJUST]
→
[IR].
4
Change the setting of [IR] with the [ ] and
[ ] keys.
The greater the numeral is the stronger the
interference rejection.
If the interference rejection effect is too
strong, it is hard to see small targets.
So be cautious not to set it stronger.
Echo Color Divide
The color of an image can be changed to make it
easier to see.
Setup: STANDARD, DETAIL (Initial value:
STANDARD)
1
Press the [MENU] key.
2
Move to the system menu.
Refer to 3.1 Display of System Menu.
3
Select [ADJUST]
→
[ECHO COLOR DIV].
4
Change the setting of [ECHO COLOR DIV]
with the [ ] and [ ] keys.
[STANDARD]: Standard color
[DETAIL]:
Displays many middle colors so
that the strength or weakness of
the echo can be discriminated.
Signal Select
Select the input signal of the image from antenna,
monitor and demo.
Setup: ANTENNA, MONITOR, DEMO (Initial
value: ANTENNA)
1
Press the [MENU] key.
2
Move to the system menu.
Refer to 3.1 Display of System Menu.
3
Select [ADJUST]
→
[SIGNAL SELECT].
4
Change the setting of [SIGNAL SELECT]
with the [ ] and [ ] keys.
[ANTENNA]: In case that the input signal of the
image is antenna:
[MONITOR]: In case that two units are
connected and used as a monitor
[DEMO]:
The Fixed video is displayed.
Field of Angle
Due to the installing position of the display unit, if
it is hard to see the screen, it can be improved by
adjusting this setting.
Setup: 0 to 50 (Initial value: 0)
1
Press the [MENU] key.
2
Move to the system menu.
Refer to 3.1 Display of System Menu.
3
Select [ADJUST]
→
[FIELD OF ANGLE].
4
Change the setting of [FIELD OF ANGLE]
with the [ ] and [ ] keys.
When increasing the numeral, the visibility
angle is widened.
However, if the field of angle is widened too
much, it is hard to see the image from front.

