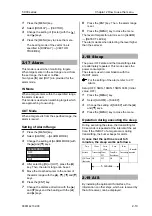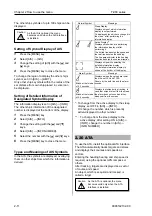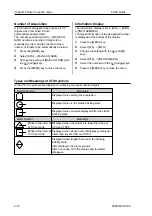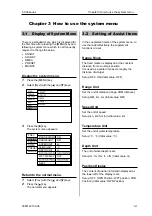
Chapter 3 How to use the system menu
T
-900 series
3-2
0093142132-00
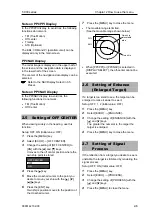
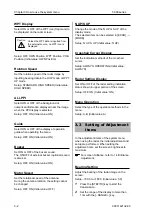
WPT Display
Select ON or OFF of the WPT icon (flag mark) to
be displayed on the radar screen.
Unless the WPT data is inputted from
the external source, no WPT icon is
displayed.
Caution
Setup: OFF, OWN Position, WPT Position, POB
Position (Initial value: OWN Position)
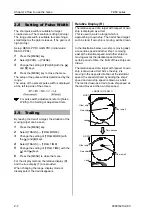
Rotation Speed
Set the rotation speed of the radar image by
inputting bearing data in the H UP mode or WPT
UP mode.
Setup: STANDARD, HIGH SPEED (Initial value:
HIGH SPEED)
ALL PPI
Select ON or OFF of the background of
numerical information displayed near the image
when the PPI display is selected.
Setup: OFF, ON (Initial value: ON)
Guide
Select ON or OFF of the display of operation
guide when operating the menu.
Setup: OFF, ON (Initial value: ON)
Buzzer
Set ON or OFF of the buzzer sound.
The ON/OFF of external buzzer (optional) sound
is also set.
Setup: OFF, ON (Initial value: ON)
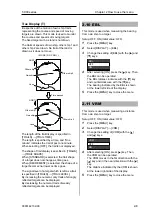
Motor Speed
Set the rotational speed of the antenna.
During the antenna rotation, the setting cannot
be changed.
Setup: OFF, ON (Initial value: OFF)
N UP/S UP
Change the mode of the N UP or S UP of the
display mode.
The selected item can be selected in [ECHO]
→
[MODE].
Setup: N UP, S UP (Initial value: N UP)
Crosshair Cursor Display
Set the indication methods of the crosshair
cursor.
Setup: ALWAYS, OPERATING (Initial value:
ALWAYS)
Radar Setting Display
Set ON or OFF of the radar setting indication
status shown in upper portion of the screen.
Setup: OFF, ON (Initial value: ON)
Menu Operation
Select the type of the operation methods in the
menu.
Setup: A, B (Initial value: A)
3.3
Setting of Adjustment
Items
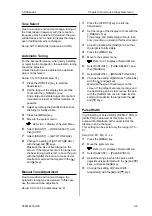
In the adjustment items of the system menu,
when using the radar, the initial adjustment and
setup are performed. When setting the
adjustment item, set the screen brightness to
maximum.
For screen brilliance, refer to 1.4 Brilliance
Adjustment.
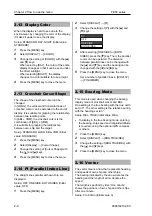
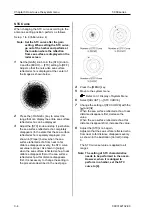
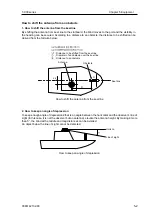
Bearing Setting
Adjust the bearing of the radar image on the
screen.
Setup: -180.0 to +180.0 (Initial value: 0.0)
1
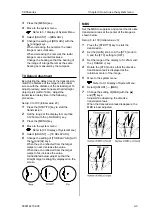
Press the [STBY/TX] key to start the
transmission.
2
Set the range of the display to more than
1nm with the [- RANGE +] key.

