background image

Chapter 2. Installing and Set Up

2-5

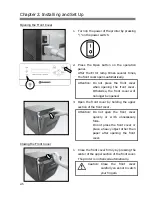
Opening the Front Cover

1. Turn on the power of the printer by pressing

"|" on the power switch.

2. Press the Open button on the operation

panel.
After the Error lamp blinks several times,
the front cover opens automatically.

3. Open the front cover by holding the upper

section of the front cover.

Closing the Front Cover

1. Close the front cover firmly by pressing the

center of the upper section of the front cover.
The printer is initialized automatically.

Attention: Do not press the front cover

when opening the front cover.
Otherwise, the front cover will
no longer be opened.

Attention: Do not open the front cover

quickly or with unnecessary
force.
Do not press the front cover or
place a heavy object other than
paper after opening the front
cover.

Caution: Close the front cover

carefully so as not to catch
your fingers.

Summary of Contents for CHC-S2145

Page 1: ...Prepared date July 28 2006 Revision date Revision Number First edition SHINKO ELECTRIC CO LTD Digital Photo Printer CHC S2145 Operation Manual ...

Page 2: ......

Page 3: ...r copied in any form or by any means including translation without the written permission of Shinko Electric Co Ltd 2 The specifications in this operation manual are subject to change without prior notice 3 In case of having any difficulties or finding the fault in this manual your information to Shinko will be highly appreciated ...

Page 4: ... as the printer in the manual Read this manual thoroughly to understand how to install and operate the printer before using it Keep this manual near the printer and operators can refer to this manual periodically In case lost or damaged this manual contact your dealers In the case of transfer do not forget to put this manual together with the printer Notice ...

Page 5: ...bbon 2 6 Loading Paper 2 7 Transporting the Printer 2 9 Chapter 3 Operation Panel Chapter 3 Operation Panel Chapter 3 Operation Panel Chapter 3 Operation Panel 3 1 Operation Panel 3 1 LCD Display 3 2 User Set Up Mode 3 3 Switching Print Mode 3 4 Switching Display Language 3 4 Chapter 4 Routine Maintenance Chapter 4 Routine Maintenance Chapter 4 Routine Maintenance Chapter 4 Routine Maintenance 4 1...

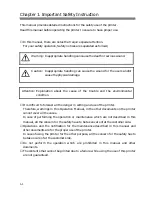
Page 6: ...s manual all the concern for the safety have to be taken care of at the customer side Operations and the notification for the maintenance described in this manual and other documents are for the proper use of the printer In case of using the printer for the other purpose all the concern for the safety has to be taken care of at the customer side Do not perform the operation which are prohibited in...

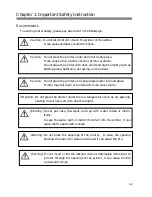
Page 7: ...n Do not place the printer on rickety place and or inclined place Printer may fall down or tumble and it can cause injury Caution Do not place the printer under humid or dusty place It can cause a fire electric shock or printer problem Do not place the printer with dust sand and high humidity such as bathing place bathroom hot spring on the street Warning Do not put vase flowerpot and cup with wat...

Page 8: ...t the printer on the slippery floor Warning In case you drop the printer firstly turn off the power of the printer and remove the power cord then contact the dealers or service center To use the printer without any checking can cause the fire or electric shock Attention At installation appropriate interface cable will be required with your computer Warning At nearly 20Kg the printer is too heavy t...

Page 9: ... printer Warning Do not attempt to service the printer beyond the instruction specified in this document In case impossible to recover from the problem please contact to the dealers or service center Warning This product must be grounded and always used with only the specified power cable or the power cable accompanying this product If the product is used without ground and current leakage occurs ...

Page 10: ...ore printing to avoid the fingerprints Attention Ink Ribbon Handling OUse the ink ribbon specified by Shinko Electric OStore the ink ribbon in cool place to avoid the direct sunlight Temperature less than 30 C Humidity lass than 60 Attention Printed Output Handling OStore the printed output in a dark place to avoid the direct sunlight OStore the printed output away from the organic fluid such as b...

Page 11: ...Chapter 1 Important Safety Instruction 1 6 MEMO ...

Page 12: ...handles provided at the front and rear of the printer 3 Take out the accessories from the accessory box and check the contents Ink ribbon cassette Dust box Paper flange white Paper flange blue Spacer 2 pieces Operation Manual Ferrite core Power cable Attention Keep the packaging materials The box and protection materials are necessary when moving or transporting the printer Make sure that they are...

Page 13: ...ch turns on off the power of the printer When the marked side of the switch is pressed the power is turned on When the marked side of the switch is pressed the power is turned off Caution Once the printer is turned off wait at least 3 seconds before turning it on again g Power Connector To be used to connect the power cord h USB Connector To be used to connect the USB cable i Handle Rear When movi...

Page 14: ...ity to fall down caught by the cord Warning Avoid piled up connection It can cause the fire and electric shock Warning In case of not using the printer for a long time remove the power cord for safety Warning Make sure to turn off the power of the printer before inserting the power cord Warning Make sure to insert the power cord correctly If not it can cause the fire or the printer problem Warning...

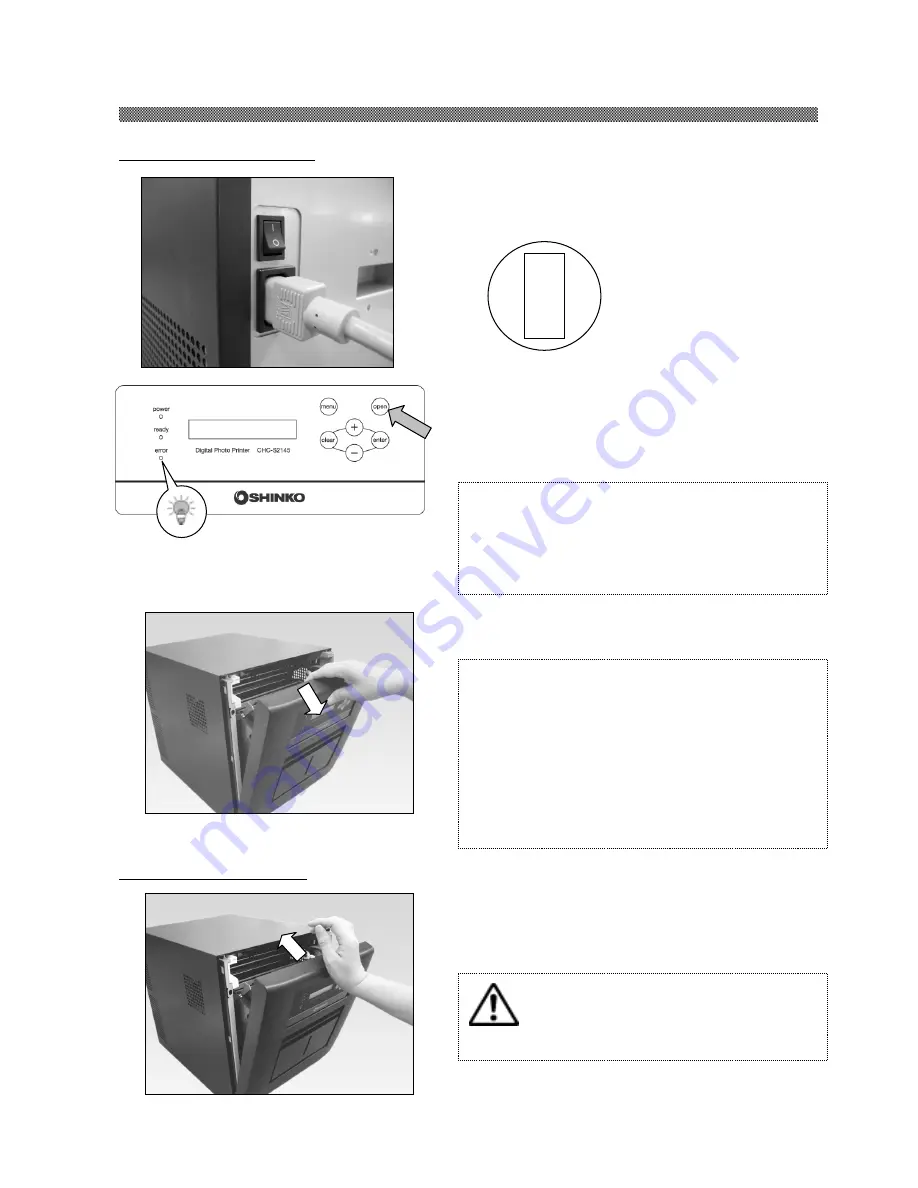
Page 15: ...left rear side of the printer Be sure to insert the USB cable all the way Installing Dust Box 1 Insert the claw of the dust box first and insert the projected section of the printer in the hole at the bottom of the dust box Attention To remove the USB cable make sure that the printer is in the waiting status Removing the USB cable during data transfer may not be able to print data correctly Approx...

Page 16: ...r Closing the Front Cover 1 Close the front cover firmly by pressing the center of the upper section of the front cover The printer is initialized automatically Attention Do not press the front cover when opening the front cover Otherwise the front cover will no longer be opened Attention Do not open the front cover quickly or with unnecessary force Do not press the front cover or place a heavy ob...

Page 17: ... ribbon until it clicks into position 2 Stretch the ink ribbon by turning the core on the ink ribbon feed side 3 Match the color of the core of the ink ribbon and the color of the rail and insert the ink ribbon cassette to the end along the rail Attention Do not set the ink ribbon if the guard of the ink ribbon sticks out from the ribbon ...

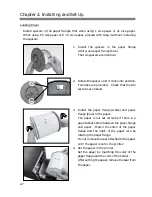
Page 18: ... Two locks are provided Check that the two sections are locked 3 Install the paper flange white and paper flange blue in the paper The paper is not set correctly if there is a gap of about 10mm between the paper flange and paper Match the notch of the paper flange and the notch of the paper core by rotating the paper flange Do not remove the seal attached to the paper until the paper is set in the...

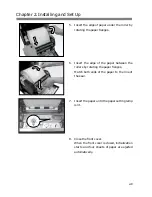
Page 19: ...Insert the edge of the paper between the rollers by rotating the paper flanges Match both ends of the paper to the line of the seal 7 Insert the paper until the paper setting lamp is lit 8 Close the front cover When the front cover is closed initialization starts and four sheets of paper are ejected automatically ...

Page 20: ...the printer before transporting the printer If the ink ribbon or paper cannot be removed due to a fault consult with the distributor 2 Use a genuine box If the box used at the purchase cannot be used consult with your distributor and purchase a new box 3 Do not turn off the power while the front cover is open Close the front cover while the power is ON and turn off the power when No ribbon paper i...

Page 21: ...Chapter 2 Installing and Set Up 2 10 MEMO ...

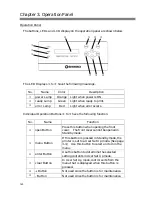
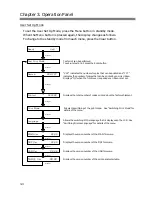
Page 22: ...ction f open Button Press this button when opening the front cover The front cover cannot be opened in Standby mode g menu Button If this button is pressed in Standby mode the printer is set to a User Set Up mode See page 3 3 Use this button to select an item in the menu h enter Button Use this button to determine the selected setting contents in User Set Up mode i clear Button In User Set Up mode...

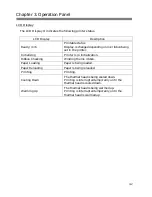
Page 23: ... Initializing Printer is in initialization Ribbon Checking Winding the ink ribbon Paper Loading Paper is being loaded Paper Reloading Paper is being reloaded Printing Printing Cooling Down The thermal head is being cooled down Printing is interrupted temporarily until the thermal head is cooled down Warming Up The thermal head is being warmed up Printing is interrupted temporarily until the therma...

Page 24: ... YYY indicates the number of copies that can be printed by one ink ribbon Displays 0 0 when the front cover is opened or a ribbon is not set Test print can be performed To execute test print press the Enter button Displays the total number of copies printed since the factory shipment Displays the version number of the MAN firmware Allows the switching of the print mode See Switching Print Mode for...

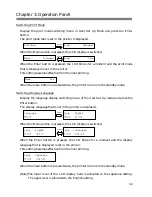
Page 25: ...switching menu of the User Set Up mode and press the Enter button The display language that is set in the printer is displayed When the Menu button is pressed the LCD display is switched When the Enter button is pressed the LCD blinks for a moment and the display language that is displayed is set in the printer This setting becomes effective from the next printing When the Clear button is pressed ...

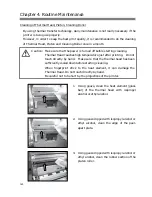
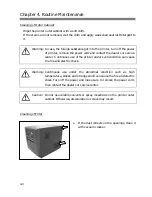
Page 26: ... ethyl alcohol 2 Using gauze dipped with isopropyl alcohol or ethyl alcohol clean the edge of the peel apart plate 3 Using gauze dipped with isopropyl alcohol or ethyl alcohol clean the rubber section of the platen roller Caution Make sure that the power is turned off before starting cleaning Thermal Head reaches high temperature just after printing Do not touch directly by hand Make sure that the...

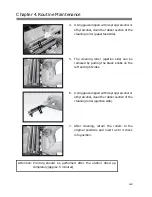
Page 27: ...ide can be removed by pulling the black knobs on the left and right sides 6 Using gauze dipped with isopropyl alcohol or ethyl alcohol clean the rubber section of the cleaning roller ejection side 7 After cleaning return the rollers to the original positions and insert until it clicks into position Attention Printing should be performed after the alcohol dried up completely approx 5 minutes ...

Page 28: ... printer outer cabinet Otherwise discoloration or crack may result Warning Continuous use under the abnormal condition such as high temperature smoke and strange smell can cause the fire and electric shock Turn off the power and make sure to remove the power cord then contact the dealers or service center Warning In case the foreign substance get into the printer turn off the power of printer remo...

Page 29: ...Chapter 4 Routine Maintenance 4 4 MEMO ...

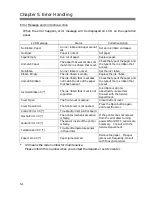
Page 30: ...aper and the type of the ink ribbon that are set IncorrectRibbon X The ink ribbon that is set is not supported Ink ribbon or printer abnormality is assumed Consult with the Service Department Cover Open The front cover is opened Close the front cover Cover Open Error The front cover is not opened Press the Open button again and reset the error Control Error XX Trouble of printer control board Mech...

Page 31: ...e printer O When the paper setting lamp is blinking remove the edge of the paper until the paper setting lamp goes off The front cover does not open O Check if the printer is installed in a flat location O Check if any object is placed in front of the front cover A straight stripe area is not printed O The thermal head may be dirty Clean the thermal head as described in Chapter 4 Routine Maintenan...

Page 32: ...etting lamp goes off Attention OIf the paper is used without cutting off the folded section or printed section paper jam occurs again or the ink ribbon may snap during printing Always cut off the creased section or printed section of the paper OCut off the paper straight and at right angles to the roll paper direction OIf paper jam occurs frequently a defect in the mechanical section is assumed Co...

Page 33: ...ow the instruction below 1 Turn off the power of the printer 2 Turn on the power for 3 or more seconds after turning off the power 3 Paper Jam is displayed on the LCD of the operation panel open the front cover and take the necessary action according to the instruction provided in 5 3 Paper Jam When the ribbon is snapped 1 Remove the ribbon cassette 2 Stick the broken part of the ribbon with a tap...

Page 34: ...Chapter 6 After sales Service 6 1 Contact your dealers or service center for the details about after sales service ...

Page 35: ......
Page 36: ...YTE8 J0288E Revision First edition ...

Reviews: