39
Useful Features
E X E C U T E
B L C / G A I N
S E T
M A N U A L
F O C U S
A U T O F O C U S
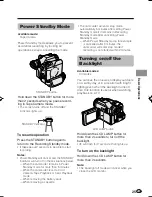
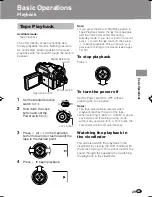
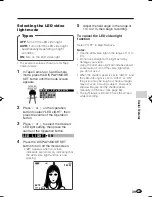
Selecting the LED video
light mode
Types
OFF:
Turn off the LED video light.
AUTO:
Turn on/off the LED video light
automatically depending on light
condition.
ON:
Turn on the LED video light.
• The example screens shown are for Tape
Camera mode.
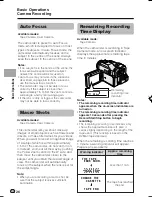
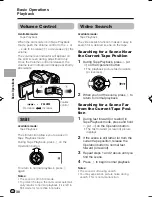
1
In Tape Camera or Card Camera
mode, press the DISPLAY/MODE
SET button until the mode screen
appears.
2
Press
l
or
m
on the Operation
button to select “LED LIGHT”, then
press the centre of the Operation
button.
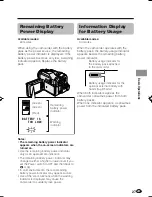
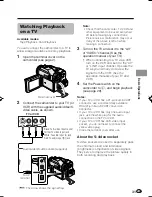
3
Press
l
or
m
to select the desired
LED light setting, then press the
centre of the Operation button.
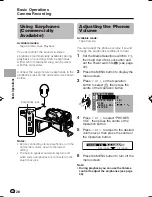
4
Press the DISPLAY/MODE SET
button to turn off the mode screen.
• “
N
” appears when on-screen
indicators are turned on, indicating that
the LED video light function is now
working.
L E D L I GHT
ON
A U T O
A U T O
3 0 min
3 0 min
P A U S E
P A U S E
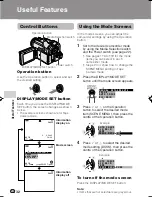
5
Adjust the field angle in the range of
1 m to 2 m, then begin recording.
To cancel the LED video light
function
Select “OFF” in step 3 above.
Notes:
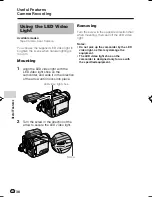
• Use the LED video light in the range of 1 m to
2 m.
• Do not look straight at the light as it may
damage your vision.
• Using the LED video light will increase power
consumption. Turn off the video light when
you do not use it.
• When the shutter speed is set to “AUTO”, and
the LED video light is set to “AUTO” or “ON”,
the picture may be rough or shadow images
may occur on a moving subject. To prevent
shadow images, set the shutter speed
manually to 1/50 sec. (see page 64).
• The light range is limited. Check the screen
while recording.
VL-Z950S-GB-032-039
04.2.3, 11:35 AM
39
Summary of Contents for VL-Z950S
Page 2: ......

