


7-6
SAVING A DOCUMENT IMAGE FILE
Quick File
When printing or transmitting a document in copy mode, printer mode, or fax/image transmission mode, "QUICK
FILE" can be selected to save an image of the document to the Quick File folder.
The image can be called up at a later time, allowing you to print or transmit the document without having to locate
the original.
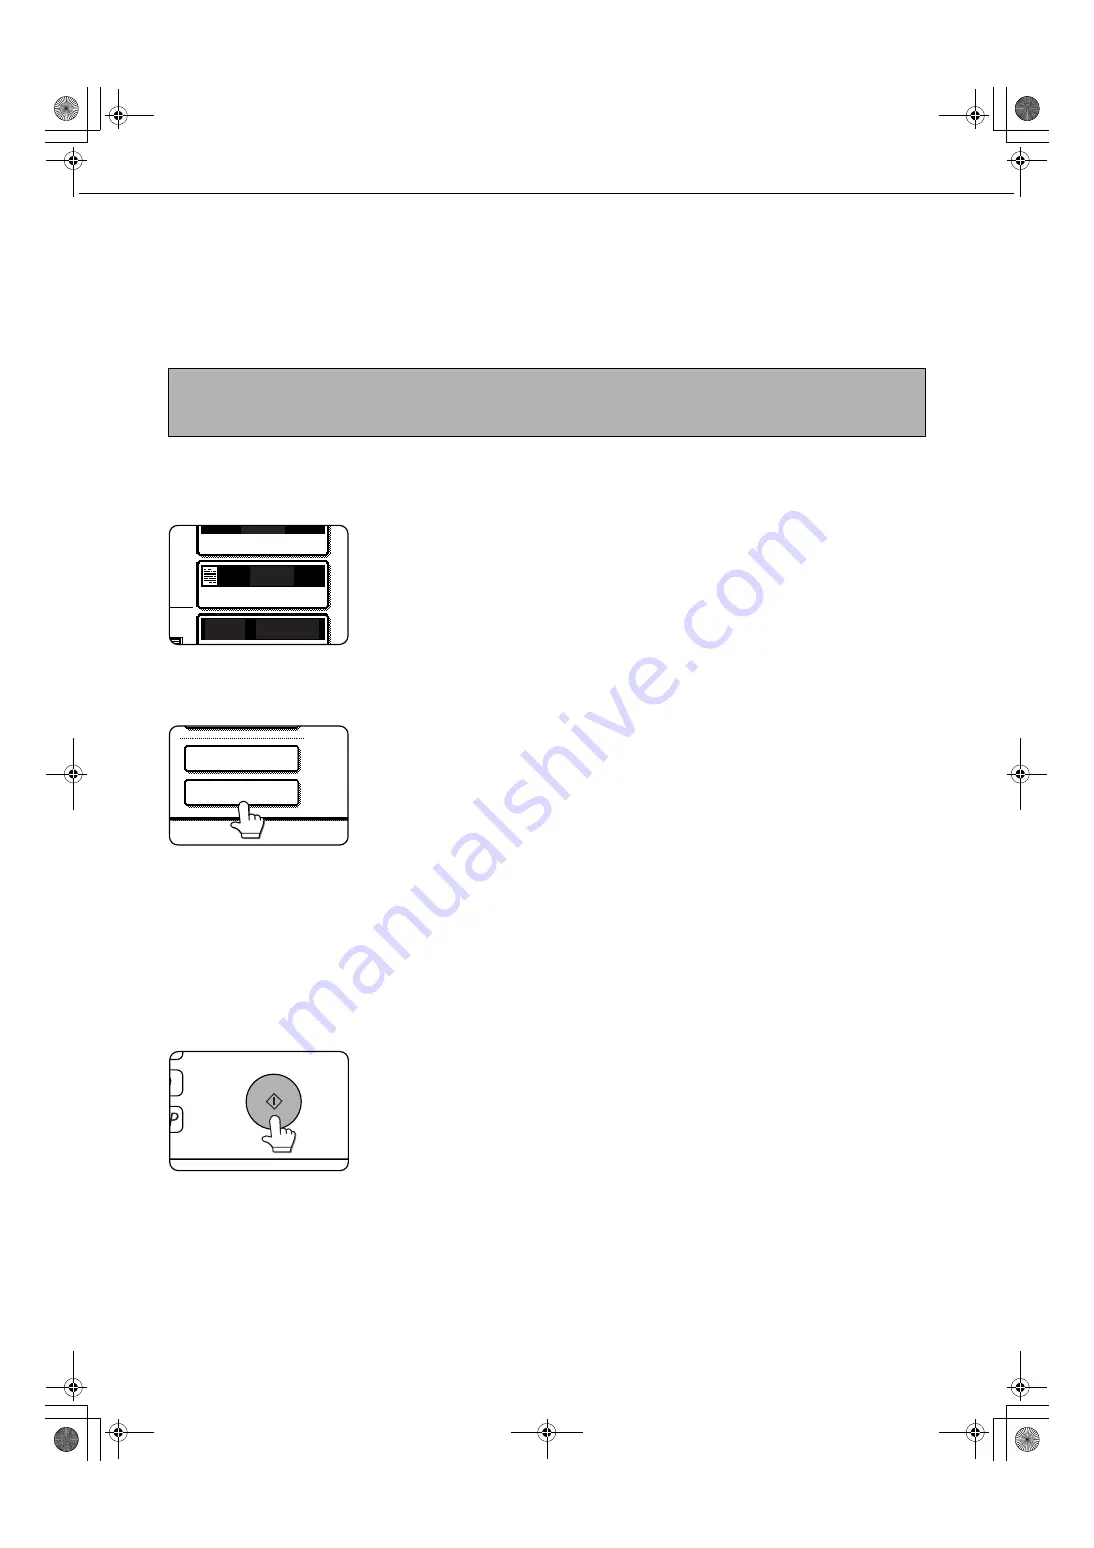
1
Place the originals in the document feeder
tray and select resolution and exposure
settings.
See steps 1 to 8 of
"Making copies with the
automatic document
feeder" on pages 4-7 to
4-8 and "ADJUSTING
THE EXPOSURE" on
page 4-14.
2
Touch the [QUICK FILE] key in the main
screen.
The [QUICK FILE] key
will be highlighted to
indicate that the function
is selected.
If the [FILE] key is
grayed out, only the
[QUICK FILE] key can
be selected.
When you touch the [QUICK FILE] key, a message
asking you to confirm the save will appear. Touch
the [OK] key in the message screen and go to the
next step.
If you wish to cancel the save, touch the [QUICK
FILE] key after touching the [OK] key so that the
[QUICK FILE] key is no longer highlighted.
3
Press the [START] key on the operation
panel.
To prevent accidental
saving of the document,
the warning "THE
SCANNED DATA IS
STORED IN THE
QUICK FILE FOLDER."
appears for 6 seconds
after the [START] key is pressed.
When copying begins, the image is saved.
4
The saved image can be called up from the
Quick File folder or the job status screen.
●
To call the image up from the Quick File
folder, see "Calling up and using a saved file"
on page 7-15.
●
To call the job up from the finished job status
screen, see "Calling up and manipulating a
file from the job status screen" on page 7-23.
5
The following operations can be
performed on the image that was called up
in step 4.
●
Print the image (page 7-17)
●
Transmit the image (page 7-20)
●
Change the attribute (page 7-21)
●
Move the image (page 7-22)
●
Delete the image (page 7-22)
●
Check details on the image (page 7-22)
NOTE
As an example, the procedure for saving a document to the Quick File folder while copying using the automatic
document feeder is explained below.
AUTO
AUTO
AUTO
ORIGINAL
EXPOSURE
8 x11
1
/
2
QUICK FILE
FILE
Copy_SEC.book 6 ページ 2006年12月13日 水曜日 午後3時1分
Summary of Contents for MX-M350-N
Page 4: ...Copy_SEC book 3 ページ 2006年12月13日 水曜日 午後3時1分 ...
Page 5: ...Part 1 General Information Copy_SEC book 1 ページ 2006年12月13日 水曜日 午後3時1分 ...
Page 6: ...Copy_SEC book 2 ページ 2006年12月13日 水曜日 午後3時1分 ...
Page 14: ...Copy_SEC book 8 ページ 2006年12月13日 水曜日 午後3時1分 ...
Page 58: ...Copy_SEC book 26 ページ 2006年12月13日 水曜日 午後3時1分 ...
Page 86: ...Copy_SEC book 28 ページ 2006年12月13日 水曜日 午後3時1分 ...
Page 87: ...Part 2 Copier Operation Copy_SEC book 1 ページ 2006年12月13日 水曜日 午後3時1分 ...
Page 88: ...Copy_SEC book 2 ページ 2006年12月13日 水曜日 午後3時1分 ...
Page 156: ...Copy_SEC book 4 ページ 2006年12月13日 水曜日 午後3時1分 ...
Page 188: ...Copy_SEC book 32 ページ 2006年12月13日 水曜日 午後3時1分 ...
Page 197: ...Copy_SEC book 9 ページ 2006年12月13日 水曜日 午後3時1分 ...
Page 198: ...Copy_SEC book 10 ページ 2006年12月13日 水曜日 午後3時1分 ...
Page 202: ...JupiterII_Admin_sec book 2 ページ 2006年12月12日 火曜日 午後5時39分 ...
Page 222: ...20 JupiterII_Admin_sec book 20 ページ 2006年12月12日 火曜日 午後5時39分 ...
Page 225: ...JupiterII_Admin_sec book 23 ページ 2006年12月12日 火曜日 午後5時39分 ...
Page 226: ...JupiterII_Admin_sec book 24 ページ 2006年12月12日 火曜日 午後5時39分 ...
Page 227: ...JupiterII_Admin_sec book 1 ページ 2006年12月12日 火曜日 午後5時39分 ...