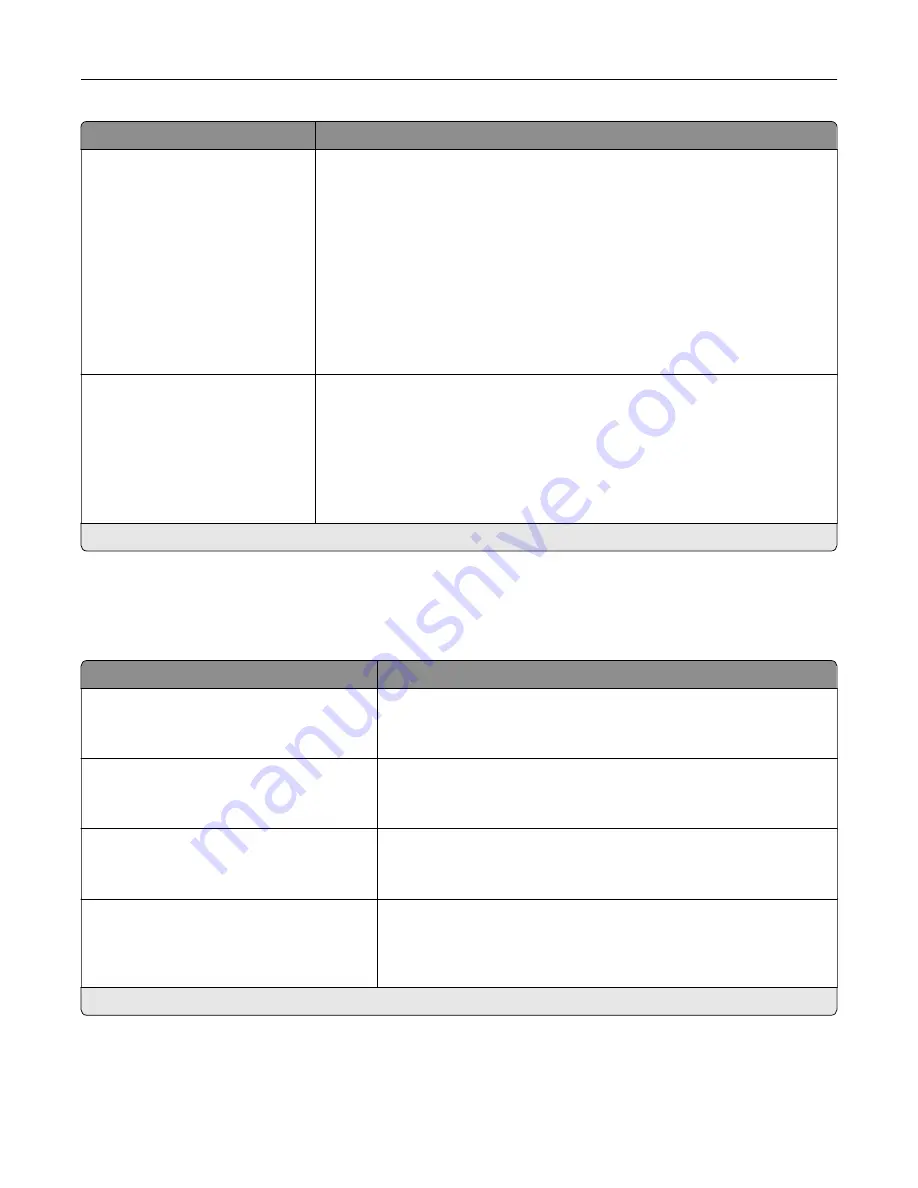
Menu item
Description
Substitute Size
Off
Statement/A5
Letter/A4
All Listed*
Set the printer to substitute a specified paper size if the requested size is not
loaded in any paper source.
Notes:
•
Off prompts the user to load the required paper size.
•
Statement/A5 prints A5
‑
size document on statement when loading
statement and statement
‑
size jobs on A5 paper size when loading A5.
Statement/A5 appears only in the Embedded Web Server.
•
Letter/A4 prints A4
‑
size document on letter when loading letter and
letter
‑
size jobs on A4 paper size when loading letter.
•
All Listed substitutes Letter/A4.
Configure MP
Cassette*
Manual
First
Determine the behavior of the multipurpose feeder.
Notes:
•
Cassette configures the multipurpose feeder as the automatic paper
source.
•
Manual sets the multipurpose feeder only for manual-feed print jobs.
•
First configures the multipurpose feeder as the primary paper source.
Note:
An asterisk (*) next to a value indicates the factory default setting.
Media Configuration
Universal Setup
Menu item
Description
Units of Measure
Inches
Millimeters
Specify the unit of measurement for the universal paper.
Note:
Inches is the U.S. factory default setting. Millimeters is the
international factory default setting.
Portrait Width
3–52 inches (8.5*)
76–1321 mm (216*)
Set the portrait width of the universal paper.
Portrait Height
3–52 inches (14*)
76.2–1321 mm (356*)
Set the portrait height of the universal paper.
Feed Direction
Short Edge*
Long Edge
Set the printer to pick paper from the short edge or long edge
direction.
Note:
Long Edge appears only when the longest edge is shorter
than the maximum width supported.
Note:
An asterisk (*) next to a value indicates the factory default setting.
Understanding the printer menus
55
Summary of Contents for MX-C507P
Page 1: ...DIGITAL FULL COLOR PRINTER MX C507P User s Guide September 2021 Machine type 5028 Model 6AH ...
Page 89: ...2 Remove the waste toner bottle 3 Remove the imaging kit Maintaining the printer 89 ...
Page 91: ...8 Insert the black toner cartridge 9 Insert the imaging kit Maintaining the printer 91 ...
Page 93: ...2 Remove the waste toner bottle 3 Remove the imaging kit Maintaining the printer 93 ...
Page 95: ...8 Insert the toner cartridges 9 Insert the new imaging kit Maintaining the printer 95 ...
Page 102: ...3 Remove the pick roller 4 Unpack the new pick roller Maintaining the printer 102 ...
Page 155: ...5 ISP extended cable 4 Install the ISP into its housing Upgrading and migrating 155 ...
Page 156: ...5 Attach the housing to the controller board access cover Upgrading and migrating 156 ...
Page 162: ...5 Open door B 6 Open door C Upgrading and migrating 162 ...


