13-3
Distance and Angle Measurement
13
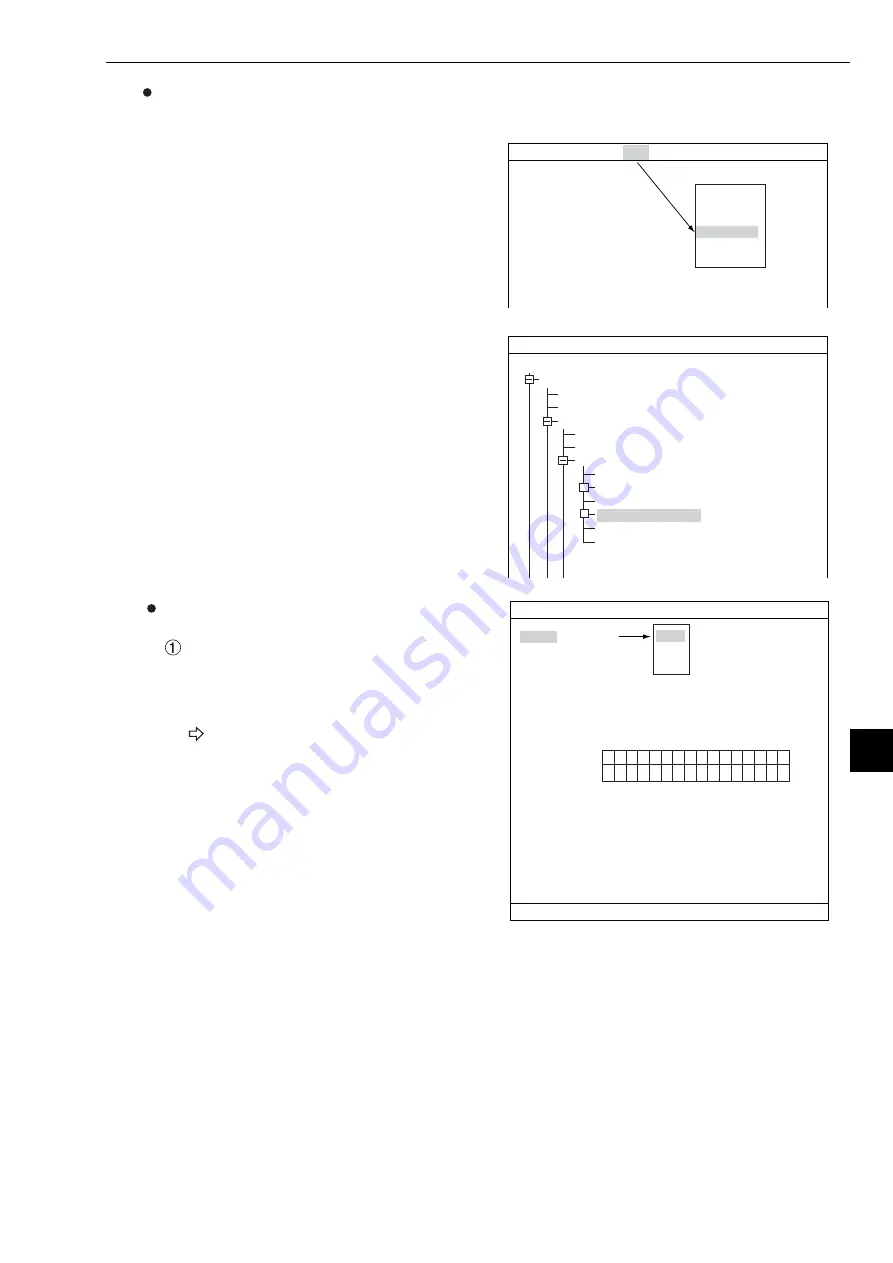
How to display the distance and angle conditions setting screen
There are two methods for displaying the distance and angle conditions setting screen.
1) On the "MEASUREMENT 1", "MEAS CND", or
"REG COND" screen, press the TRG/BRG
key to move the cursor to the upper function
menu. Select "COND' using the left and right
keys and press the SET key. Select
"DST&ANGL" from the popup menu.
2) On the SELECT OBJECT TYPE COND
screen, select "TYPE00" -> "MEA-
CND(CAMERA1)" -> "MEAS01(POSI-
DEVIATION)" -> "DISTANCE&ANGLE
COND," in that order.
Setting the distance and angle conditions
OBJ
Select object type you want to measure. The
object types available are: "AUX" (auxiliary),
"DST" (distance), and "ANGL" (angle). The
setting details are different for each type.
"AUX": See page 13-4.
"DST": See page 13-6.
"ANGL": See page 13-7.
MEASUREMENT 1 SCREEN COND SAVE
F C1 BRT
1
MEAS SELECTION POSI-DEVEATION
IMG PRE-PROC
MEAS
EVALUATION
DST&ANGL
NUM-CALC
OUT
+
+
SELECT OBJECT TYPE COND
F C1 BRT
OBJECT TYPE COND
TYPE00
TYPE RUN COND
IMAGE-ADJ
MEA-CND(CAMERA1)
MEAS0
POSI-CORRECT
MEAS01(POSI-DEVIATION)
IMG PRE-PROC
MEAS CND
EVALUATION COND
DISTANCE&ANGLE COND
NUM-CALC
OUT-COND
1
OBJ
DST
2
DISTANCE NO
00(0~15)
3
DESTANCE
NO
[TEST RESULT]
[OUTPUT]
REGISTER NO.
DISTANCE
15
14
13
12
11
10
09
08
07
06
05
04
03
02
01
00
×
× × × × × × × × × × × × × × ×
DIST&AGL COND SCREEN COND SAVE
F C1 BRT
AUX
DST
ANGL
SET=SELECT A MENU ESC=BACK SEL=CHNG IMG TRG=FUNK


