53
THE PRINT HEAD
3
Press the "ENTER" button.
The message shown below will appear in the display panel, and cleaning of the
print head will start. After finishing cleaning operation, the unit will return to be
ready.
4
Print a test page when "Clean PrintHead 1" is selected. A test
page is printed automatically when "Clean PrintHead 2-4" are
selected. Check copy quality the printed test page.
For details refer to "PRINTING A TEST PAGE". (See page 57)
Changing the print head
After long periods of use, the print head will become damaged.
Even after cleaning and aligning the print head, if copy quality remains poor, you have to
change the print head as it has become damaged. Follow the steps below to change the
print head.
1
Make sure that the power is on.
2
Open the front cover.
Refer to "INSTALLING THE PRINT HEADS AND THE INK TANKS" for details on
how to open the front cover. (See page 12)
3
Open the maintenance cover.
Refer to "INSTALLING THE PRINT HEADS AND THE INK TANKS" for details on
how to open the maintenance cover. (See page 13)
4
Raise the print head latch.
Refer to "INSTALLING THE PRINT HEADS AND THE INK TANKS" for details on
how to raise the latch. (See page 13)
5
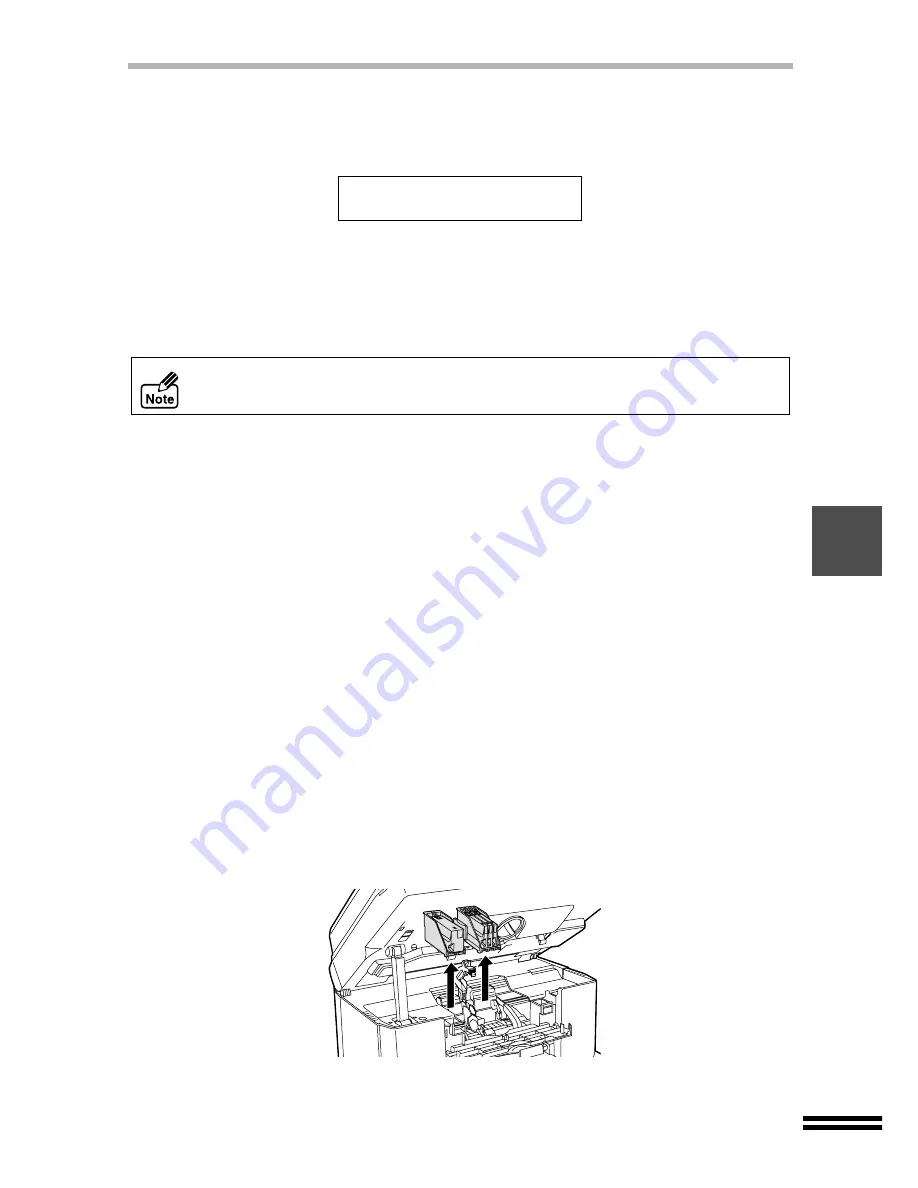
Remove the old black or colour print head with the ink tank still
inserted.
lift it straight up to remove.
Do not clean the print head more than five times. Excessive cleaning of the print
head wastes ink. If you cannot get a good result after cleaning the print head five
times, change the print head. (See below)
Cleaning the Print
Head...


