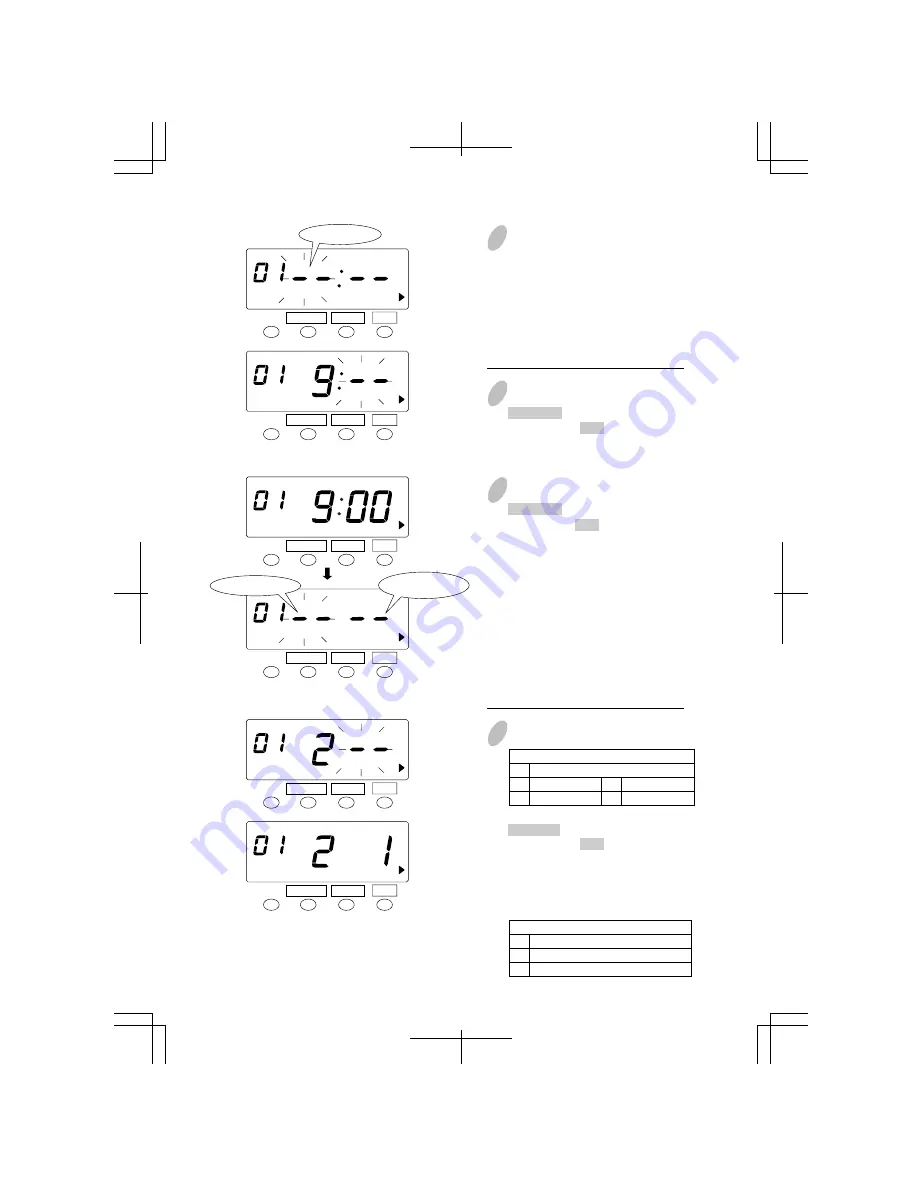
7
In case of the example, push the
CHANGE button to set at "9" and
then push the SET button. At that
moment, flashing of the display will
change from "Hour" to "Minute".
8
In case of the example, push the
CHANGE button to set at "00" and
then push the SET button. When you
finish setting of the time, the display
changes as shown in the left figure
and now you can set the desired
function.
In case of the example, push the
CHANGE button to set at "2" and
then push the SET button. At that
moment, flashing of the display will
change from the middle digit to the
right-side digit.
6
Select all applicable days of the
week in the same manner as above.
When you finish setting, the display
changes as shown in the left figure
and now you can set the starting
time.
45
17
41
WEEKLY
PROGRAM
SET
FUNCTION CHANGE
Starting Time
Set the Starting Time.
9
[For the printing column]
Select the Desired Function.
WEEKLY
PROGRAM
SET
FUNCTION CHANGE
WEEKLY
PROGRAM
SET
FUNCTION CHANGE
WEEKLY
PROGRAM
SET
FUNCTION CHANGE
WEEKLY
PROGRAM
SET
FUNCTION CHANGE
WEEKLY
PROGRAM
SET
FUNCTION CHANGE
Not selected (Remain unchanged)
1st Column
2nd Column
--
1
2
1st Column
2nd Column
3
4
Order Options
[For the Irregular mark printing]
Not selected (Remain unchanged)
Mark on
Mark off
--
1
2
Order Options
Printing Column
Irregular
Mark Printing


