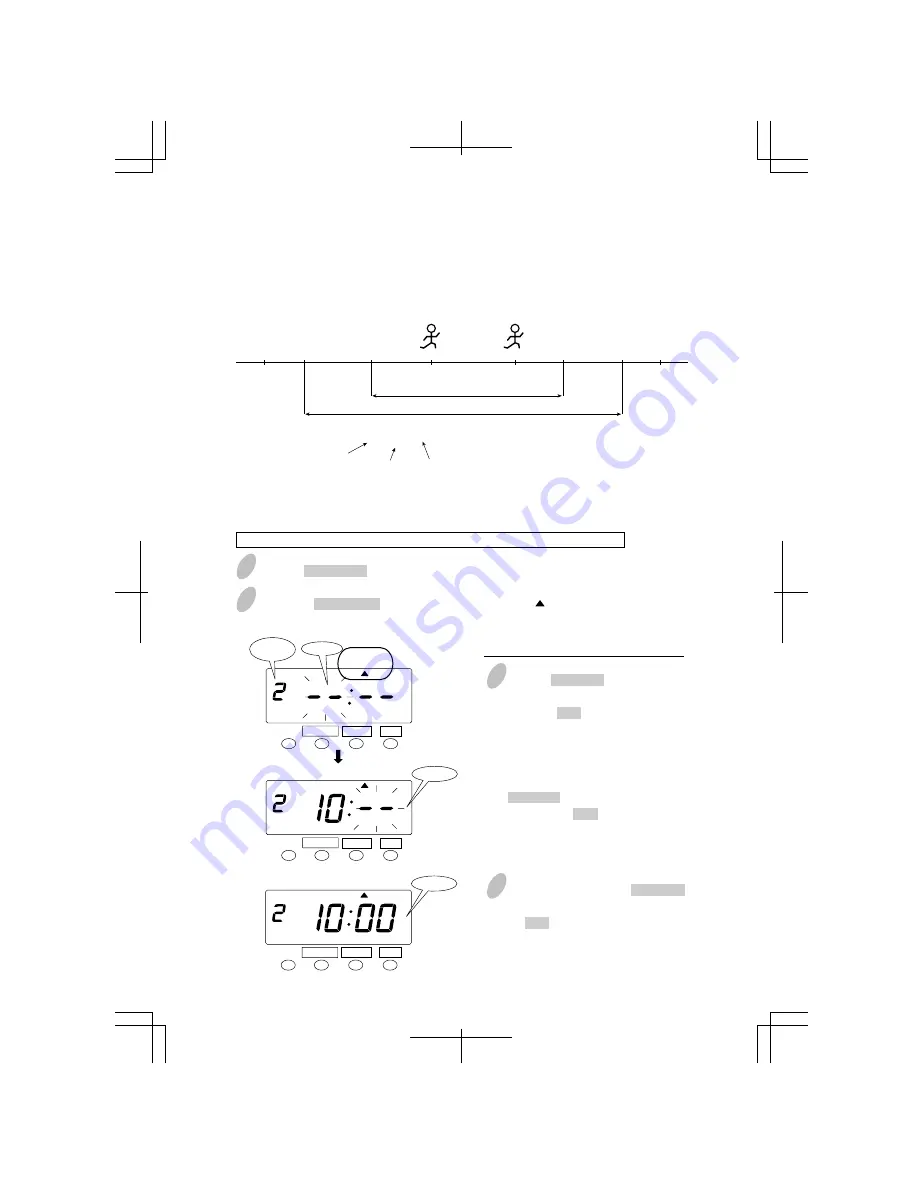
Set the "core start" time.
Special Mark Printing
1
Push the FUNCTION button for 3 seconds.
2
Push the FUNCTION button and position the " " under the "COMMON
SCHEDULE" or "EXTRA SCHEDULE" mark.
3
Push the CHANGE button to set the
left-side number at "2" and then
push the SET button. (In case of
"EXTRA", set at "3".)
At that moment, the flashing
changes to "Hour".
In the case of the example, push the
CHANGE button to set at "10" and
then push the SET button.
At that moment, the flashing
changes from "Hour" to "Minute".
4
In this case, push the CHANGE
button to set at "00" and then push
the SET button.
COMMON
SCHEDULE
COMMON
SCHEDULE
FUNCTION CHANGE
SET
FUNCTION CHANGE
SET
Minute
Hour
Minute
COMMON
SCHEDULE
FUNCTION CHANGE
SET
Core
start
39
31
35
IN
OUT
IN
Example
You can set the special mark printing "!" which means the punch between "Core start time"
and "Core end time" except "Break time".
Special mark printing makes it possible to easily see an employee's late in or early out.
Calculation effective time zone
time zone of special mark printing
Day
advance
time
Day
advance
time
START
8:30
CORE START
10:00
CORE END
16:00
10:25
15:10
END
17:30
(Late in)
(Early out)
Print example
10:25 !
21
OUT
15:10 !
21
Date
Time
Special mark
printing
Setting the Special Mark Printing
Example: Core time starts at 10:00 and ends at 16:00 for special mark printing.


