Page 24
Original Language Version
VS8197.V2 Issue: 1 - 23/11/11
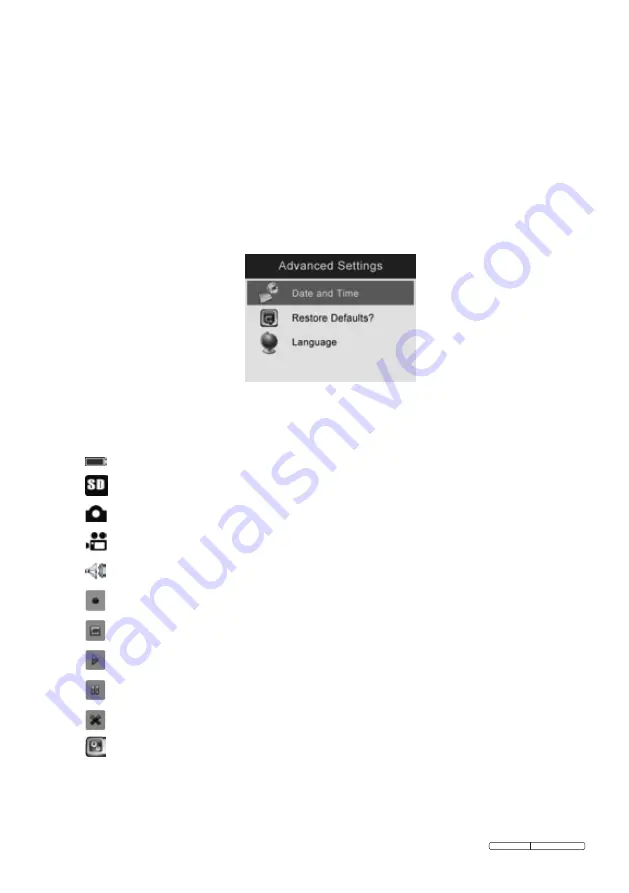
10) Entering the Secondary Settings Screen
While in the Primary Settings Screen
(Fig. 9)
, select
Advanced Settings
from
Setup
and then press
OK
, you will enter the secondary settings
screen
(Fig. 21)
where you can set
Date and Time
,
Restore Defaults
and
select
Language
as needed. Pressing
Back
button at any point will bring you
back to the primary settings screen and pressing it again will return you to the
live screen.
Fig. 21
5.6 Icons
1)
–
Battery Capacity
– Fully charged battery.
2)
–
SD Card
– Indicates an SD card has been inserted into the tool.
3)
–
Still Camera
– Indicates the tool is operating in still camera mode.
4)
–
Video Camera
– Indicates the tool is operating in video camera mode.
5)
– Indicates you to begin playing recording in the photo play mode.
6)
– Indicates you to start recording in the photo record mode.
7)
– Indicates you are recording in the photo record mode.
8)
– Indicates play recording in the photo record mode.
9)
– Indicates pause playing recording in the photo record mode.
10)
– Indicates cancel recording in the photo record mode.
11)
– Displays advanced settings.
Advanced Settings is the default mode from Setup menu.
Press
•
Setting
button to enter
Setup
.


