13
Vario M
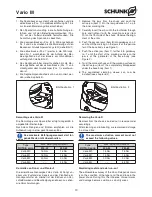
1. Die Spannbacken aus dem Futter entfernen und die
aktive Backe (Pos. 7) in die Backenführung Nr. 1 bis
zur inneren Markierungslinie einschieben.
2. Den Spanndorn vorsichtig in die Futterbohrung ein-
führen und mit den Befestigungsschrauben (Pos.
20) auf der Futtervorderseite festschrauben. Die
Ausrichtung des Spanndorns beachten.
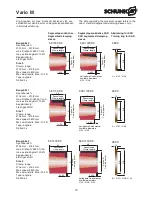
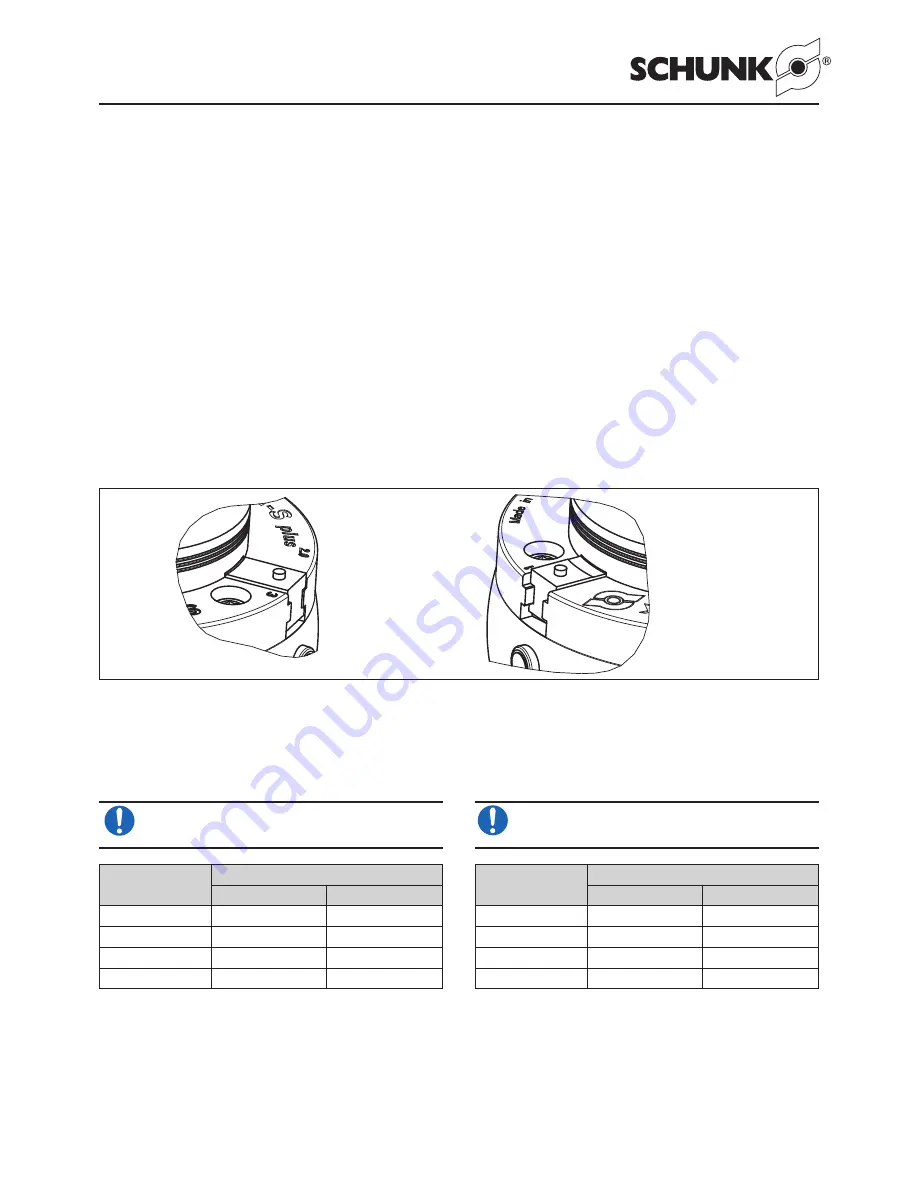
3. Die passiven Backen (Pos. 8) in Führungsbahnen
Nr. 2 und 3 einschieben bis die Markierung auf den
Backen am Grundkörperumfang steht (siehe Bild 1).
4. Die aktive Backe (Pos. 7) weiter in die Führungs-
bahn Nr. 1 einschieben bis der Anfang der Mar-
kierungsfläche auf der Backe am Grundkörper-
umfang steht (siehe Bild 2).
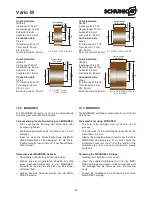
5. Das Handspannfutter soweit zudrehen bis die Mar-
kierungsfläche auf der aktiven Backe (Pos. 7) voll-
ständig unter dem Grundkörper (Pos. 1) verschwun-
den ist.
6. Die Segmentspannbüchse kann nun montiert wer-
den (siehe Kapitel 6.2).
1. Remove the jaws from the chuck and push the
active jaw (item 7) into the jaw guidance no. 1 up to
the inner marking line.
2. Carefully insert the arbor into the toolholder through
bore and tighten it with the mounting screws (item
20) on the front side of the chuck. Observe the align-
ment of the arbor.
3. Push the passive jaws (item 8) into guideways no. 2
and 3 until the marking on the jaws is at the perime-
ter of the base body (see Figure 1).
4. Push the active jaw (item 7) further into guideway
no. 1 until the start of the marking surface on the
jaw is at the perimeter of the base body (see
Figure 2).
5. Twist the manual chuck until the marking surface on
the active jaw (item 7) has completely disappeared
under the base body (item 1).
6. The segmented clamping sleeve can now be
installed (see chapter 6.2).
Bild/Illustration 1
Bild/Illustration 2
Demontage des Vario M
Die Demontage vom Spannfutter erfolgt sinngemäß in
umgekehrter Reihenfolge.
Nach dem Reinigen und Einölen empfehlen wir die
Aufbewahrung in einer geschlossenen Box.
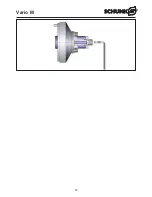
Das maximale Betätigungsmoment darf fol-
gende Werte nicht überschreiten.
Removing the Vario D
Removal from the chuck is carried out in reverse order
accordingly.
After cleaning and lubricating, we recommend storage
in a closed box.
The maximum actuation moment must not
exceed the following values.
HINWEIS
NOTICE
Type
ROTA-S vario
Max. Betätigungsmoment
200-52
250-62
Vario M0
15 Nm
15 Nm
Vario M1
15 Nm
15 Nm
Vario M2
30 Nm
30 Nm
Vario M3
––
45 Nm
Type
ROTA-S vario
Max. actuation moment
200-52
250-62
Vario M0
15 Nm
15 Nm
Vario M1
15 Nm
15 Nm
Vario M2
30 Nm
30 Nm
Vario M3
––
45 Nm
Kontrolle von Rund- und Planlauf
Die erreichbare Genauigkeit des Vario M hängt vor
allem vom Zustand des Kegels und der Planfläche im
Handspannfutter ab. Hierbei ist der Einfluss von Ver-
schleißmarken und Beschädigungen ebneso zu sehen,
wie Verschmutzungen.
Monitoring radial and axial run-out
The achievable accuracy of the Vario D depends main-
ly on the condition of the taper and the end face in the
power chuck. During this, the influence of wear marks
and damage becomes visible, as do dirty areas.
Summary of Contents for Vario M
Page 22: ...22 Vario M ...


