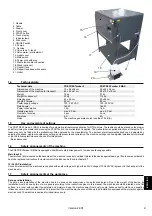
2.4
Calibration
It is recommended to repeat the calibration at regular intervals of 3 months or after 15.000 sprays at the latest. Regular calibration helps to keep
the spray amount accurate. The accuracy of the spray amount also depends on regular cleaning of the nozzles
, the carriage filter
and pre
treatment
pump.
7. Tare the scale again with the T-shirt and press „next”.
The calibration process is now complete.
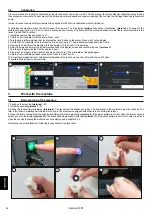
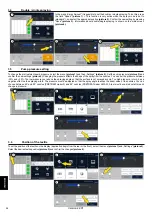
6. Select the weighed amount of pr
etreatment
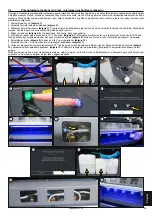
applied on the display screen and confirm with „next”
(picture 3).
8. Place the T-shirt
again in the machine
and press „next / spray” The p
retreatment
is applied again
4. Unfold the T-shirt and place it in the
machine
.
P
ress „next / spray”. The pr
etreatment
is applied to the T-shirt.
9. Fold the T-shirt and place it back on the scale. Press the „next” button
.
10.
Select the weighed amount of pr
etreatment
applied on the touch screen and confirm with the „next” button
5. Remove the T-shirt from the machine,
fold it and weigh it. Press „next” on the display.
1. Install the new nozzles and press „next”
3. Tare the scale (after weighing the T-shirt press the „tare” button on the scale). Press „next” on the display.
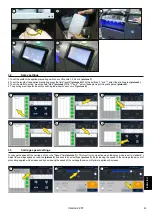
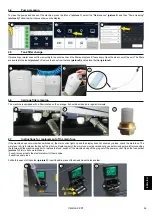
To calibrate the machine, press the field „Speed / Ref. amount” on the display
(picture 1)
and then „Calibration”
(picture 2)
. To carry out the
calibration you will need: a L / XL size t-shirt, a scale with an accuracy of 1g and a set of new nozzles. Make sure that there is sufficient fluid in the
tanks. Press START and then:
In order to check the amount of pretreatment
to be applied to the t-shirt, a calibration must be carried out.
2. Fold the
T-
shirt and place it on the scale. Press „next”.
3.1
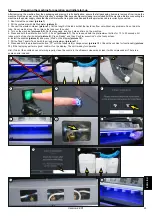
Daily start-up of the machine
Nozzles have a limited lifespan. If cleaning is unsuccessful, replace them.
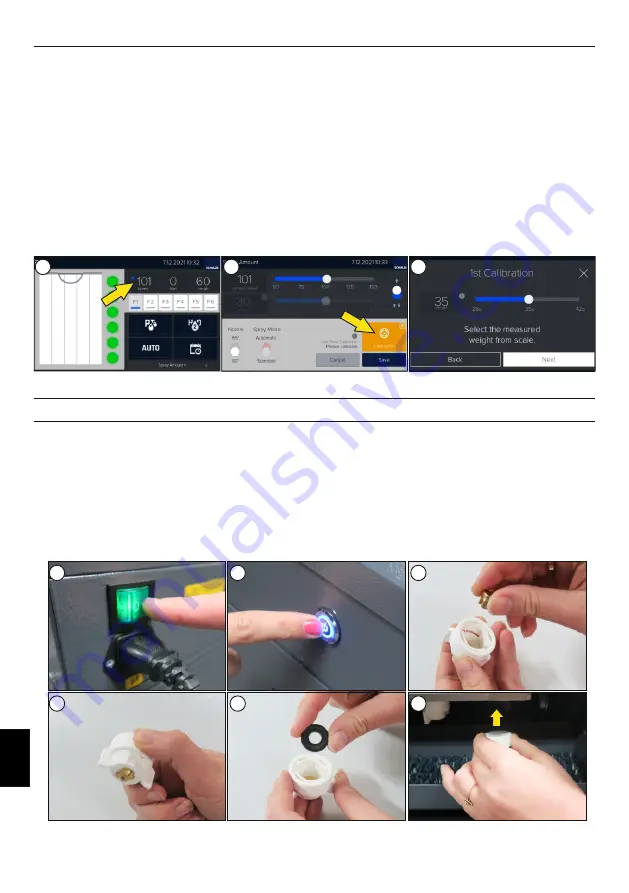
1.
Switch on the machine
(
pictures
1 - 2)
2.
Install the nozzles
(
pictures
3 - 7)
3. Shake the tanks with pretreatment
(picture 8).
The tanks must be shaken every day. The liquid level in the containers must be checked. The
filter in the tank must always be immersed in the liquid. The machine is equipped with sensors to control the liquid level.
4. Open the front cover and test the nozzles by holding down the water button
(picture 9).
If the spray pattern is correct, close the front cover and
select „good” on the display
(picture 10)
. The hoses will automatically fill with liquid
(picture 11)
. If the spray pattern is not correct, select „bad” and
clean the nozzles following the instructions on the display and in chapter 4.2.
2.
3
.
Work with the machine
Version
2
2
.0
1
24
E
N
G
L
IS
H
1
4
2
5
3
6
1
2
3
Summary of Contents for PRETREATmaker 5
Page 2: ......
Page 17: ...5 3 Schaltplan Version 22 01 17 DEUTSCH ...
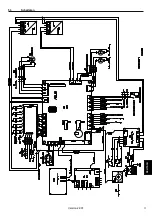
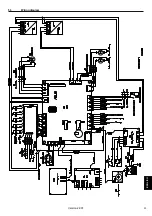
Page 33: ...5 3 Wiring diagram Version 22 01 ENGLISH 33 ...
Page 49: ...5 3 Schemat połączeń 49 POLSKI Wersja 22 01 ...
Page 51: ......
Page 52: ......


