11. Maintenance / maintenance schedule
62|108
Reference Manual |Edition 4.0 (10-2013) |EcoCut 3300
Adjusting the blades is under some circumstances not only then necessary if the blades have been
replaced. An adjustment e. g. can also be necessary if very thin flat cables have to be cut. The adjustment
therefore is an own procedure. Therefore the description here overlaps partially with the chapter
.
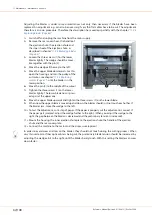
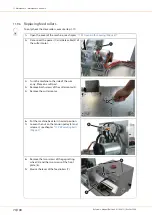
1» Switch off and unplug the machine from the mains supply.
2» Remove the rear cover sheet, the handle of
the ejection chute, the ejection chute and
the inner sheet of the ejection chute, as
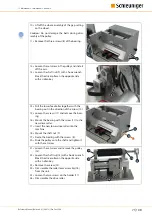
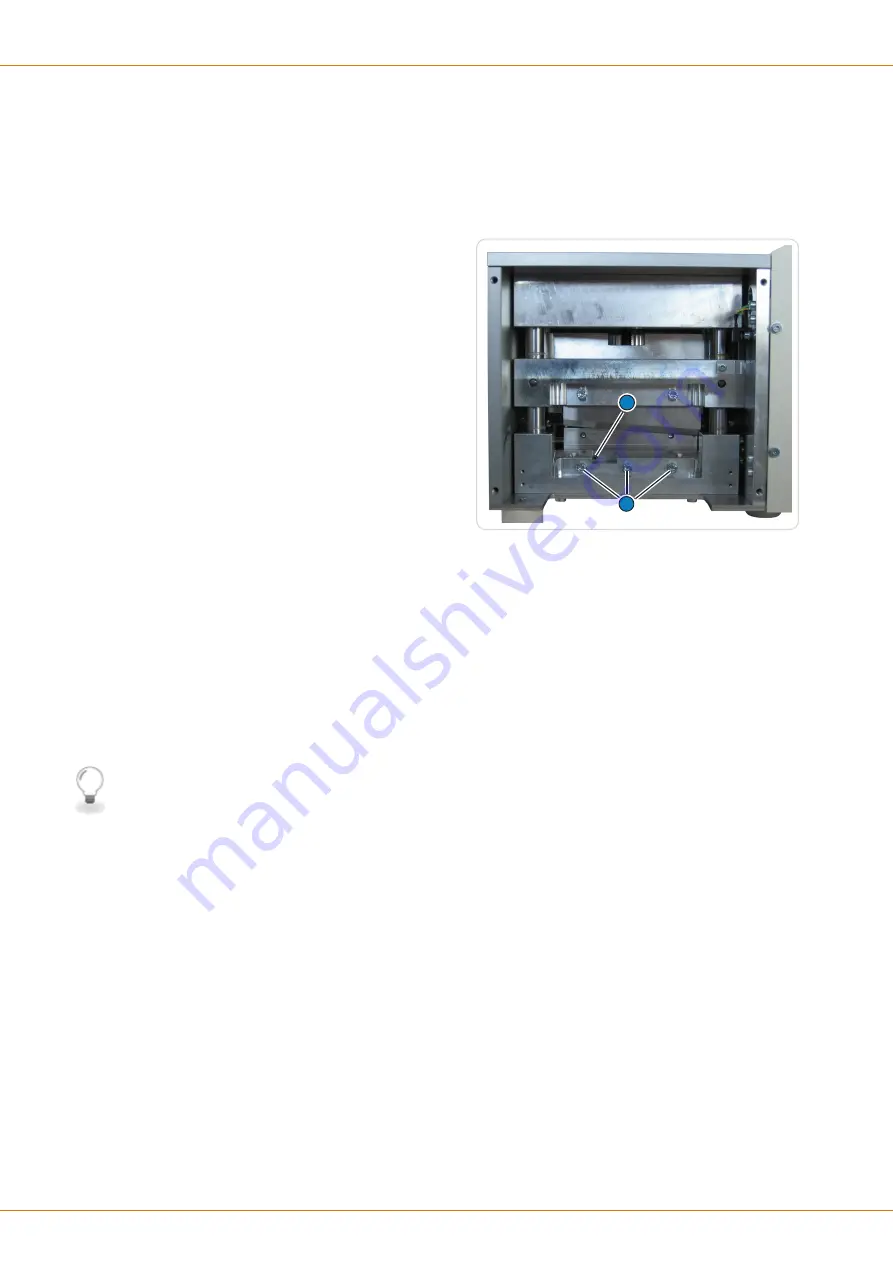
3» Loosen the three screws (1) for the lower
blade slightly. The wedge should be mova-
ble together with the pin (2).
4» Move the wedge all the way to the left.
5» Move the upper blade downwards. For this
open the housing and turn the pulley of the
cut motor, see chapter
, until the blade is in the
lower position.
6» Move the pin (2) to the middle of the cutout.
7» Tighten the three screws (1) on the lower
blade slightly. The lower blade now is press-
ed against the upper one.
8» Move the upper blade upwards and tighten the three screws (1) on the lower blade.
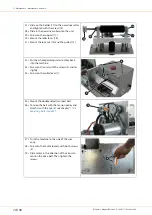
9» When now the upper blade is moved up and down, the blades should just not touch each other. If
the blades jam, move the wedge to the left.
10» To test the adjustment, cut a strip of paper. If the paper is properly cut the adjustment is correct. If
the paper gets jammed, adjust the wedge further to the right. (When you adjust the wedge to the
right, the gap between the blades is decreased and the preliminary tension is increased).
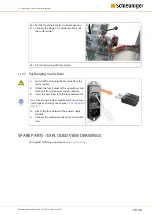
11» Mount the housing, the inner ejection chute plate, the ejection chute, the handle of the ejection
chute and the rear cover plate.
12» Connect the machine to the mains and the air pressure (option).
In order to avoid wear and tear on the blades, they should not touch during the cutting process. When
very thin material or fiber optic cable is being cut, the preliminary blade tension should be increased, by
adjusting the wedge a bit to the right, until the blades barely touch. With this setting the blades can wear
down faster.
1
2
Summary of Contents for EcoCut 3300
Page 8: ...Table of contents 8 108 Reference Manual Edition 4 0 10 2013 EcoCut 3300...
Page 22: ...4 Product specifications 22 108 Reference Manual Edition 4 0 10 2013 EcoCut 3300...
Page 74: ...12 Spare parts exploded view drawings 74 108 Reference Manual Edition 4 0 10 2013 EcoCut 3300...
Page 76: ...13 Decommissioning disposal 76 108 Reference Manual Edition 4 0 10 2013 EcoCut 3300...
Page 102: ...14 Appendix 102 108 Reference Manual Edition 4 0 10 2013 EcoCut 3300...
Page 103: ...Personal notes Reference Manual Edition 4 0 10 2013 EcoCut 3300 103 108...
Page 104: ...Personal notes 104 108 Reference Manual Edition 4 0 10 2013 EcoCut 3300...
Page 107: ......
Page 108: ......

