18
FUELING
– Fill fuel tanks with good quality, clean, unleaded
gasoline.
– Use a funnel to avoid spillage.
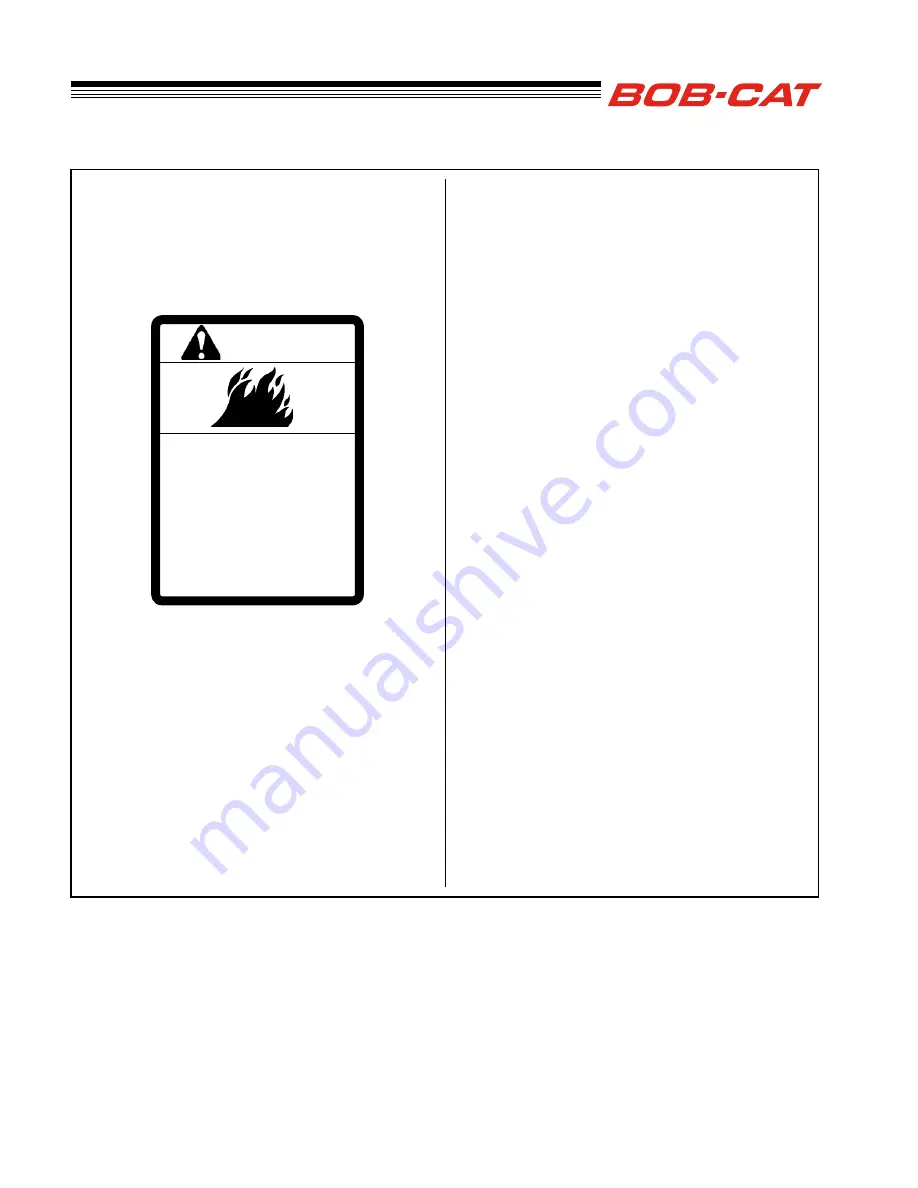
WARNING
TO CHECK OR ADD FUEL:
– Do it outdoors
– Do not smoke
– Stop engine; allow to cool
– Fill to one inch below bottom
of filler neck
– Do not overfill
– Clean up spilled fuel
BEFORE STARTING THE ENGINE
– Be familiar with all controls, how each functions
and what each operates.
– Check the engine oil level and add if necessary.
– Check the fuel level and add if necessary. Using
the fuel selector valve, select which tank will sup-
ply fuel.
–
Choke:
For cold starts, set the throttle lever to
the half-open position and pull the choke out to
the ON position. For warm starts set the throttle
to the half-open position and the choke to the OFF
position.
OPERATOR PRESENCE
INTERLOCK SYSTEM
To start the engine:
–
The PTO switch must be
OFF
.
–
Both traction levers must be in the neutral
lock
position.
–
The parking brake must be
ON
.
To operate the machine:
1. The operator must be in the seat or engaging the
PTO will kill the engine.
2. The parking brake must be
OFF
and the opera-
tor must be in the seat, or moving a
traction lever
from the neutral lock position will kill the engine.
STARTING THE ENGINE
1. Turn the key to operate the electric starter to start
the engine. Release the key when the engine
starts.
2. If the engine does not start immediately, do not
crank for more than 10 seconds at a time. Allow
60 seconds for the starter motor to cool down
between starting attempts to prevent the starter
motor from burning out.
3. If the choke is ON when the engine starts, gradu-
ally back it off until the engine runs with no choke
at all.
OPERATION
Summary of Contents for 9995010
Page 47: ...45 PARTS SECTION PARTS SECTION ...
Page 50: ...48 FIGURE 2 BUMPER WRAP 4 3 6 2 7 8 9 10 1 5 5 ...
Page 70: ...68 FIGURE 12 FOLDING ROPS 10 7 5 2 6 13 1 14 1 11 3 1 4 9 8 7 5 3 2 9 4 6 12 15 15 ...
Page 82: ...80 FIGURE 18 DECALS 9 7 17 6 10 13 12 11 1 5 4 6 8 2 3 6 6 16 18 14 20 19 15 ...
Page 84: ...82 7 6 5 4 3 2 1 8 8 4 10 11 12 6 9 13 FIGURE 19 DECALS ...

