13
2-1
Installation
The chart plotter is supplied with bracket and flush mounting kit. You can choose a method of
installation according to your preference.
2-1-1
Bracket Mounting
Find the appropriate place to install considering GPS Chart plotter’s weight and user
convenience.
Mounting the display unit:
1 Hold the display unit and place the screw
between the display and the knob.
2 Gently push and turn the bracket
mounting screw to the display unit
Removing the display unit
1 Turn the unit off
2 Turn the bracket mounting knob gently to
remove.
2 Getting Started
User Guide
14
2-2
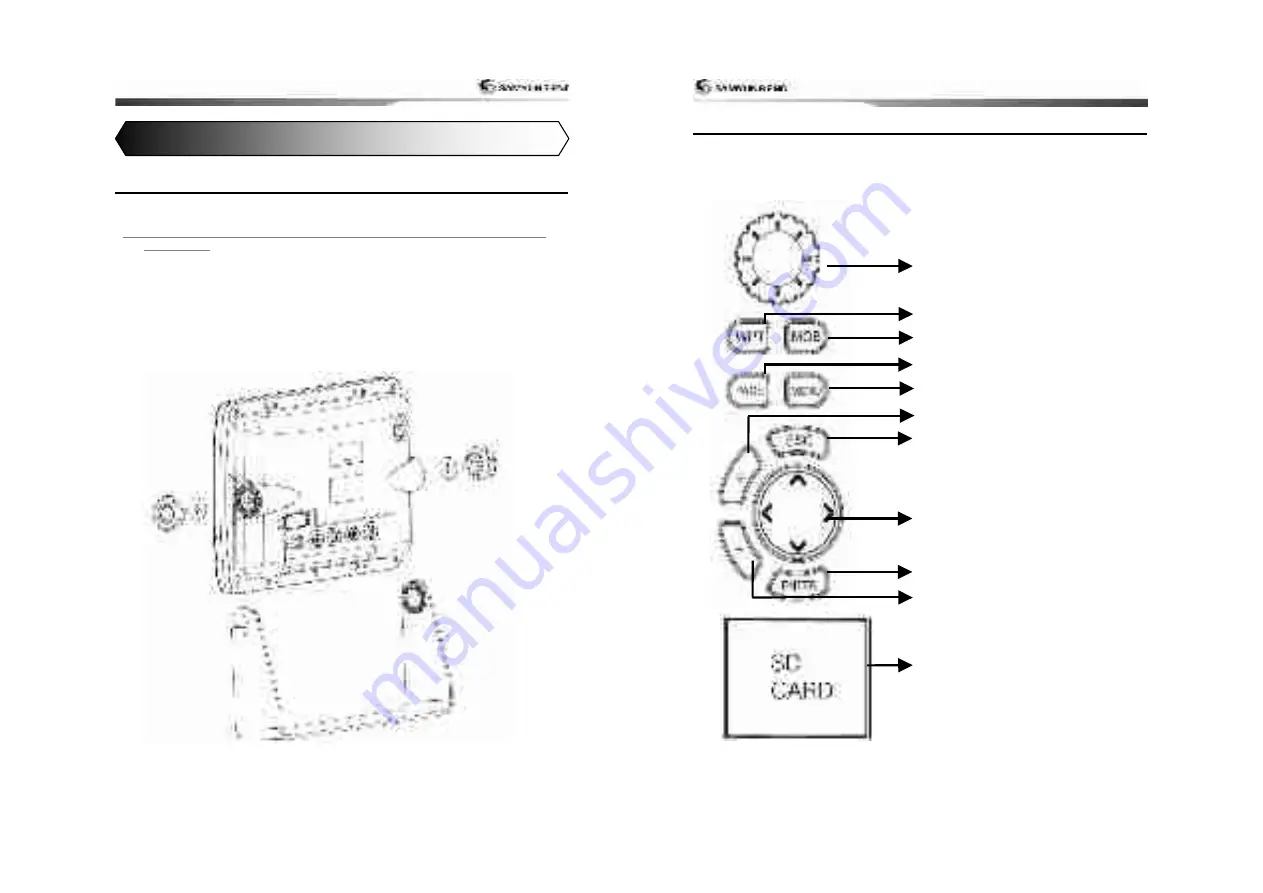
Buttons
[FRONT]
MOB
– Indicate MOB destination of boat’s location
Register
– Create the destination
.
Encoder
– Used to select up, down, left, right
Menu
– Show the useable option from
current display
+
- Enlarge the chart
.
Display
– Set to the display you wish to show
-
– Reduce the size of chart
Directional key
– Move cursor from display. Can
review the record of fish finding
from the fish finder display
Enter
– Select option or confirm the selection.
ESC
– Go back to previous menu or window.
On chart mode, places the chart in
the middle from the boat’s location
SD Card
– Open the cover to insert the card.
Do not use
SD 2G