ENGLISH
Digital Still Camera Mode : Advanced Techniques
133
133
Trimming the Image
Zooming the Image
Zooming & Trimming Recorded Images (Playback ZOOM) While Viewing
✤
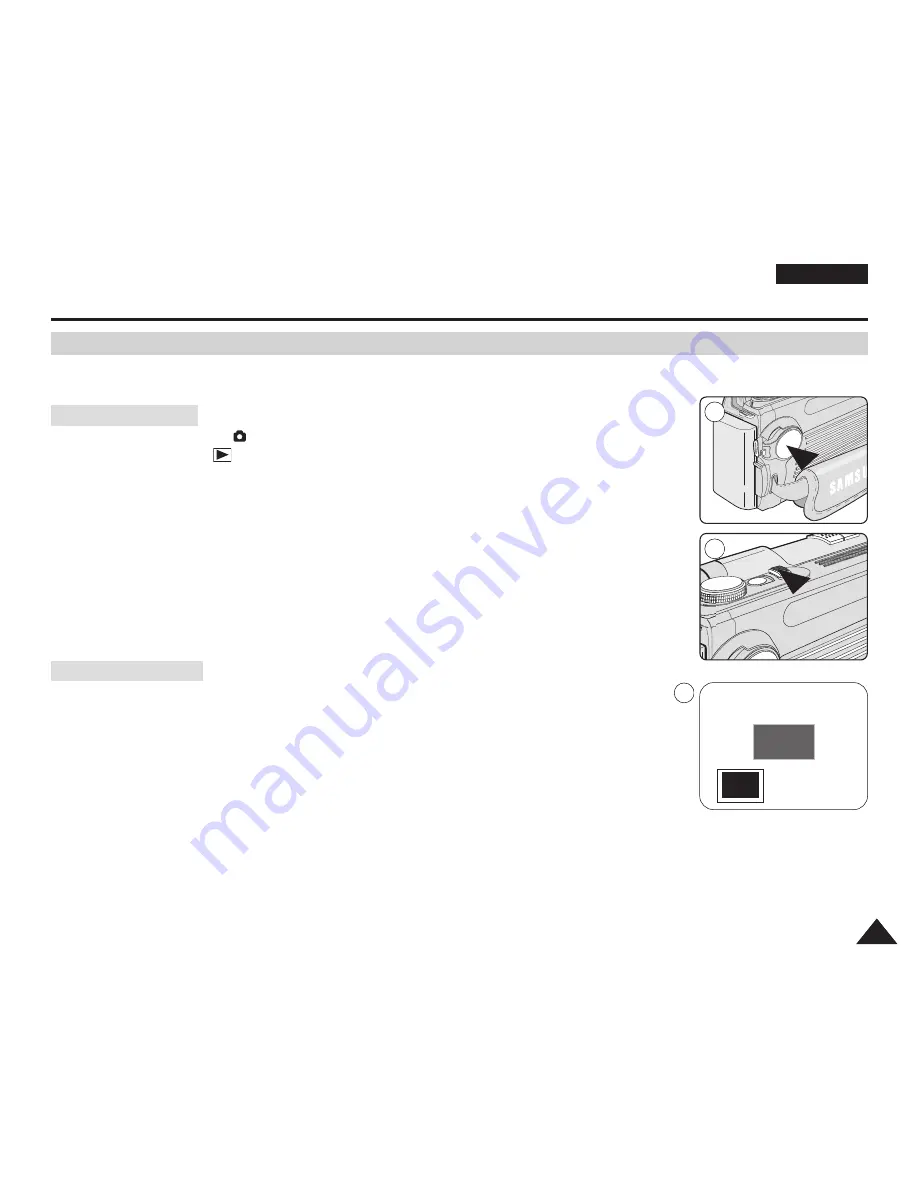
This function allows the user to have a more detailed view of the image using the LCD screen.
✤
Enlarge a portion of the image to see more detail and move the zoom tool around the image.
1. Set the Power switch to
(CAMERA).
2. Set the Mode Dial to (Play).
■
A stored image is displayed.
3. Select a image by moving the Joystick to the left or right.
■
The selected image is displayed.
4. Pull the Zoom Lever to TELE side to enter the zoom mode, then use the Zoom Lever to zoom
in or zoom out.
■
A small window appears in the bottom left of the LCD screen showing the current portion of
the full image.
5. Move the Joystick up, down, left or right to move around the image.
6. To exit Playback Zoom, push the zoom lever toward the W(WIDE) end until the image returns to
normal size.
■
The small window disappears and returns to normal viewing mode.
1. Pull the Zoom Lever to TELE side to enter the zoom mode, then use the Zoom Lever to zoom
in or zoom out.
■
Move Joystick up, down, left or right to move around the image.
2. Zoom in to any portion of a stored image following the instructions above.
3. Press the Joystick(OK).
■
The message TRIMMING? will be displayed.
4. Press the Joystick(OK) to confirm the trim, or move the Joystick to the left to cancel.
■
OK: Precedes with the trimming and saves the trimmed image as a new file.
■
LEFT: Cancels the trimming and returns to PLAY mode.
[ Note ]
Trimming an image produces a new trimmed image which is saved on the memory card. If no
space is available to store the new trimmed image, it automatically cancels.
X 1.97
TRIMMING ?
TRIM: OK
CANCEL:
œ
1
4
2
Summary of Contents for VP-D6550
Page 156: ...ENGLISH Memo 156 156 ...


