56
ENGLISH
DEUTSCH
RS-232C Data Transfer (VP-D60/D65 only)
Datenübertragung mit Schnittstelle RS-232C (nur VP-D60/65)
Transferring RS-232C (DV-CAPTURE) data and Connection
CPU : faster Intel
®
Pentium
TM
or AMD
TM
K6
TM
Processor
Operating system : Windows
®
95, Windows
®
98, NT, 2000
Main memory : minimum 16 MB RAM
FDD : 3.5˝ Floppy disk Drive
HDD : 10 MB free hard disk space
Graphic card : High Colour (over 65,535 colour) capable video card
Serial port : RS-232C compatible (9pin : COM port)
System Requirement
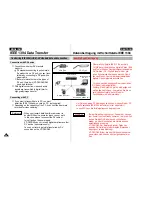
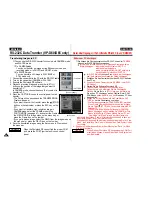
1.Insert the Photoland RS software diskette into FDD (3.5˝ Floppy
Disk Drive)
2.Click ˝Run˝ on the Windows ˝Start˝ menu.
3.Execute SETUP.EXE file to begin installation.
- When FDD is set to ˝A:˝ drive: type ˝A:\ setup.exe˝ and press
Enter.
4.When you see the start window, click on ˝next˝ to continue
installation.
5.When you see the finish window, click on ˝Finish˝.
6.Now, you can use the Photoland RS.
✤
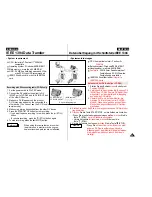
The RS-232C (DV-CAPTURE) function lets you easily transfer the
still image to PC without other optional add-on cards.
✤
If you want to transfer data to PC, you must install the software
(Photoland RS) supplied with the camcorder.
Program installation
Anschluß und Übertragung
✤
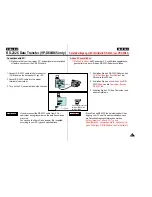
Über RS-232C können Sie Standbilder an den PC übertragen, ohne
daß Sie eine Zusatzkarte für den PC benötigen. Diese Funktion wird
als DV CAPTURE bezeichnet.
✤
Für die Datenübertragung zum PC installieren Sie die mit dem
Camcorder gelieferte Software Photoland RS auf dem PC.
Systemanforderungen
CPU: Intel
®
Pentium
TM
oder AMD
TM
K6
TM
Prozessor
Betriebssystem: Windows
®
95, Windows
®
98, NT, 2000
Hauptspeicher:
mindestens
16 MB RAM
3,5Zoll-
Diskettenlaufwerk
Festplatte
: 10 MB freier Speicherplatz auf Festplatte
Grafikkarte: High Colour Videokarte (mehr als 65 535 Farben)
Serieller Port:
kompatibel mit
RS-232C
(9poliger
COM-Port)
Program installieren
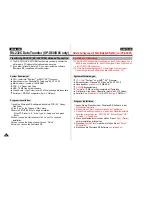
1. Legen Sie die Diskette mit der Photoland RS-Software in da
s
Diskettenlaufwerk
ein.
2.
Klicken Sie auf “Start” und anschließend auf “Ausführen”.
3. Geben Sie den Buchstaben ein, mit dem das Diskettenlaufwerk
bezeichnet ist, gefolgt von “SETUP.EXE”. Klicken Sie auf “OK”.
- Beispiel: A:\setup.exe
4. Wenn das Startfenster erscheint, klicken Sie auf
“Next” (Weiter),
um die Installation fortzusetzen.
5. Wenn das
Abschlußfenster
erscheint, klicken Sie auf
“Finish”
(Fertigstellen)
.
6. Sie können die Photoland RS-Software
nun verwenden
.

